Android Localization: Tips and Tricks

Android Studio
android-localization-tips-and-tricks
Source: Phrase.com

Introduction to Android Localization

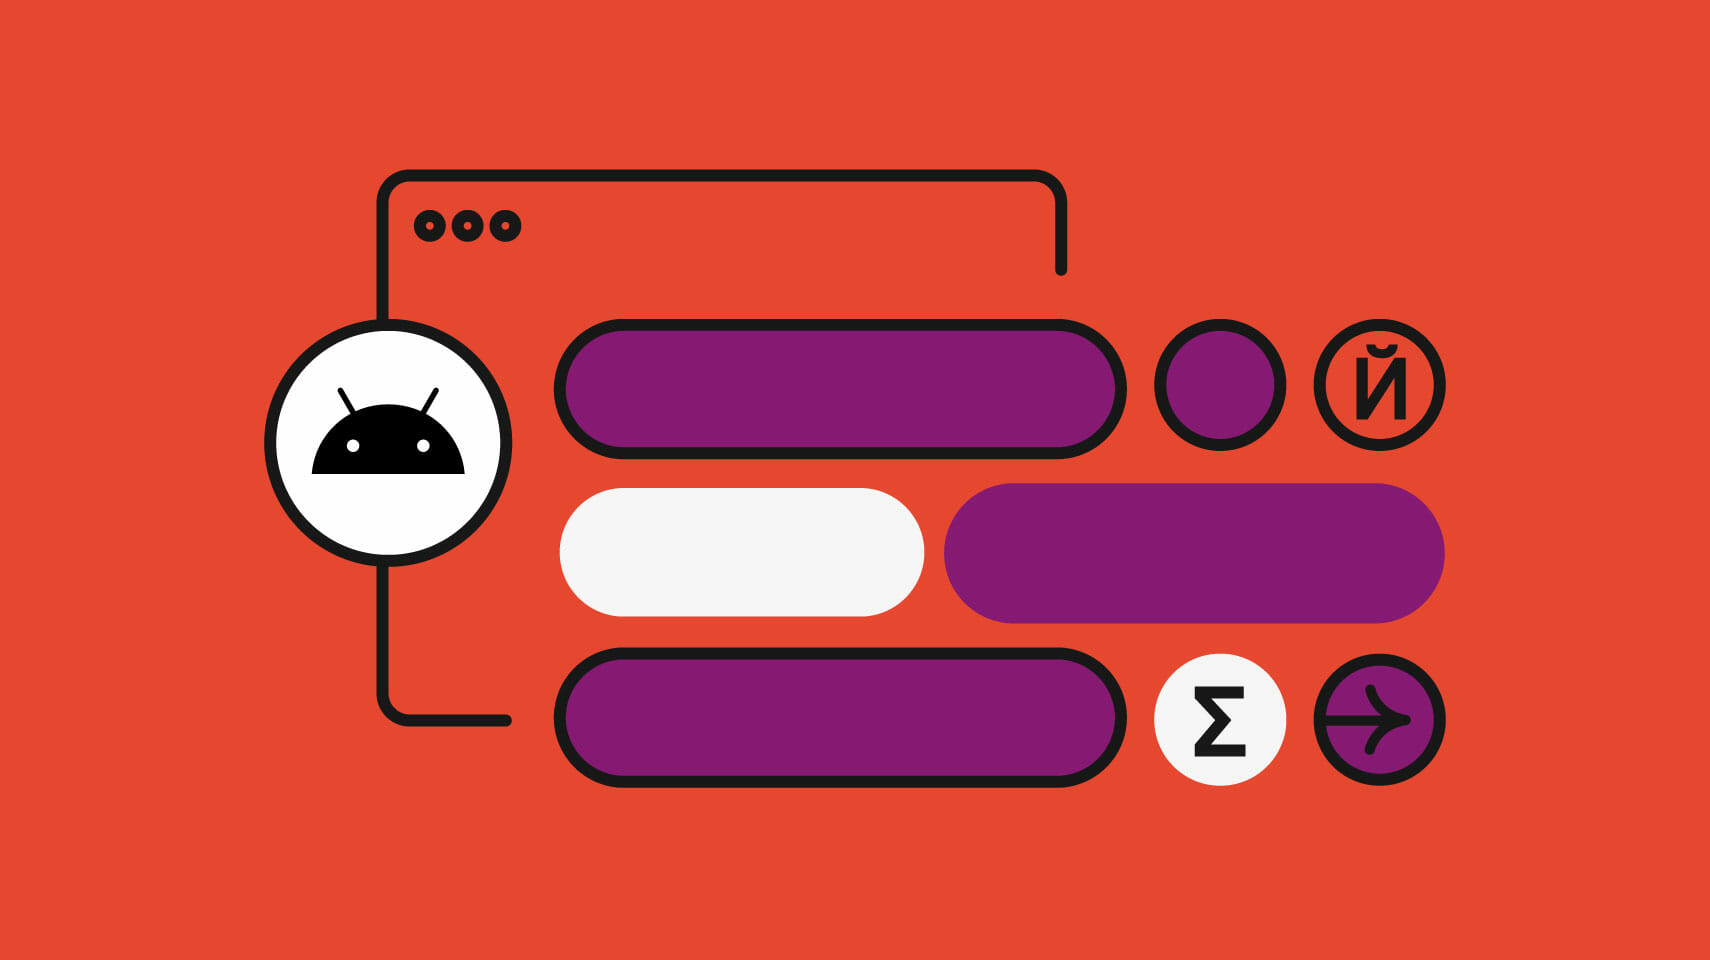
What is Android Localization?

Android localization means adapting your app to different languages and regions. It’s not just about translating text; it’s also about adjusting formats for dates, times, currencies, and even images to fit cultural norms. This makes your app more user-friendly and accessible to a global audience.

Why Localize Your Android App?

Localizing your app opens it up to a wider audience, increasing downloads and user engagement. People prefer using apps in their native language, which can lead to better reviews and higher ratings. Plus, it helps you stand out in international markets, giving you a competitive edge.

Key Takeaways:

  • Localizing your Android app means more than just translating text; it involves adapting dates, currencies, and images to fit different cultures, making your app user-friendly worldwide.
  • Using tools like the Translations Editor in Android Studio and translation management systems can simplify the localization process, ensuring your app is accessible and appealing in multiple languages.

Preparing for Localization

Internationalization (i18n) Basics

Internationalization, often abbreviated as i18n, is the process of designing your app so it can easily be adapted to various languages and regions without needing major changes. This involves using resource files for text and other localizable content, making sure your app can handle different character sets, and considering layout adjustments for languages that read right-to-left.

Planning Your Localization Project

Start by identifying the target languages and regions for your app. Research cultural differences and user preferences. Create a timeline and budget for the localization process. Assemble a team that includes translators, developers, and testers. Use tools and services that streamline the localization workflow, like translation management systems.

Setting Up Your Project

Creating a New Android Project

When creating a new Android project, think about localization from the start. Use Android Studio to set up your project. Make sure to use resource files for all text and images. This way, you can easily switch languages without changing the code. Keep your code clean and modular to simplify future updates.

Adding Languages to Your Android Application

To add multiple languages, create separate resource directories for each language. For example, use res/values-es/strings.xml for Spanish and res/values-fr/strings.xml for French. Add translated strings in these files. Android will automatically load the appropriate resources based on the user’s device settings. Use the Translations Editor in Android Studio to manage translations efficiently.

Implementing Localization

Localizing Your Content

Localizing your content means translating all the text, images, and other elements in your app to different languages. Start by identifying all the text in your app that needs translation. This includes UI elements like buttons, menus, and dialogs. Don't forget about error messages, notifications, and any other user-facing text.

For images, consider cultural differences. Some images might not be appropriate or understandable in every culture. Replace or modify images to fit the local context. Also, think about audio and video content. Subtitles or voiceovers might be necessary.

Using the Translations Editor

The Translations Editor in Android Studio makes it easier to manage translations. Open your project, then go to Res > Values > strings.xml. Right-click and select Open Translations Editor. This tool shows all your strings and their translations side by side.

To add a new string, click the Add Key button. Enter the key name and default value. For translations, click on the cell under the language column and enter the translated text. The Translations Editor helps keep everything organized and ensures no strings are missed.

Handling Locale Preferences

Supporting user-specific locale preferences means your app can adapt to the user's language and region settings. Android provides a way to handle this through the Locale class. Use Locale.getDefault() to get the current locale and adjust your app's content accordingly.

In your app's settings, allow users to choose their preferred language. Save this preference and apply it throughout the app. This way, users can experience the app in their chosen language, even if it differs from their device's default setting.

Best Practices for Localization

Avoid Hard Coding Text or Resources

Hard coding text or resources makes localization a nightmare. Instead, use resource files like strings.xml for all text. This way, you can easily add translations without changing the code. It also helps keep your code clean and maintainable.

Making strings.xml Translator-friendly

Organize strings.xml to make it easy for translators. Group related strings together and add comments to explain the context. Use descriptive names for string keys, so translators know what each string is for. For example, use login_button_text instead of button1.

Handling Plurals and Dynamic Values

Managing plurals and dynamic values can be tricky. Use the **

** tag in strings.xml to handle different quantities. For example:

xml One item
%d items

For dynamic values, use placeholders. For instance, "Welcome, %s!" allows you to insert the user's name dynamically. This approach ensures translations remain flexible and accurate.

Testing and Quality Assurance

Testing with Pseudolocales

Pseudolocales help test your app's localization without actual translations. Android supports pseudolocales like en-XA and ar-XB. These locales mimic the length and complexity of different languages. Use them to check for layout issues, truncation, and other problems.

Spotting Localization Issues

Common localization issues include text overflow, missing translations, and cultural insensitivity. Test your app thoroughly in all supported languages. Use real devices and emulators to see how the app looks and feels. Pay attention to text alignment, font sizes, and overall readability.

Advanced Localization Techniques

Localizing Numbers, Dates, and Currencies

When localizing your app, numbers, dates, and currencies need special attention. Different regions have unique formats for these elements. For instance, the date "12/31/2023" in the U.S. would be "31/12/2023" in many European countries. Similarly, currencies vary not just in symbol but also in placement and decimal usage. Use Android's built-in classes like NumberFormat and DateFormat to handle these variations. This ensures users see familiar formats, making your app feel more intuitive and user-friendly.

Accessibility Localization

Making your app accessible in multiple languages goes beyond just translating text. Screen readers, voice commands, and other assistive technologies must work seamlessly across all supported languages. Use content descriptions for images and ensure all interactive elements have accessible labels. Test your app with screen readers in different languages to catch any issues. This not only broadens your user base but also shows commitment to inclusivity.

Optimizing Keywords for App Stores

Optimizing keywords for app stores in different languages can significantly boost your app's visibility. Research popular search terms in each target language and incorporate them into your app's title, description, and metadata. Tools like Google Keyword Planner can help identify high-traffic keywords. Remember, direct translations might not always work; local idioms and slang can be more effective. This step can make a big difference in how easily users find your app.

Managing Localization Workflows

Using Translation Management Tools

Translation management tools streamline the localization process. They offer features like translation memory, which saves previously translated phrases for reuse, and collaborative platforms where multiple translators can work simultaneously. Tools like Crowdin, Lokalise, and Transifex integrate well with Android projects. These platforms also support various file formats, making it easier to manage translations and updates.

Automating Localization Processes

Automation can save time and reduce errors in your localization workflow. Scripts can automatically extract new strings, send them to translators, and integrate the translations back into your project. Continuous integration (CI) tools like Jenkins or GitHub Actions can trigger these scripts whenever new code is pushed. This ensures your app's translations are always up-to-date without manual intervention, allowing your team to focus on other tasks.

Case Studies and Examples

Successful Localization Examples

Take a look at apps like WhatsApp and Airbnb, which have successfully localized their content for global audiences. WhatsApp supports over 60 languages, ensuring users worldwide can communicate comfortably. Airbnb not only translates its interface but also localizes content like property descriptions and user reviews, making it easier for users to find and book accommodations.

Lessons Learned from Localization Projects

From past projects, one key lesson is the importance of planning. Rushing into localization without a clear strategy can lead to inconsistent translations and missed deadlines. Another lesson is the value of user feedback. Real users can provide insights into cultural nuances and language use that automated tools might miss. Finally, always allocate time for thorough testing. Even small errors can confuse users and detract from the overall experience.

Wrapping Up

Localization is more than just translating text—it's about creating a seamless, user-friendly experience for people worldwide. By planning carefully, using the right tools, and paying attention to details like dates, currencies, and accessibility, you can make your app feel native in every language. Remember, successful localization goes beyond words; it includes cultural nuances and user preferences. By following best practices and learning from successful examples, you'll make your app stand out globally. Ready to make your app a global hit? Get started on localization, and watch your audience grow!

Understanding Android Localization

This feature translates app content into multiple languages, making it accessible to users worldwide. It automatically detects the user's language settings and adjusts the app's text accordingly. Developers can add translations for various languages, ensuring a seamless experience for non-native speakers. The feature also supports different regional formats for dates, times, and numbers, enhancing usability. It integrates with translation services to streamline the localization process. Additionally, it handles right-to-left languages, ensuring proper text alignment and layout.

What You Need for Android Localization

To ensure your device supports Android Localization, check these requirements:

  1. Operating System: Your device must run on Android 5.0 (Lollipop) or higher. Older versions won't support the latest localization features.
  2. Storage Space: Ensure at least 100MB of free storage. This space is necessary for downloading language packs and updates.
  3. RAM: A minimum of 1GB RAM is required. Devices with less memory might experience slow performance or crashes.
  4. Google Play Services: Make sure Google Play Services are up-to-date. This ensures compatibility with various localization features.
  5. Internet Connection: A stable Wi-Fi or mobile data connection is needed for downloading language packs and updates.
  6. Screen Resolution: Devices should have a minimum resolution of 720p. Lower resolutions might not display localized content correctly.
  7. Keyboard Support: Install a keyboard that supports multiple languages, like Gboard. This allows easy switching between languages.
  8. App Compatibility: Ensure apps you use support localization. Check app descriptions in the Google Play Store for this information.
  9. Permissions: Grant necessary permissions for location and language settings. This helps apps provide accurate localized content.

Meeting these requirements ensures your device can fully support Android Localization features.

How to Set Up Android Localization

  1. Open your Android device.
  2. Go to Settings.
  3. Scroll down and tap on System.
  4. Select Languages & Input.
  5. Tap on Languages.
  6. Choose Add a Language.
  7. Pick your desired language from the list.
  8. Drag your chosen language to the top to make it the default.
  9. Restart your device to apply changes.

Done! Your Android device is now localized.

Tips for Effective Use of Android Localization

Keep your code clean. Use resource files for different languages. Instead of hardcoding text, place it in strings.xml. This makes translations easier.

Use placeholders. When dealing with dynamic content, use placeholders like %s or %d. This helps translators understand where to place words or numbers.

Test on real devices. Emulators are great, but nothing beats testing on actual hardware. Different devices may render text differently.

Consider text length. Some languages take up more space. Ensure your UI can handle longer text without breaking.

Be mindful of cultural differences. Colors, icons, and symbols might have different meanings. Research cultural norms to avoid misunderstandings.

Use right-to-left (RTL) support. Some languages, like Arabic or Hebrew, read from right to left. Android supports RTL layouts, so make sure to enable this feature.

Update regularly. Languages evolve. Keep your translations up-to-date to maintain accuracy.

Get feedback. Users can provide valuable insights. Encourage them to report translation errors or suggest improvements.

Automate where possible. Use tools like Google Translate for initial translations, but always have a human review them.

Stay organized. Keep your translation files well-organized. Use clear naming conventions to avoid confusion.

Prioritize key languages. Focus on languages spoken by your target audience first. This ensures the most impact for your efforts.

Use professional translators. Automated tools are helpful, but nothing beats a professional for accuracy and nuance.

Troubleshooting Localization Problems

App crashes often? Clear the cache. Go to Settings, then Apps, select the app, and tap "Clear Cache." If that doesn't work, try "Clear Data," but remember this might erase app settings.

Battery draining quickly? Check for background apps. Open Settings, then Battery, and see which apps use the most power. Disable or uninstall unnecessary apps.

Phone running slow? Free up space. Delete unused apps, old photos, and videos. Also, consider moving files to cloud storage or an SD card.

Wi-Fi not connecting? Restart your router and phone. If that fails, forget the network in Wi-Fi settings and reconnect by entering the password again.

Bluetooth issues? Turn Bluetooth off and on. If the problem persists, unpair all devices and pair them again.

Touchscreen unresponsive? Restart the device. If still unresponsive, check for software updates in Settings. Sometimes a screen protector can cause issues; try removing it.

Apps not downloading? Check your internet connection. If it’s stable, clear the Google Play Store cache. Go to Settings, then Apps, select Google Play Store, and tap "Clear Cache."

Notifications not showing? Ensure Do Not Disturb is off. Go to Settings, then Sound, and check Do Not Disturb settings. Also, check individual app notification settings.

Storage full? Use a file manager app to delete junk files. Move large files to an SD card or cloud storage. Regularly clear app caches to free up space.

Phone overheating? Avoid using it while charging. Close background apps and give the device a break. If it continues, check for software updates or consider a factory reset.

Privacy and Security in Localization

When using Android localization, security and privacy are paramount. User data should always be encrypted to prevent unauthorized access. Ensure permissions are only granted to trusted apps. Regularly update your device to patch any vulnerabilities. Avoid using public Wi-Fi for sensitive activities. Use strong, unique passwords and enable two-factor authentication. Always review app privacy policies to understand how your data is used. Disable location services when not needed. Be cautious of apps requesting unnecessary permissions.

Comparing Localization Options

Pros of Android Localization:

  1. Customization: Android allows extensive customization of language settings, making it easy to switch between languages.
  2. Wide Language Support: Supports over 100 languages, catering to a global audience.
  3. Open Source: Developers can modify and improve localization features.
  4. Google Translate Integration: Seamless integration with Google Translate for quick translations.

Cons of Android Localization:

  1. Fragmentation: Different devices may have inconsistent localization support.
  2. App Compatibility: Some apps may not fully support all languages.
  3. Updates: Language updates may be delayed depending on the manufacturer.

iOS Localization:

Pros:

  1. Consistency: Uniform localization across all Apple devices.
  2. App Store Standards: Apps must meet strict localization guidelines.
  3. Regular Updates: Frequent updates ensure better language support.

Cons:

  1. Less Customization: Limited ability to customize language settings.
  2. Fewer Languages: Supports fewer languages compared to Android.

Windows Localization:

Pros:

  1. Comprehensive Language Packs: Extensive language packs available for download.
  2. Consistency: Uniform experience across devices.

Cons:

  1. Complex Setup: Language settings can be harder to configure.
  2. Limited Mobile Support: Fewer mobile devices support Windows.

Alternatives:

  1. Third-Party Apps: Use apps like SwiftKey for better keyboard localization.
  2. Custom ROMs: Install custom ROMs like LineageOS for enhanced language support.
  3. Language Learning Apps: Duolingo or Babbel can help with language learning and practice.

App crashes often? Clear the cache. Go to Settings, then Apps, select the app, and tap "Clear Cache." If that doesn't work, try "Clear Data," but remember this might erase app settings.

Battery draining quickly? Check for background apps. Open Settings, then Battery, and see which apps use the most power. Disable or uninstall unnecessary apps.

Phone running slow? Free up space. Delete unused apps, old photos, and videos. Also, consider moving files to cloud storage or an SD card.

Wi-Fi not connecting? Restart your router and phone. If that fails, forget the network in Wi-Fi settings and reconnect by entering the password again.

Bluetooth issues? Turn Bluetooth off and on. If the problem persists, unpair all devices and pair them again.

Touchscreen unresponsive? Restart the device. If still unresponsive, check for software updates in Settings. Sometimes a screen protector can cause issues; try removing it.

Apps not downloading? Check your internet connection. If it’s stable, clear the Google Play Store cache. Go to Settings, then Apps, select Google Play Store, and tap "Clear Cache."

Notifications not showing? Ensure Do Not Disturb is off. Go to Settings, then Sound, and check Do Not Disturb settings. Also, check individual app notification settings.

Storage full? Use a file manager app to delete junk files. Move large files to an SD card or cloud storage. Regularly clear app caches to free up space.

Phone overheating? Avoid using it while charging. Close background apps and give the device a break. If it continues, check for software updates or consider a factory reset.

Key Points to Remember

Android localization is crucial for reaching a global audience. Focus on translating not just the text but also adapting cultural nuances. Use localization libraries and tools like Android Studio to streamline the process. Always test your app in different languages and regions to ensure everything works smoothly. Pay attention to date formats, currency, and units of measurement. Keep your code clean and organized to make future updates easier. Lastly, user feedback is invaluable. Listen to what users from different regions say and make necessary adjustments. This will help you create a more inclusive and user-friendly app.

How do I start localizing my Android app?

Begin with metadata and keyword localization. This helps your app get noticed in the App Store. Users are more likely to download an app if the metadata is in their language.

What parts of my app should I localize?

Focus on App Store metadata first. Then, move on to in-app content like menus, buttons, and help sections. Don’t forget about push notifications and customer support messages.

Do I need to hire a professional translator?

It’s a good idea to hire a professional translator for accuracy. Automated tools can miss context and nuances. A pro ensures your app makes sense in different languages.

How can I test my localized app?

Use beta testers who speak the target language. They can spot errors and give feedback on the user experience. Also, try emulators to see how the app looks in different languages.

What are common pitfalls in localization?

Watch out for text expansion. Some languages take up more space than others. Also, be mindful of cultural differences. Colors, icons, and phrases might not translate well.

How often should I update my localized content?

Update your localized content whenever you update your app. This keeps everything consistent and up-to-date. Regular updates also show users you care about their experience.

Is it worth localizing for smaller markets?

Yes, even smaller markets can bring in new users. Localized apps often see higher download rates and better user engagement. It’s a good way to grow your user base.

Was this page helpful?