Custom OS Download: How to Install and Use a Custom Operating System on Your Android Device

Android Versions
custom-os-download-how-to-install-and-use-a-custom-operating-system-on-your-android-device
Source: Geckoandfly.com

Introduction

Overview of Custom OS for Android

A custom OS for Android, often called a custom ROM, is a modified version of the Android operating system. Enthusiasts and developers create these custom ROMs to offer features and improvements not found in the stock OS. Users might want to install one to get more control over their device, access new features, or improve performance.

Benefits of Installing a Custom OS

Installing a custom OS can bring several advantages. It can enhance performance by removing bloatware and optimizing system resources. Users can also enjoy additional features like advanced theming, better battery management, and improved security.
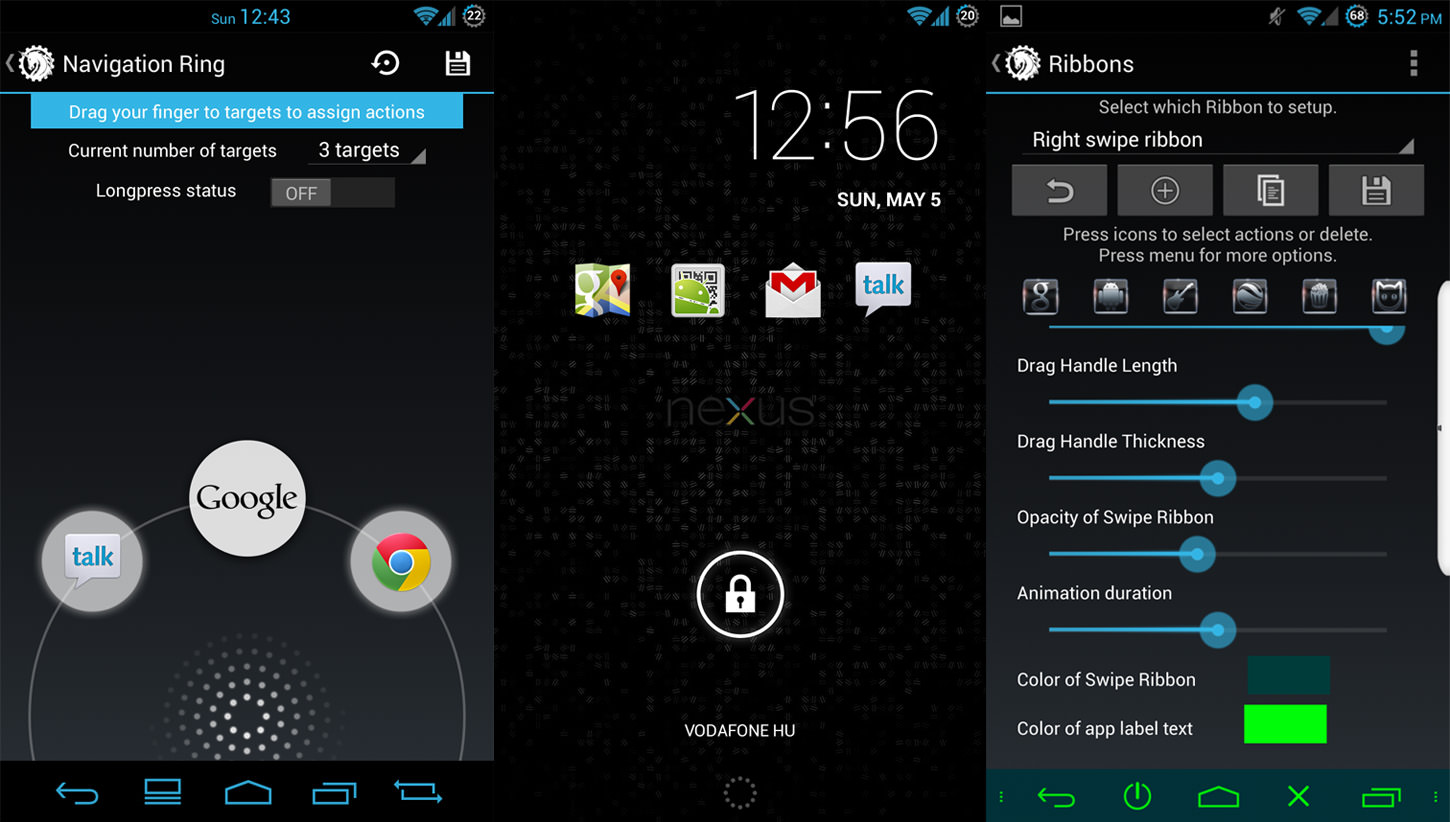
 Plus, custom ROMs offer extensive customization options, letting users tweak almost every aspect of their device's interface and functionality.

Key Takeaways:

  • Installing a custom OS on your Android can boost performance, add cool features, and let you customize your phone just the way you like it.
  • Always check if the custom OS is compatible with your device and back up your data to avoid losing important stuff.

Prerequisites

Compatibility Check

Before diving in, it's crucial to ensure the custom ROM is compatible with your device. Each ROM is designed for specific models, so using an incompatible one can lead to serious issues. Always double-check the ROM's compatibility with your device model and version.

Backup Your Data

Backing up all important data is a must. Installing a custom OS will wipe your device clean, so save everything you don't want to lose. Use cloud services, external storage, or backup apps to secure your contacts, photos, apps, and other essential data.

Tools and Software Needed

You'll need a few tools and software to get started. A USB cable for connecting your device to a computer is essential. You'll also need a computer with internet access to download the necessary files. Specific software like ADB (Android Debug Bridge) and Fastboot will be required for the installation process. Make sure you have everything ready before proceeding.

Preparing Your Device

Enabling Developer Options

First things first, you need to unlock Developer Options on your Android device. This hidden menu gives access to settings that are essential for installing a custom OS.

  1. Open Settings: Navigate to your device's settings.
  2. About Phone: Scroll down and tap on "About Phone."
  3. Build Number: Find the "Build Number" entry. Tap it seven times. You'll see a message saying, "You are now a developer!"

USB Debugging

Next, you need to enable USB Debugging. This allows your computer to communicate with your phone via a USB connection.

  1. Return to Settings: Go back to the main settings menu.
  2. Developer Options: Scroll down and tap on "Developer Options."
  3. USB Debugging: Find and toggle on "USB Debugging." Confirm any prompts that appear.

OEM Unlocking

Finally, you need to enable OEM Unlocking. This setting allows you to unlock the bootloader, which is crucial for installing a custom OS.

  1. Developer Options: Stay in the Developer Options menu.
  2. OEM Unlocking: Find and toggle on "OEM Unlocking." Confirm any warnings that pop up.

Unlocking the Bootloader

What is a Bootloader?

A bootloader is a program that loads the operating system when your device turns on. Unlocking it is necessary to install a custom OS, but it will erase all data on your device.

Steps to Unlock the Bootloader

  1. Backup Data: Ensure all important data is backed up.
  2. Connect Device: Use a USB cable to connect your phone to your computer.
  3. Open Command Prompt: On your computer, open a command prompt or terminal window.
  4. ADB and Fastboot: Ensure you have ADB and Fastboot installed on your computer.
  5. Reboot to Bootloader: Type adb reboot bootloader and press Enter.
  6. Unlock Command: Once in bootloader mode, type fastboot oem unlock and press Enter. Confirm on your device if prompted.
  7. Reboot: After the process completes, type fastboot reboot to restart your device.

Installing a Custom Recovery

What is a Custom Recovery?

A custom recovery is a special bootable partition that allows you to perform advanced recovery and maintenance operations on your Android device. Unlike the stock recovery that comes pre-installed, custom recoveries like TWRP (Team Win Recovery Project) offer a wide range of features. These include the ability to create full backups, restore backups, install custom ROMs, and more. Essentially, it gives you more control over your device's software.

Installing TWRP (Team Win Recovery Project)

To install TWRP, you'll first need to download the TWRP image file specific to your device. You can find this on the official TWRP website. Once downloaded, transfer the file to your computer. Next, you'll need to connect your device to your computer using a USB cable. Ensure USB debugging is enabled and your bootloader is unlocked.

Open a command prompt or terminal window on your computer and navigate to the directory where you saved the TWRP image file. Enter the following command to boot your device into fastboot mode:

bash
adb reboot bootloader

Once in fastboot mode, flash the TWRP image to your device with this command:

bash
fastboot flash recovery twrp.img

Replace "twrp.img" with the actual filename of the TWRP image you downloaded. After the flashing process completes, reboot your device:

bash
fastboot reboot

Your device should now boot into TWRP recovery. From here, you can perform various tasks, including flashing custom ROMs.

Flashing the Custom ROM

Downloading the Custom ROM

First, find a reliable source to download the custom ROM compatible with your device. Websites like XDA Developers often have a variety of ROMs available. Make sure to download the correct version for your specific model to avoid any issues.

Transferring the ROM to the Device

Once you've downloaded the custom ROM, connect your device to your computer using a USB cable. Transfer the ROM file to your device's internal storage or SD card. It's usually best to place it in the root directory for easy access.

Flashing the ROM Using Custom Recovery

Boot your device into TWRP recovery by holding the volume up and power buttons simultaneously. In TWRP, select "Wipe" and then "Advanced Wipe." Check the boxes for Dalvik/ART Cache, System, Data, and Cache. Swipe to confirm the wipe.

Next, return to the main menu and select "Install." Navigate to the location where you saved the custom ROM file and select it. Swipe to confirm the flash. The installation process may take a few minutes. Once completed, you may also need to flash GApps (Google Apps) if your custom ROM doesn't include them.

Installing GApps (Google Apps)

If your custom ROM doesn't come with Google Apps, you'll need to download a GApps package compatible with your ROM version. Transfer the GApps zip file to your device's storage. In TWRP, select "Install" again, navigate to the GApps zip file, and swipe to confirm the flash. After flashing, reboot your device.

Post-Installation Steps

Initial Setup

When your device reboots, you'll go through the initial setup process, similar to setting up a new phone. Follow the on-screen instructions to configure your Wi-Fi, Google account, and other settings.

Restoring Data

If you backed up your data before installing the custom ROM, now's the time to restore it. You can use TWRP to restore a backup if you created one, or use apps like Titanium Backup to restore individual apps and their data.

Troubleshooting Common Issues

Sometimes, things don't go as planned. If you encounter boot loops or other issues, try wiping the cache and Dalvik cache in TWRP. If problems persist, you may need to re-flash the ROM or restore a previous backup. Always ensure you're using compatible ROMs and GApps packages to minimize issues.

Wrapping Up

Installing a custom OS on your Android device can be a game-changer, offering enhanced performance, advanced features, and a high level of customization. By following the steps outlined, from checking compatibility and backing up data to unlocking the bootloader and flashing the custom ROM, you can transform your device into a personalized powerhouse. Just remember, it's crucial to proceed with caution, double-check everything, and keep backups handy. With the right tools and a bit of patience, you'll unlock your device's full potential in no time! So, dive in, experiment, and enjoy the endless possibilities a custom OS can offer.

Introduction to Custom OS for Android

This feature lets users install a custom operating system on their Android device. It replaces the stock OS with a customized version, offering more control and flexibility. Users can enhance performance, remove bloatware, and add unique features not available in the default OS. It also allows for personalized themes and advanced privacy settings.

What You Need and Device Compatibility

To install a custom operating system on your Android device, ensure your device meets these requirements:

  1. Root Access: Your device must be rooted. Rooting gives you full control over your device's software.
  2. Unlocked Bootloader: An unlocked bootloader is essential. It allows you to install custom ROMs.
  3. Custom Recovery: Install a custom recovery like TWRP or ClockworkMod. This software helps you flash the new OS.
  4. Battery Level: Ensure your device has at least 50% battery. A power failure during installation can brick your device.
  5. Backup: Always back up your current OS and data. Custom ROM installation can wipe your device.
  6. Storage Space: Ensure you have enough storage. Custom ROMs can be large files.
  7. Compatibility: Check if the custom OS supports your specific device model. Not all ROMs work on every device.
  8. USB Debugging: Enable USB debugging in Developer Options. This setting allows your computer to communicate with your device.
  9. Drivers: Install the necessary USB drivers on your computer. These drivers ensure proper communication between your device and computer.
  10. Fastboot and ADB: Install Fastboot and ADB tools on your computer. These tools are crucial for flashing the custom OS.

Meeting these requirements ensures a smooth installation process.

Steps to Install a Custom OS

  1. Backup your data. Use Google Drive or another cloud service.
  2. Enable Developer Options: Go to Settings > About Phone > Tap "Build Number" seven times.
  3. Activate USB Debugging: In Developer Options, toggle on USB Debugging.
  4. Unlock Bootloader: Visit your device manufacturer’s website for specific instructions. Usually involves connecting your phone to a PC and using specific commands.
  5. Download Custom Recovery: Get TWRP from their official site.
  6. Install ADB and Fastboot: Download from the Android developer website and install on your PC.
  7. Flash Custom Recovery: Connect your phone to the PC. Open Command Prompt, type adb reboot bootloader, then fastboot flash recovery [recovery.img].
  8. Reboot into Recovery Mode: Use the hardware buttons (usually Power + Volume Down).
  9. Wipe Data: In TWRP, go to Wipe > Advanced Wipe > Select Dalvik, Cache, System, Data > Swipe to confirm.
  10. Download Custom ROM: Get the ROM file from a trusted source like XDA Developers.
  11. Transfer ROM to Phone: Connect your phone to the PC and move the ROM file to your phone’s storage.
  12. Install Custom ROM: In TWRP, go to Install > Locate the ROM file > Swipe to confirm.
  13. Reboot System: After installation, go back to the main menu and select Reboot > System.
  14. Set Up Your Device: Follow the on-screen instructions to set up your new OS.

Done! Enjoy your custom Android experience.

Maximizing Your Custom OS Experience

Backup Your Data: Before installing a custom OS, save all important files. Use cloud storage or an external drive.

Research Compatibility: Ensure the custom OS supports your device model. Check forums and official websites.

Charge Your Device: Keep your device charged above 70%. A power failure during installation can brick your device.

Unlock Bootloader: Most custom OS installations require an unlocked bootloader. Follow the manufacturer’s instructions.

Download Necessary Files: Get the custom OS file and any required apps like Google Apps (GApps). Save them on your device.

Install a Custom Recovery: Use tools like TWRP (Team Win Recovery Project) to install a custom recovery. This helps in flashing the custom OS.

Follow Instructions: Each custom OS has specific installation steps. Read the instructions carefully.

Wipe Data: Perform a factory reset and wipe cache/dalvik cache through the custom recovery. This prevents conflicts with the new OS.

Flash the Custom OS: Use the custom recovery to install the custom OS file. Follow the prompts.

Install GApps: If needed, flash the GApps package right after the custom OS.

Reboot: Restart your device. The first boot may take longer than usual.

Set Up: Once booted, set up your device like a new phone. Restore your backed-up data.

Stay Updated: Regularly check for updates to the custom OS. Updates often fix bugs and improve performance.

Join Communities: Engage with online communities for your custom OS. They offer support and tips.

Monitor Performance: Keep an eye on battery life and app performance. Some custom OS versions may need tweaks.

Be Cautious: Avoid installing unverified custom OS versions. They can contain malware or cause instability.

Enjoy Customization: Explore the new features and customization options your custom OS offers.

Troubleshooting Common Problems

  1. Device Won't Boot After Installation:

    • Reboot into recovery mode.
    • Wipe cache and Dalvik cache.
    • Reinstall the custom OS.
  2. Battery Drains Quickly:

    • Check for background apps using too much power.
    • Lower screen brightness.
    • Disable unnecessary features like Bluetooth or GPS.
  3. Wi-Fi Not Connecting:

    • Forget the network and reconnect.
    • Reboot the router.
    • Check if the custom OS has Wi-Fi issues reported by other users.
  4. App Crashes Frequently:

    • Clear the app's cache.
    • Reinstall the app.
    • Ensure the app is compatible with the custom OS.
  5. Bluetooth Issues:

    • Toggle Bluetooth off and on.
    • Unpair and re-pair devices.
    • Check for updates to the custom OS.
  6. Slow Performance:

    • Clear cache and unnecessary files.
    • Limit background processes.
    • Consider a lighter custom OS if the device is old.
  7. Camera Not Working:

    • Check app permissions.
    • Try a different camera app.
    • Look for custom OS patches or updates.
  8. No Sound:

    • Check volume settings.
    • Ensure the device isn't in silent mode.
    • Reboot the device.
  9. Overheating:

    • Close unused apps.
    • Avoid using the device while charging.
    • Remove the case to allow better airflow.
  10. Custom OS Update Fails:

    • Ensure enough storage space.
    • Download the update again.
    • Flash the update manually through recovery mode.

Keeping Your Custom OS Secure

Using a custom OS can boost security and privacy if done right. Always download from trusted sources to avoid malware. Custom ROMs often get frequent updates which patch vulnerabilities faster than stock versions.

Encrypt your device to protect data in case of theft. Use a VPN to keep your internet activity private. Avoid installing apps from unknown sources; they can be risky.

Check app permissions regularly. Some apps ask for more access than they need. Use two-factor authentication for added security on your accounts.

Backup your data often. This ensures you don’t lose important information if something goes wrong. Finally, keep your bootloader locked unless you need it unlocked for specific tasks. This prevents unauthorized changes to your system.

Comparing Custom OS Options

Pros of Custom OS on Android:

  • Customization: Custom ROMs like LineageOS offer more personalization options than stock Android or iOS.
  • Performance: Often faster and more efficient, similar to how a clean Windows install can speed up a PC.
  • Updates: Regular updates from the community, unlike some manufacturers who stop updates after a few years.
  • Privacy: Enhanced privacy features, much like Apple's focus on user privacy.

Cons of Custom OS on Android:

  • Complexity: Installation can be tricky, unlike the straightforward updates on iOS.
  • Warranty: May void the device warranty, unlike official updates.
  • Stability: Can be less stable, similar to beta software on any platform.
  • Support: Limited official support, unlike the extensive support from Apple or Google for their stock OS.

Alternatives:

  • Stock Android: Offers a clean experience with regular updates, similar to iOS.
  • iOS: Known for stability and ease of use, though less customizable.
  • Windows Phone: Limited app support but offers a unique interface and integration with Windows PCs.
  • Ubuntu Touch: Open-source and privacy-focused, similar to custom ROMs but with a different ecosystem.

  1. Device Won't Boot After Installation:

    • Reboot into recovery mode.
    • Wipe cache and Dalvik cache.
    • Reinstall the custom OS.
  2. Battery Drains Quickly:

    • Check for background apps using too much power.
    • Lower screen brightness.
    • Disable unnecessary features like Bluetooth or GPS.
  3. Wi-Fi Not Connecting:

    • Forget the network and reconnect.
    • Reboot the router.
    • Check if the custom OS has Wi-Fi issues reported by other users.
  4. App Crashes Frequently:

    • Clear the app's cache.
    • Reinstall the app.
    • Ensure the app is compatible with the custom OS.
  5. Bluetooth Issues:

    • Toggle Bluetooth off and on.
    • Unpair and re-pair devices.
    • Check for updates to the custom OS.
  6. Slow Performance:

    • Clear cache and unnecessary files.
    • Limit background processes.
    • Consider a lighter custom OS if the device is old.
  7. Camera Not Working:

    • Check app permissions.
    • Try a different camera app.
    • Look for custom OS patches or updates.
  8. No Sound:

    • Check volume settings.
    • Ensure the device isn't in silent mode.
    • Reboot the device.
  9. Overheating:

    • Close unused apps.
    • Avoid using the device while charging.
    • Remove the case to allow better airflow.
  10. Custom OS Update Fails:

    • Ensure enough storage space.
    • Download the update again.
    • Flash the update manually through recovery mode.

Installing a Custom OS

Installing a custom OS on your Android device can breathe new life into your phone. It offers enhanced features, better performance, and more control over your device. Remember to back up your data before starting. Follow the steps carefully: unlock the bootloader, install a custom recovery, and then flash the new OS. Each step is crucial for a smooth transition.

If you run into issues, forums and online communities can be a big help. They offer solutions and advice from people who've done it before. Always double-check compatibility with your specific device model to avoid bricking your phone.

In the end, a custom OS can make your Android experience more enjoyable and tailored to your needs. Just take your time, follow the steps, and enjoy the new features and improvements.

Can I change the OS of my Android phone?

Yes, you can change the OS of your Android phone by installing a custom ROM. Just make sure the custom ROM is compatible with your device.

What is a custom OS for Android?

A custom OS is a version of the operating system built with specific goals in mind. It can offer features and optimizations not found in the stock OS.

How do I install a custom OS on my Android device?

To install a custom OS, you'll need to unlock the bootloader of your device. Then, you can flash the custom ROM using tools like TWRP Recovery.

Is it safe to install a custom OS on my Android phone?

Installing a custom OS can be safe if you follow instructions carefully and use a reputable ROM. However, it can void your warranty and may cause issues if not done correctly.

Will installing a custom OS delete my data?

Yes, installing a custom OS usually wipes your data. Always back up your important files before proceeding.

Can I go back to the original OS after installing a custom OS?

Yes, you can revert to the original OS by flashing the stock firmware. Make sure to download the correct firmware for your device model.

What are some popular custom ROMs for Android?

Some popular custom ROMs include LineageOS, Pixel Experience, and Resurrection Remix. Each offers unique features and optimizations.

Was this page helpful?