
Why Data Transfer Matters
Switching to a new phone can be exciting, but transferring data correctly is crucial to avoid losing important information. Whether upgrading to a newer model or switching brands, ensuring contacts, photos, messages, and apps transfer seamlessly is essential. Here are some reasons why data transfer matters:
- Personal Data: Contacts, photos, and messages contain personal information you don't want to lose.
- App Data: Many apps store data locally or in the cloud, and transferring this data ensures continued use without issues.
- Customization: Custom settings and configurations can be time-consuming to set up again, so transferring them saves time and effort.
Pros of Phone Data Transfer
Modern phones often come with built-in tools designed to make data transfer simple and efficient. Here are some key advantages:
Ease of Use
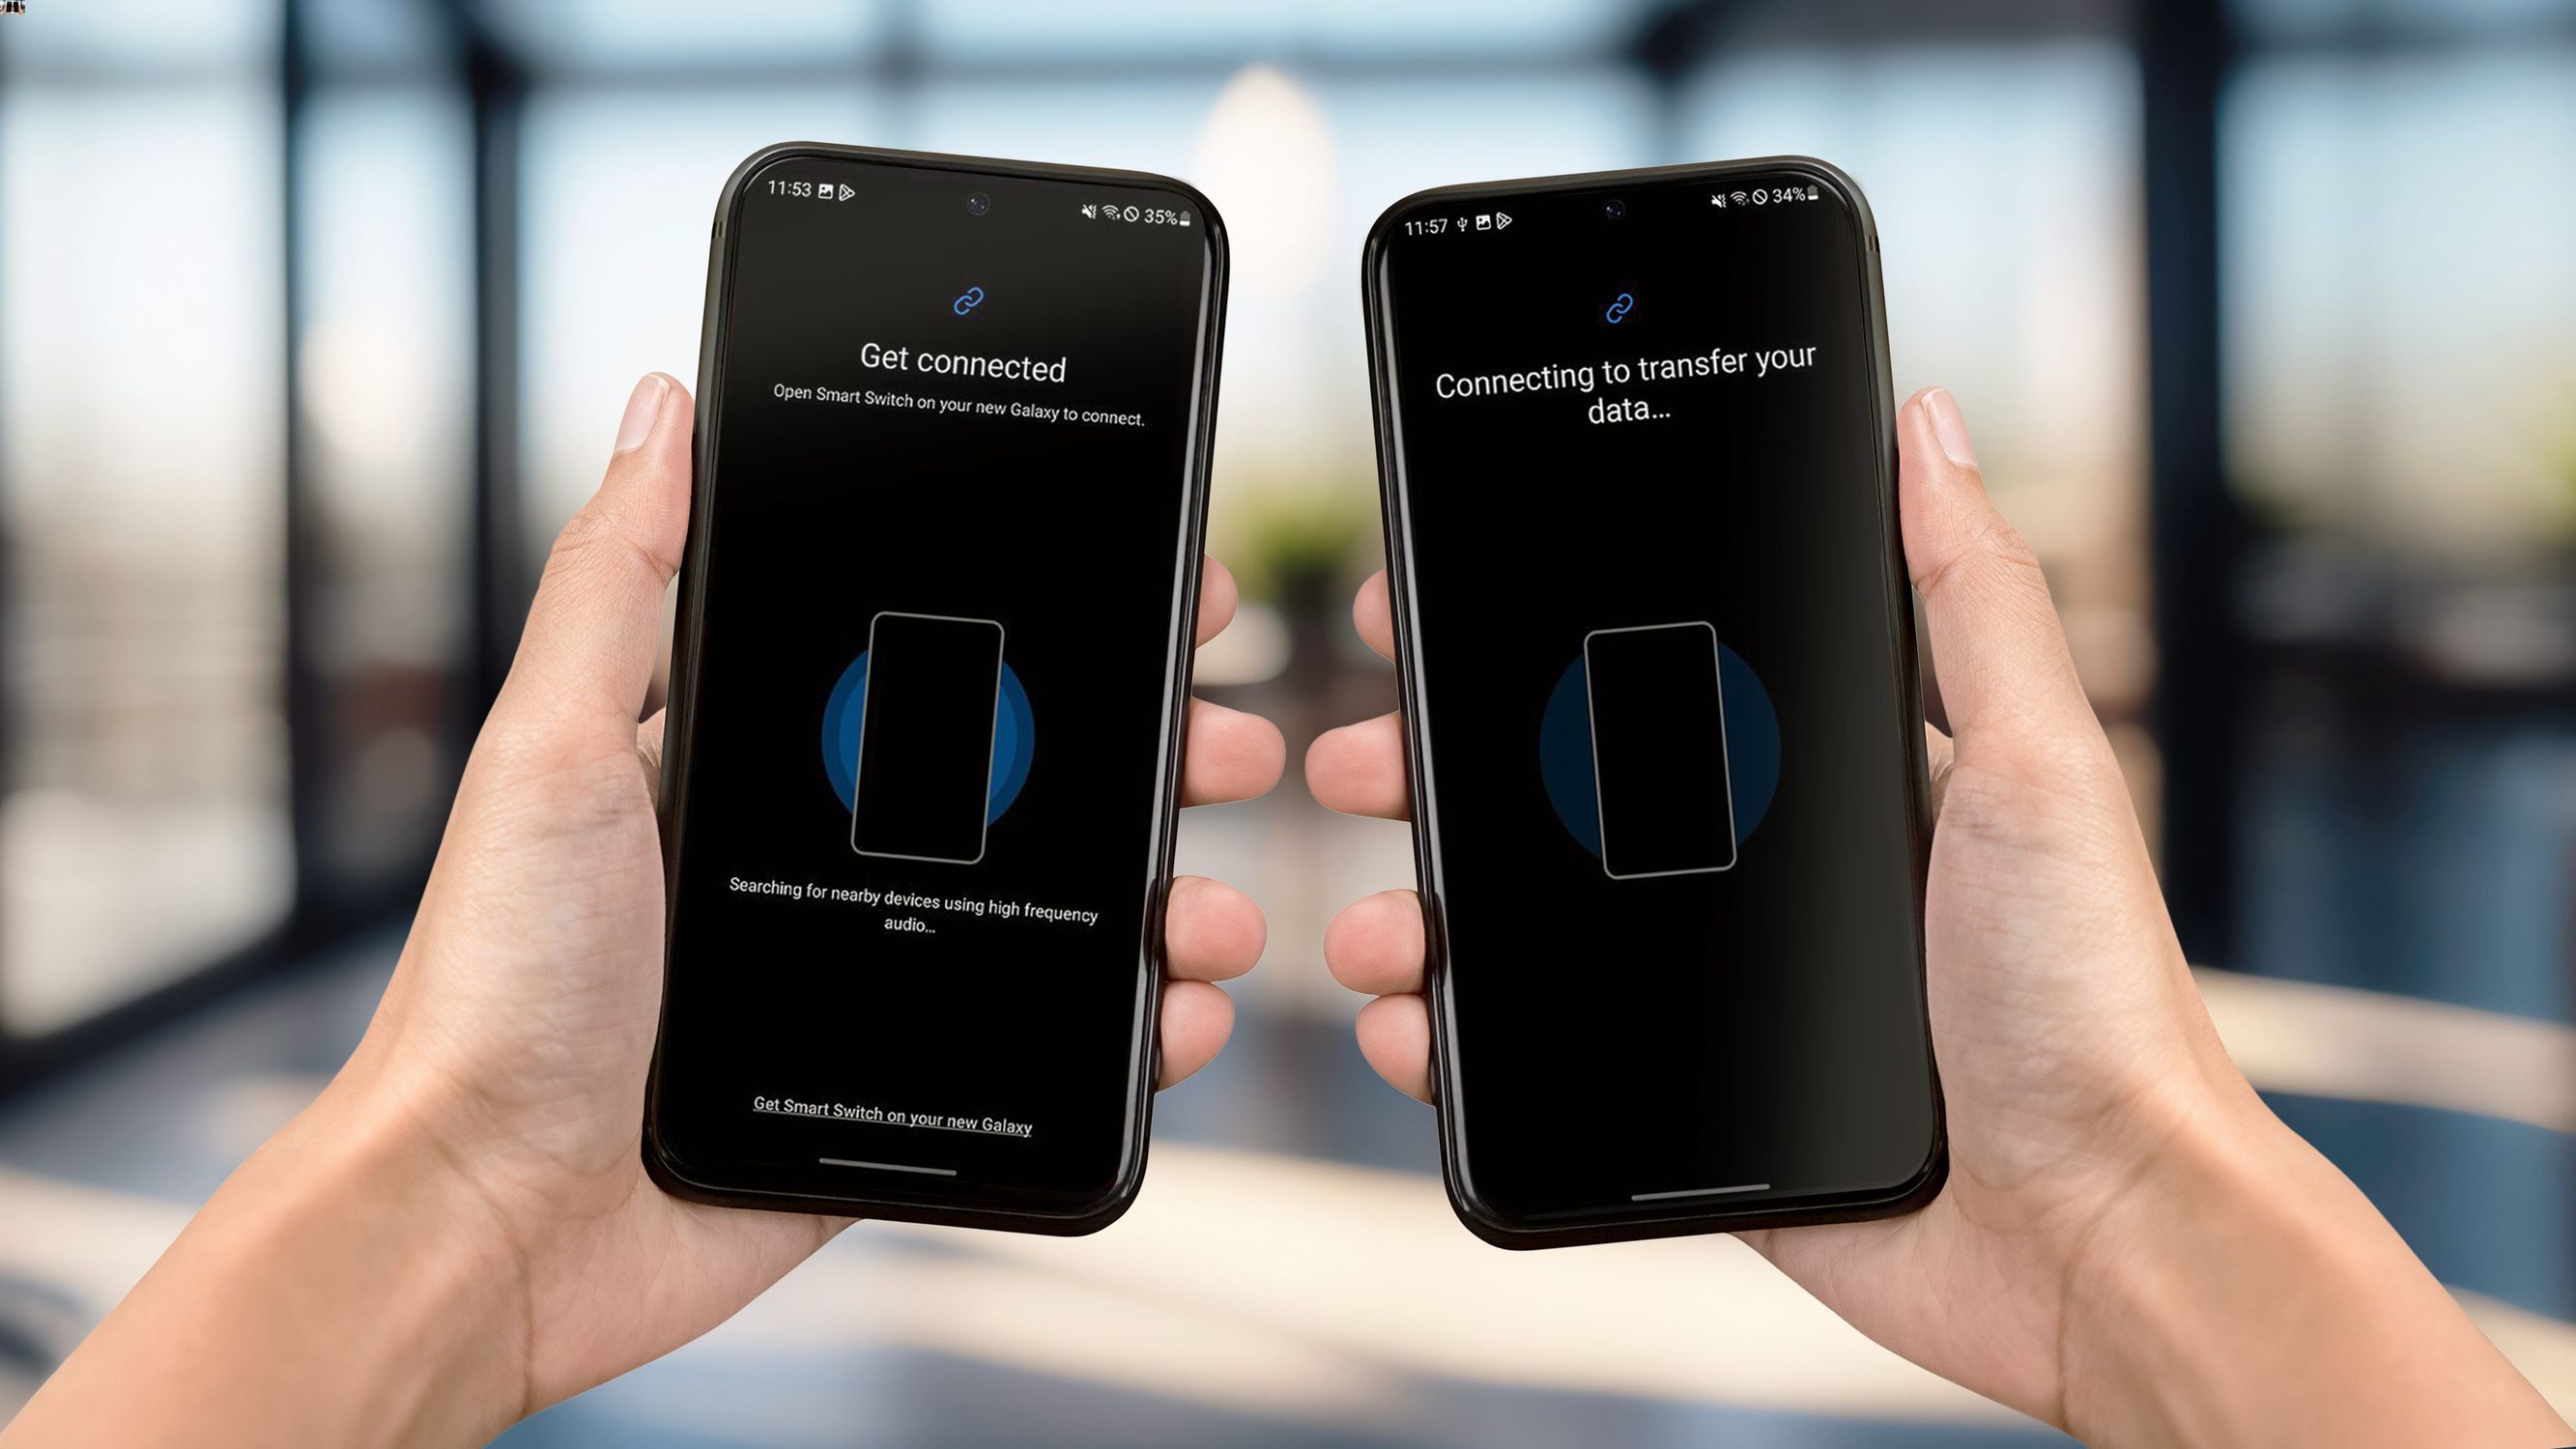
Modern smartphones have made data transfer incredibly easy. Tools like Apple's Quick Start and Samsung's Smart Switch guide you through the process step-by-step, ensuring no crucial steps are missed.
Speed
Using Wi-Fi or direct cable connections can transfer large amounts of data quickly. This is particularly useful when dealing with high-resolution photos or extensive contact lists. A stable Wi-Fi network significantly speeds up the process.
Compatibility
Many tools support cross-platform transfers, allowing data movement from iOS to Android or vice versa. This means switching between different operating systems without worrying about compatibility issues.
Cons of Phone Data Transfer
While data transfer is generally straightforward, some potential pitfalls exist:
Data Loss Risk
Sometimes, not all data transfers correctly, leading to potential loss. This can happen due to incomplete backups or corrupted files during the transfer process.
Security Concerns
Transferring data over unsecured networks can expose personal information. Ensuring both devices are connected to a secure network is crucial to avoid any security breaches.
App Limitations
Some apps may not transfer data seamlessly, requiring manual setup. This can be frustrating if dealing with multiple apps needing re-configuration after the transfer.
Alternatives to Built-in Tools
While built-in tools like Samsung Smart Switch and Apple's Move to iOS are excellent options, other alternatives exist:
Cloud Services
Cloud services like Google Drive, iCloud, and OneDrive offer cloud storage solutions that provide automatic backups and easy access across devices. Here’s how to use them:
-
Backup Your Old Phone:
- Connect your old phone to the cloud service.
- Select the data you want to backup (e.g., contacts, photos, messages).
- Start the backup process.
-
Restore on New Phone:
- Connect your new phone to the same cloud service.
- Log in with your account credentials.
- Restore the backed-up data onto your new phone.
Using cloud services simplifies the process and ensures data is secure and easily accessible.
Manual Transfer via USB
For those preferring a more secure method but willing to put in extra effort, manually transferring files via USB can be an option:
-
Connect Devices:
- Use a USB cable to connect both phones.
- Enable USB debugging on both devices if prompted.
-
Transfer Files:
- Use file explorer apps like ES File Explorer or Solid Explorer on both phones.
- Select the files you want to transfer and copy them from one device's storage to another.
This method is more secure than wireless transfers but requires more effort and time.
Third-Party Apps
Third-party apps like SHAREit and Xender offer wireless transfer options that work across different platforms and are often faster than Bluetooth:
-
Download App:
- Download SHAREit or Xender on both phones.
-
Connect Devices:
- Open the app on both phones and follow the on-screen instructions to connect them.
-
Transfer Files:
- Select the files you want to transfer and start the transfer process.
These apps are convenient but may have limitations depending on the type of data being transferred.
Steps for Effortless Data Transfer
Now that we've discussed the various methods for transferring data between Android phones, let's go through each step in detail:
Using Built-in Tools
-
Prepare Both Devices:
- Ensure both devices have at least 20% battery life.
- Turn off any unnecessary apps and background services.
-
Connect Devices:
- If using a cable, connect both phones using a USB cable.
- If using Wi-Fi, ensure both devices are connected to the same network.
-
Start Transfer Process:
- Open Samsung Smart Switch or Apple's Move to iOS on your old phone.
- Follow the on-screen instructions to select the data you want to transfer (e.g., contacts, photos, messages).
- Start the transfer process.
-
Monitor Progress:
- The transfer process will display a progress bar indicating how much data has been transferred.
- Ensure both devices remain connected throughout the process.
-
Complete Transfer:
- Once the transfer is complete, disconnect both devices.
- Verify that all selected data has been transferred successfully.
Using Cloud Services
-
Backup Old Phone:
- Connect your old phone to Google Drive or iCloud.
- Select the data you want to backup (e.g., contacts, photos, messages).
- Start the backup process.
-
Restore on New Phone:
- Connect your new phone to Google Drive or iCloud.
- Log in with your account credentials.
- Restore the backed-up data onto your new phone.
-
Verify Data Transfer:
- Check that all backed-up data has been restored correctly on your new phone.
Manual Transfer via USB
-
Connect Devices:
- Use a USB cable to connect both phones.
- Enable USB debugging on both devices if prompted.
-
Transfer Files:
- Use file explorer apps like ES File Explorer or Solid Explorer on both phones.
- Select the files you want to transfer and copy them from one device's storage to another.
-
Verify Data Transfer:
- Check that all selected files have been transferred correctly from one device's storage to another.
Using Third-Party Apps
-
Download App:
- Download SHAREit or Xender on both phones.
-
Connect Devices:
- Open the app on both phones and follow the on-screen instructions to connect them.
-
Transfer Files:
- Select the files you want to transfer and start the transfer process.
-
Verify Data Transfer:
- Check that all selected files have been transferred correctly using the third-party app.
Common Issues During Data Transfer
While data transfer is generally smooth, some common issues might be encountered:
Interrupted Transfer
If your data transfer gets interrupted, restart the process:
-
Restart Transfer Process:
- Disconnect both devices if using a cable or Wi-Fi.
- Reconnect both devices and restart the transfer process from scratch.
-
Ensure Battery Life:
- Ensure both devices have enough battery life during the transfer process.
-
Stable Network Connection:
- Ensure both devices are connected to a stable network connection for wireless transfers.
Data Loss
If you encounter data loss during the transfer process:
-
Check Backup Files:
- Verify if you have backed up your data using cloud services or manual methods.
-
Restore from Backup:
- Restore your backed-up data onto your new phone using cloud services or manual methods.
-
Re-transfer Data:
- Re-transfer any missing data using built-in tools, cloud services, or third-party apps.
Transferring data between Android phones doesn't have to be a headache. With the right tools and a bit of planning, you can ensure that all your important data is transferred seamlessly to your new device. Whether you use built-in tools like Samsung Smart Switch or Apple's Move to iOS, cloud services like Google Drive or iCloud, manual transfer via USB cables, or third-party apps like SHAREit and Xender—each method has its own advantages and disadvantages.
Always back up your data before starting the transfer process to avoid any mishaps. Ensure both devices have enough battery life and are connected to a stable network connection for smooth transfers. By following these steps and tips outlined in this article, you'll be able to transfer all your contacts, photos, messages, and apps effortlessly onto your new Android phone.