Introduction
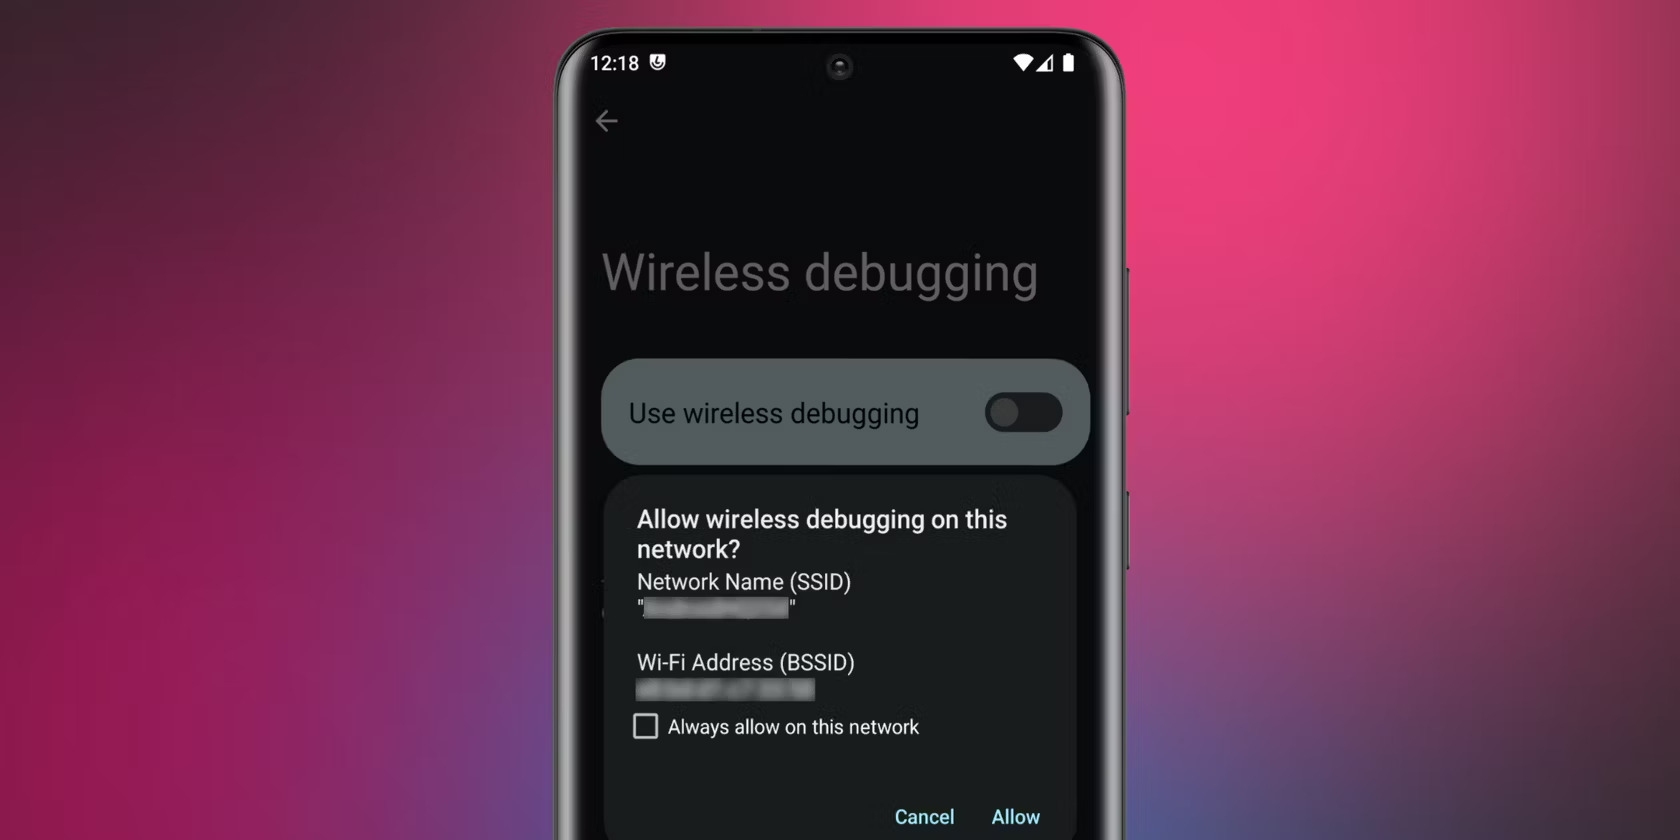
Wireless debugging is a powerful tool for Android developers, allowing connection and debugging of applications on physical devices without a USB cable. This method is particularly useful when dealing with devices that have occupied or unavailable USB ports or when preferring the convenience of a wireless connection. This comprehensive guide will walk you through the steps to set up and use wireless debugging on any Android device, ensuring a smoother and more efficient development workflow.
Prerequisites
Before diving into the setup process, ensure you have the necessary tools and settings enabled on both your Android device and your development machine.
Enable Developer Options
- Open the Settings app.
- Navigate to "About phone" or "About tablet."
- Tap the "Build number" seven times to unlock Developer Options.
Enable USB Debugging
- Go to Developer Options.
- Enable USB Debugging.
Connect to a Wi-Fi Network
Ensure both your Android device and your development machine are connected to the same Wi-Fi network.
Setting Up ADB
The Android Debug Bridge (ADB) is crucial for communicating with Android devices over a network.
Install ADB
-
Download ADB as part of the Android Studio package or as a standalone SDK tool.
-
Set the ADB path in your environment. For Windows:
bash
set PATH=%PATH%;C:\path\to\platform-toolsReplace
C:\path\to\platform-toolswith the actual installation path.
Enable ADB over TCP/IP
-
Open a terminal or command prompt.
-
Execute:
bash
adb tcpip 5555 -
Disconnect the USB cable.
Finding the IP Address of Your Device
For Devices Prior to Android Oreo
- Navigate to Settings > About tablet > Status > IP address.
For Devices Running Android Oreo or Later
- Go to Settings > Wi-Fi > [Your network] > IP address.
Connecting to Your Device Wirelessly
-
Open a terminal or command prompt.
-
Run:
bash
adb connect #.#.#.#:5555Replace
#.#.#.#with your device’s IP address.
Steps for Wireless Debugging
Steps to Pair Below Android 11
-
Enable USB Debugging.
-
Pair the device using ADB:
bash
adb tcpip 5555
adb connect 192.168.1.10:5555Replace
192.168.1.10with your device IP address. -
Verify the connection with:
bash
adb devices
Steps to Pair Android 11 and Above
-
Enable Wireless Debugging:
- Go to Device Settings | Developer Options.
- Enable Wireless Debugging.
- Click Pair Device with Pairing Code.
-
Pair the device with the pairing code:
bash
adb pair 192.168.1.10:47539Replace
192.168.1.10with your device IP address and47539with your device port. -
Connect wirelessly:
bash
adb connect 192.168.1.10:47539Verify the connection with:
bash
adb devices
Creating a One-Click Wireless Connection in Android Studio
- Go to File > Settings > Tools > External Tools.
- Create a new tool with the path to your ADB executable and the necessary commands.
- Save the tool and access it via Tools > External Tools > Android Over Wifi.
- Enter your device’s IP address when prompted.
Integrating Repeato for Streamlined Testing
Integrate your workflow with a robust testing tool like Repeato. Repeato supports iOS and Android, allowing you to create, run, and maintain automated tests for your apps with ease. Repeato’s use of computer vision and AI eliminates the need for coding tests, making it a perfect match for developers who want to quickly edit and run tests on various app frameworks.
Troubleshooting Tips
Connection Issues
If your device is unable to connect, try resetting the ADB server with:
bash
adb kill-server
Multiple Devices
Connect to multiple devices by running the adb connect command for each device separately.
Data Transfer Speed
Data transfer speed depends on your device bandwidth. If experiencing slow speeds, consider using a wired connection or optimizing your Wi-Fi network.
Final Thoughts
Wireless debugging is a game-changer for Android app development, offering flexibility and convenience. With these simple steps, you can set up wireless debugging on any Android smartphone, making your development workflow smoother and more efficient. Happy coding!
