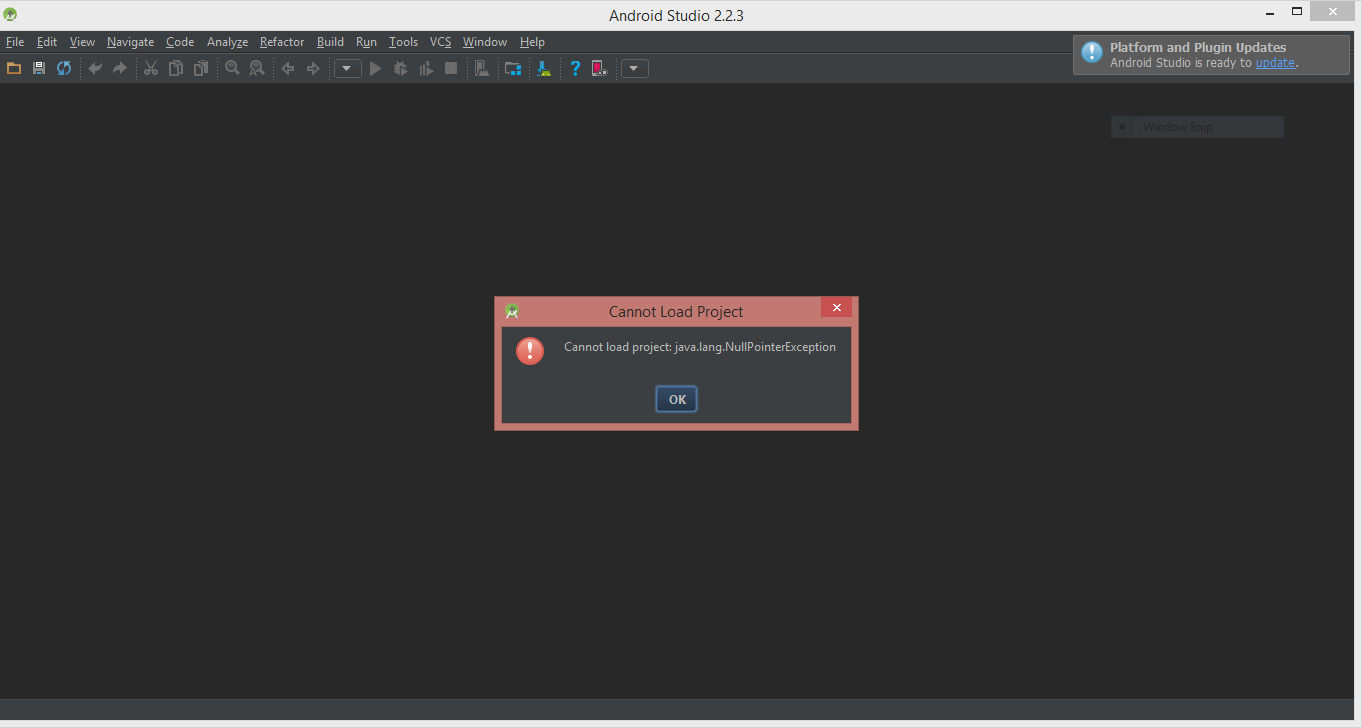
Android Studio: Fixing NullPointerException

Android Studio
android-studio-fixing-nullpointerexception
Source: Stackoverflow.com

Understanding NullPointerException

What is NullPointerException?

A NullPointerException (NPE) is an error that occurs in Java and Android development when a program tries to use an object reference that hasn't been initialized. This means the reference points to null instead of an actual object. It's like trying to call someone on a phone that isn't connected to any network. NPEs are significant because they can crash your app if not handled properly.

Common Causes of NullPointerException

NPEs often happen when you try to call a method or access a property on a null object. For example, if you have a variable that should hold a string but it's null, and you try to call .length() on it, you'll get an NPE. Other common scenarios include accessing array elements that haven't been initialized or using objects that haven't been properly assigned.

Impact on Android Applications

In Android apps, NPEs can be particularly troublesome. They can cause your app to crash, leading to a poor user experience. Imagine you're using an app, and suddenly it stops working because of an NPE. This not only frustrates users but can also lead to bad reviews and a loss of trust in your app's reliability.

Key Takeaways:

  • NullPointerExceptions happen when your app tries to use something that isn't there, like calling someone on a phone with no signal. They can crash your app if not fixed.
  • To avoid these crashes, always check if something is there before using it, and use tools like Logcat in Android Studio to find and fix problems quickly.

Identifying NullPointerException

Using Logcat

Logcat in Android Studio is a powerful tool for identifying NPEs. When your app crashes, Logcat displays error messages that can help you pinpoint where the NPE occurred. By filtering the logs for "NullPointerException," you can quickly find the exact line of code causing the issue. This makes it easier to debug and fix the problem.

Setting Breakpoints

Setting breakpoints in your code is another effective way to debug NPEs. By pausing the execution at specific lines, you can inspect the state of your variables and objects. This helps you understand why a particular reference is null and allows you to trace the flow of your program to find the root cause of the NPE.

Preventing NullPointerException

Null Checks

Null checks are like safety nets in your code. They help you avoid those pesky NullPointerExceptions by ensuring that an object isn't null before you try to use it. Here's a simple example:

java
if (myObject != null) {
myObject.doSomething();
}

By adding this check, you make sure that myObject isn't null before calling doSomething(). This can save you from unexpected crashes and make your code more reliable.

Using Optional Class

Java's Optional class is a powerful tool for handling null values. It wraps your object and provides methods to check for and handle nulls gracefully. Here's how you can use it:

java
Optional optionalString = Optional.ofNullable(possibleNullString);
optionalString.ifPresent(s -> System.out.println(s));

In this example, ifPresent only runs if possibleNullString isn't null. This way, you avoid the risk of a NullPointerException and make your code cleaner and more readable.

SmartCast in Kotlin

Kotlin has a nifty feature called SmartCast that helps you avoid NullPointerExceptions. When you check if a variable is not null, Kotlin automatically casts it to a non-null type within that scope. Check this out:

kotlin
val myString: String? = "Hello"
if (myString != null) {
println(myString.length) // SmartCast to non-null String
}

Here, once you check that myString isn't null, Kotlin treats it as a non-null String inside the if block. This reduces the need for explicit casts and makes your code safer.

Handling NullPointerException

Try-Catch Blocks

Using try-catch blocks is a straightforward way to handle NullPointerExceptions. When you wrap your code in a try-catch block, you can catch the exception and handle it gracefully. Here's an example:

java
try {
myObject.doSomething();
} catch (NullPointerException e) {
System.out.println("Caught a NullPointerException!");
}

This way, even if myObject is null, your program won't crash. Instead, it will print a message and continue running.

Using the Elvis Operator

Kotlin's Elvis operator (?:) is a handy tool for providing default values when dealing with nullable types. It works like this:

kotlin
val length = myString?.length ?: 0

In this example, if myString is null, length will be set to 0. Otherwise, it will be set to the length of myString. This operator helps you avoid NullPointerExceptions by ensuring that you always have a valid value.

Fixing NullPointerException in Android Studio

Analyzing Stack Trace

When your app crashes with a NullPointerException, the stack trace is your best friend. It shows the exact line where the error happened. Open Logcat in Android Studio and look for the red text indicating the crash. The stack trace will list the sequence of method calls leading up to the crash. The last line before the exception message points to the problematic code. By examining this line, you can identify which object was null and why.

Refactoring Code

Refactoring your code can significantly reduce the chances of encountering a NullPointerException. Start by organizing your code into smaller, manageable methods. This makes it easier to spot potential null references. Use meaningful variable names to make your code more readable. Implement design patterns like the Null Object pattern, which provides a default behavior instead of using null. Regularly review and clean up your code to eliminate redundant or risky null checks.

Using Annotations

Annotations like @Nullable and @NonNull are powerful tools for preventing NullPointerException. By marking a variable or method parameter with @NonNull, you indicate that it should never be null. If a null value is passed, the IDE will warn you. Conversely, @Nullable indicates that a variable can be null, prompting you to handle it appropriately. These annotations improve code readability and help catch potential null issues during development.

Advanced Debugging Techniques

Memory Analysis

Memory analysis tools in Android Studio can help detect potential null references. Use the Memory Profiler to monitor your app's memory usage. Look for objects that should have been initialized but aren't. The profiler can also help identify memory leaks, which might lead to unexpected null references. By analyzing memory usage patterns, you can pinpoint areas where null values might occur and address them proactively.

Unit Testing

Unit testing plays a crucial role in catching NullPointerException before runtime. Write tests for your methods to ensure they handle null values correctly. Use frameworks like JUnit and Mockito to create test cases that simulate different scenarios. By running these tests regularly, you can catch null-related issues early in the development process. This not only improves code quality but also boosts your confidence in the app's stability.

Static Code Analysis

Static code analysis tools can identify null reference issues during development. Tools like Lint and SonarQube analyze your code for potential problems, including null references. They provide detailed reports highlighting risky code sections. By integrating these tools into your development workflow, you can catch null-related issues before they become runtime problems. This proactive approach ensures your code remains robust and null-safe.

The Tech Takeaway

Handling NullPointerExceptions is crucial for smooth-running apps. These pesky errors can crash programs if not managed properly. By using tools like Logcat and breakpoints in Android Studio, developers can quickly identify where things went south. Proactive measures like null checks, using Optional classes in Java, and SmartCast in Kotlin help prevent these issues. When things go awry, try-catch blocks and Kotlin's Elvis operator offer safety nets. Advanced techniques like stack trace analysis, code refactoring, and leveraging annotations further bolster code reliability. Memory analysis, unit testing, and static code analysis also play pivotal roles in maintaining a robust, error-free application. In the end, a mix of good coding practices and handy debugging tools keeps apps running smoothly and users happy.

Understanding NullPointerException in Android Studio

This feature in Android Studio helps developers identify and resolve NullPointerExceptions. It scans the code, highlights potential null references, and suggests fixes. By integrating nullability annotations, it ensures safer code. The tool also provides real-time feedback during coding, reducing runtime errors.

Necessary Tools and System Requirements

To ensure your device supports this feature, check the following requirements and compatibility details:

  1. Operating System: Your device must run Android 5.0 (Lollipop) or higher. Older versions won't support the latest features.
  2. RAM: At least 2GB of RAM is necessary for smooth performance. Devices with less memory might experience lag or crashes.
  3. Processor: A quad-core processor or better is recommended. Dual-core processors may struggle with intensive tasks.
  4. Storage: Ensure you have at least 500MB of free storage. This space is needed for installation and updates.
  5. Screen Resolution: A minimum resolution of 720p (1280x720 pixels) is required. Lower resolutions might not display the interface correctly.
  6. Bluetooth: If the feature involves connectivity, your device should support Bluetooth 4.0 or higher.
  7. Internet Connection: A stable Wi-Fi or 4G connection is essential for features requiring online access.
  8. Permissions: Grant necessary permissions like location, camera, and microphone access. Without these, some functionalities may not work.
  9. Google Play Services: Ensure the latest version of Google Play Services is installed. This is crucial for compatibility and updates.

Check these details to confirm your device supports the feature.

Initial Setup for Android Studio

  1. Open Android Studio: Launch the program on your computer.

  2. Open Your Project: Navigate to "File" then "Open" and select your project.

  3. Locate the Problematic Code: Find the line where the NullPointerException occurs. Usually, the error log will point you to the exact line.

  4. Check for Null Values: Identify the variable that might be null. For example, if myObject.method() throws the error, myObject is likely null.

  5. Add Null Checks: Before using the variable, check if it’s null. Use: java if (myObject != null) { myObject.method(); }

  6. Initialize Variables: Ensure all variables are properly initialized. For example: java MyClass myObject = new MyClass();

  7. Use Optional: For more advanced handling, use Optional: java Optional.ofNullable(myObject).ifPresent(obj -> obj.method());

  8. Debugging: Run your application in debug mode. Set breakpoints to inspect variable values at runtime.

  9. Test Your Changes: After making changes, run your application to ensure the NullPointerException is resolved.

  10. Review and Refactor: Look through your code for other potential null issues and apply similar fixes.

  11. Commit Changes: Save your work and commit changes to your version control system.

  12. Document Your Fix: Add comments or documentation explaining why the null check was necessary.

Best Practices for Avoiding NullPointerException

NullPointerException can be a real headache. Here’s how to handle it:

  1. Check for Nulls: Always check if an object is null before using it. Use if (object != null) to avoid crashes.
  2. Initialize Variables: Ensure all variables are properly initialized. For example, String name = ""; instead of String name;.
  3. Use Optional: Java 8 introduced Optional to handle nulls more gracefully. Use Optional.ofNullable(object).orElse(defaultValue).
  4. Annotations: Use @Nullable and @NonNull annotations to indicate which variables can be null.
  5. Logging: Add logs to track where the null value might be coming from. Log.d("TAG", "Variable is null"); helps in debugging.
  6. Try-Catch Block: Use try-catch blocks to handle exceptions gracefully. try { // code } catch (NullPointerException e) { // handle exception }.
  7. Unit Tests: Write unit tests to check for null values. assertNotNull(object) ensures your code handles nulls properly.
  8. Default Values: Provide default values for variables that might be null. String name = (object != null) ? object.getName() : "Default";.
  9. Avoid Chaining: Avoid chaining methods on objects that might be null. Instead of object.getName().toUpperCase(), use if (object != null) { object.getName().toUpperCase(); }.
  10. Use IDE Warnings: Pay attention to IDE warnings about potential null pointer issues. Android Studio often highlights risky code.

By following these tips, you can minimize the risk of encountering NullPointerException in your Android projects.

Troubleshooting Frequent Errors

NullPointerException happens when your code tries to use an object that hasn't been initialized. To fix this, first check if the object is null before using it. Use if (object != null) to avoid the error. Another way is to initialize the object properly before using it. For example, String text = ""; instead of String text;. Also, use tools like Android Studio's debugger to find where the null value is coming from. This helps you trace the problem and fix it at the source.

Protecting Your Code and Data

Using this feature, user data is handled with utmost care. Data is encrypted during transmission, ensuring it remains secure from prying eyes. To maintain privacy, always update your device's software. Regular updates often include security patches that protect against new threats. Avoid using public Wi-Fi for sensitive activities. Instead, use a VPN to add an extra layer of security. Strong passwords are crucial; use a mix of letters, numbers, and symbols. Enable two-factor authentication for an added layer of protection. Be cautious about app permissions; only grant access to what’s necessary. Regularly review and revoke permissions for apps you no longer use.

Comparing Other IDEs and Tools

Android Studio:

Pros:

  • Integrated development environment (IDE) specifically for Android.
  • Built-in emulator for testing apps.
  • Strong support for Kotlin and Java.
  • Extensive debugging tools.

Cons:

  • Can be resource-intensive.
  • Steep learning curve for beginners.
  • Sometimes slow to build and run projects.

Alternatives:

Xcode (for iOS):

  • Pros: Optimized for Apple devices, Swift and Objective-C support, robust simulator.
  • Cons: Only available on macOS, limited to Apple ecosystem.

Visual Studio Code:

  • Pros: Lightweight, supports multiple languages, customizable with extensions.
  • Cons: Requires additional setup for mobile development, not as specialized for Android.

IntelliJ IDEA:

  • Pros: Powerful code editor, supports many languages, good for cross-platform development.
  • Cons: Not as tailored for Android as Android Studio, can be expensive for the ultimate edition.

Eclipse with ADT Plugin:

  • Pros: Familiar to many developers, supports multiple languages, open-source.
  • Cons: Less support for newer Android features, more manual setup required.

React Native:

  • Pros: Cross-platform development, uses JavaScript, large community support.
  • Cons: Performance may not match native apps, requires knowledge of both React and native development.

NullPointerException happens when your code tries to use an object that hasn't been initialized. To fix this, first check if the object is null before using it. Use if (object != null) to avoid the error. Another way is to initialize the object properly before using it. For example, String text = ""; instead of String text;. Also, use tools like Android Studio's debugger to find where the null value is coming from. This helps you trace the problem and fix it at the source.

Understanding NullPointerException in Android Studio

NullPointerException errors can be frustrating. They often occur when your code tries to use an object reference that hasn't been initialized. To fix this, always check if an object is null before using it. Use tools like the debugger in Android Studio to pinpoint where the error happens. Also, consider using Kotlin's null safety features if you're coding in Kotlin. These features help prevent such errors by design.

Regularly testing your code can catch these issues early. Writing unit tests can also help ensure your code handles null values correctly. Keep your code clean and well-documented to make debugging easier. By following these practices, you'll reduce the chances of encountering NullPointerException errors, making your development process smoother and more efficient.

What is a NullPointerException in Android Studio?

A NullPointerException happens when your code tries to use an object reference that hasn't been initialized. It's like trying to call someone on a phone that hasn't been plugged in.

How can I prevent NullPointerExceptions in my code?

To avoid NullPointerExceptions, always check if an object is null before using it. Use if statements or Optional classes to handle potential null values.

What are common causes of NullPointerExceptions in Android apps?

Common causes include accessing null objects, uninitialized variables, or missing views in your layout files. Always ensure objects are properly initialized.

How do I debug a NullPointerException in Android Studio?

Use the debugger to step through your code. Check the logcat for error messages and stack traces that point to the exact line causing the issue.

Can using third-party libraries cause NullPointerExceptions?

Yes, third-party libraries can sometimes introduce NullPointerExceptions if they aren't handling null values correctly. Always check library documentation and updates.

Is there a tool in Android Studio to help find NullPointerExceptions?

Android Studio has a Lint tool that can help identify potential null issues in your code. Use it to scan your project and fix warnings before they become problems.

What is the best practice for handling NullPointerExceptions in Android development?

Best practices include using null-safe methods, initializing variables properly, and employing try-catch blocks to handle unexpected null values gracefully.

Was this page helpful?