
Introduction
Genymotion is a powerful Android emulator popular among developers for its speed, flexibility, and feature-rich environment. It offers an efficient way to test and develop Android applications, providing features like hardware acceleration, sensor simulation, and more. This guide walks you through installing Genymotion, integrating it with Android Studio, and exploring its various features and functionalities.
Why Choose Genymotion?
Genymotion is known for its speed and reliability, making it an ideal choice for developers who need a seamless testing environment. Unlike the default Android emulator, Genymotion provides better performance and compatibility with various Android versions. This makes it a great tool for testing and debugging Android applications.
Key Features of Genymotion
-
Speed and Performance: Designed to provide faster performance compared to the default Android emulator. This is particularly useful for developers who need to test their applications quickly and efficiently.
-
Hardware Acceleration: Supports hardware acceleration, enhancing the emulator's performance by leveraging the host machine's hardware capabilities.
-
Sensor Simulation: Supports sensor simulation, allowing developers to test how their applications respond to different sensor inputs without needing physical devices.
-
Customizable Devices: Allows developers to create custom virtual devices with specific specifications, including different screen sizes, resolutions, and Android versions.
-
Integration with Android Studio: Seamlessly integrates with Android Studio, making it easy to run and test applications directly from the IDE.
Installing Genymotion
To get started with Genymotion, download and install the emulator on your computer. Follow these step-by-step instructions:
Step 1: Download Genymotion
- Visit the Genymotion Website: Go to the official Genymotion website and click on the "Download Genymotion Personal Edition" button.
- Sign In: If you don't have an account, sign up for one. If you already have an account, log in.
- Choose Your Platform: Depending on your operating system (Windows, macOS, or Linux), download the appropriate installer.
Step 2: Install Genymotion
- Run the Installer: Once the download is complete, run the installer.
- Follow On-Screen Instructions: Follow the on-screen instructions to complete the installation process.
- Accept Terms and Conditions: Accept the terms and conditions of use.
- Choose Your Use Type: Select "Personal Use" if you are using it for development purposes.
Step 3: Set Up Genymotion
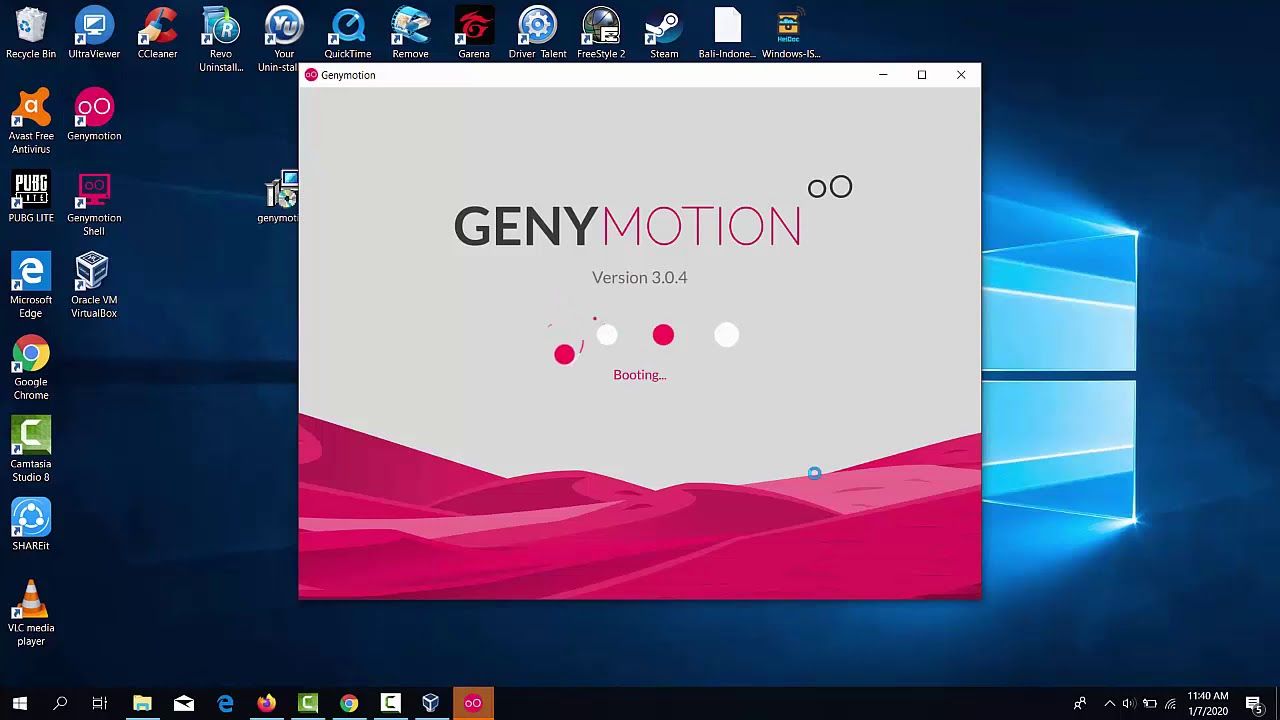
- Open Genymotion: After installation, open Genymotion.
- Sign In: Sign in with your registered email and password.
- Create a New Virtual Device: Click on the "New" button to create a new virtual device. Choose from various pre-configured devices or customize your own.
Integrating Genymotion with Android Studio
Once installed and set up, integrate Genymotion with Android Studio to run and test your applications seamlessly. Follow these steps:
Step 1: Install the Genymotion Plugin
- Open Android Studio: Start Android Studio.
- Go to Settings: Go to
File > Settings(Windows/Linux) orAndroid Studio > Preferences(macOS). - Select Plugins: In the settings window, select
Plugins. - Marketplace: Go to the
Marketplace. - Search for Genymotion: Type "Genymotion" in the search box.
- Install: Click on the "Install" button, then click on "Apply" and finally "OK".
Step 2: Configure ADB Path
- Open Genymotion Settings: Open Genymotion and go to
Genymotion > Settings > ADB. - Select Custom SDK Tools: Select "Use custom Android SDK tools".
- Set SDK Path: Click on "Browse" and set the path to your Android SDK tools root directory. For example, if you installed the tools in
%LOCALAPPDATA%\Android\Sdk, this is a valid path.
Step 3: Start and Manage Virtual Devices
- Start Virtual Device: Click on the virtual device you want to start from the Genymotion Device Manager window.
- Refresh List: If necessary, refresh the list of virtual devices.
- Activation Status: The virtual device activation status is displayed in the
Statuscolumn. Values can be:- Off: The virtual device is deactivated.
- Paused: The virtual device has been started and paused. The
Restartaction gets back to the exact same state. - On: The virtual device is activated but not connected to ADB. It means that you cannot select this virtual device in the
Choose Devicewindow of the ADB plugin.
Step 4: Run Applications with Genymotion
- Open Android Studio: Open your application project in Android Studio.
- Choose Device: Click on the
Runbutton and select the virtual device you started or created from theChoose Devicewindow. - Start Application: Click on the virtual device you selected and then click on
OK.
Running Applications with Genymotion
Once integrated with Android Studio, run your applications directly from the IDE. Here’s how:
- Open Application Project: Open your application project in Android Studio.
- Select Virtual Device: In the
Runconfiguration window, select the virtual device you created or started from Genymotion. - Start Application: Click on the
Runbutton to start your application on the selected virtual device.
Debugging with Genymotion
Genymotion provides various debugging options to help identify and fix issues in your applications. Here are some common debugging techniques:
- Logcat: Use logcat to view the logs of your application running on the virtual device.
- ADB Shell: Use ADB shell to execute commands on the virtual device and inspect its state.
- Screen Capture: Use screen capture to record the screen of the virtual device for further analysis.
Performance and Features
Genymotion offers several performance enhancements and features that make it an ideal choice for Android development:
- Hardware Acceleration: Supports hardware acceleration, significantly improving the emulator's performance by leveraging the host machine's hardware capabilities.
- Sensor Simulation: Supports sensor simulation, allowing developers to test how their applications respond to different sensor inputs without needing physical devices.
- Customizable Devices: Allows developers to create custom virtual devices with specific specifications, including different screen sizes, resolutions, and Android versions.
Integrating Genymotion with Android Studio can significantly enhance your development workflow. With its easy installation process and powerful features, Genymotion setup for Android Studio is a must-have for developers looking for a robust emulation environment. By following the steps outlined in this guide, you’ll be able to install Genymotion and configure the Genymotion plugin in Android Studio without any hassle. This will allow you to run and test your Android applications seamlessly, leveraging the speed and reliability of Genymotion.