
Introduction to Android Development
Mobile apps have become integral to daily life. Whether you're an experienced developer or just starting, Android offers numerous tools and resources for building innovative, user-friendly applications. This guide explores the Android ecosystem, detailing how to create various types of Android projects using the latest tools and technologies.
Prerequisites for Android Development
To start building Android projects, you'll need:
- Android Studio: The official Integrated Development Environment (IDE) for Android app development. It provides tools for designing, testing, and debugging apps.
- Java or Kotlin: Primary programming languages for Android app development. Java has been the traditional choice, but Kotlin is popular due to its concise syntax and interoperability with Java.
- XML: Used for designing user interfaces in Android apps. Understanding how to create layouts using XML files is essential.
- Basic Understanding of Android Apps: Familiarize yourself with how Android apps work, including the lifecycle of an activity, services, and other core concepts.
Setting Up Your Development Environment
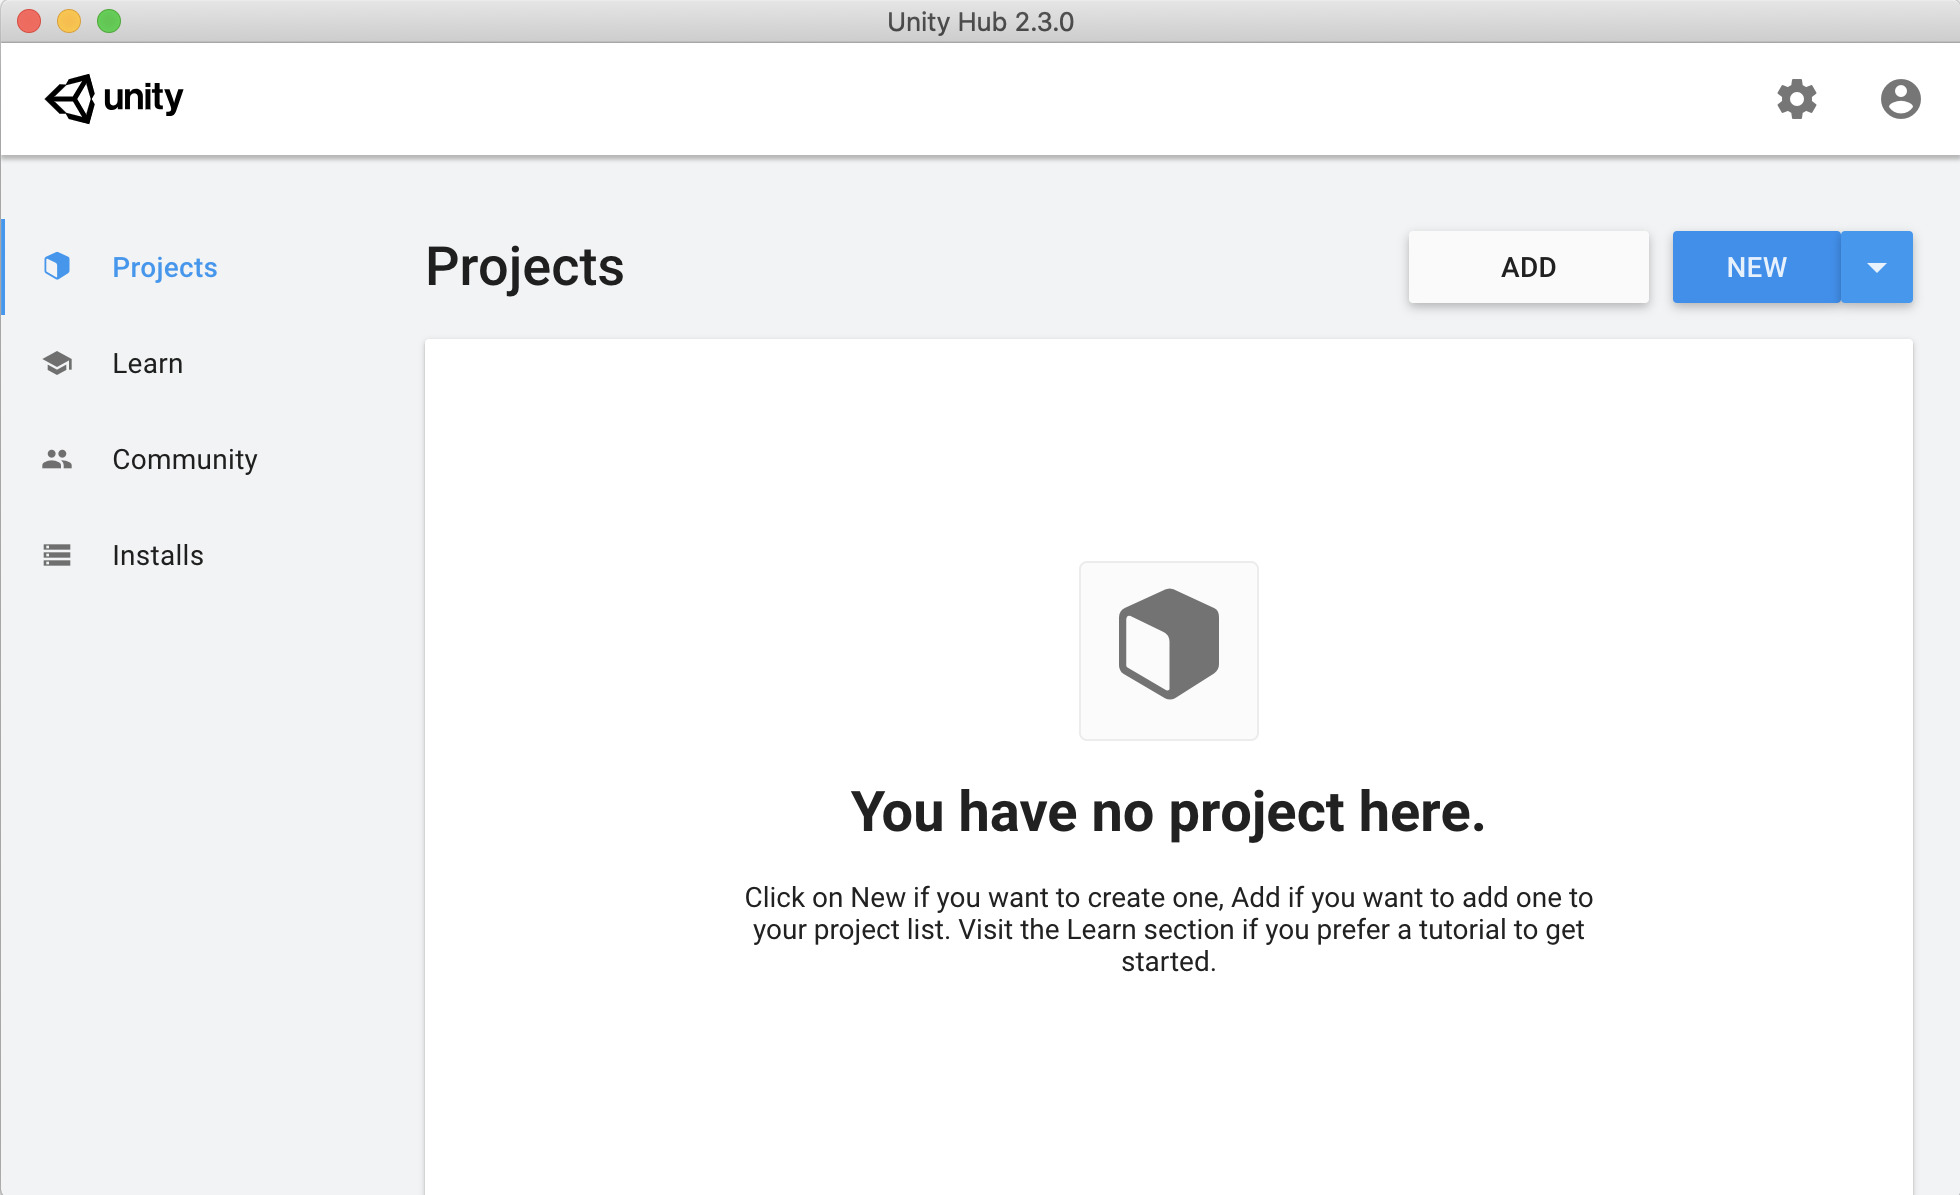
Installing Android Studio
- Download Android Studio: Visit the official Android Studio website and download the latest version.
- Install Android Studio: Follow the installation prompts to install the IDE on your computer.
- Launch Android Studio: Once installed, launch the application.
Creating a New Project
- Open Android Studio: Click on "Start a new Android Studio project."
- Choose a Template: Select a template that fits your needs, such as "Empty Activity" or "Flutter."
- Configure Your Project:
- Project Name: Assign a name to your project.
- Save Location: Choose a save location for your project.
- Language: Select either Java or Kotlin as your programming language.
- Minimum SDK: Choose the minimum SDK version required by your app.
- Target SDK: Select the target SDK version you want to support.
- Theme: Choose a theme for your app.
- Finish: Click "Finish," and Android Studio will set up your project.
Building a Simple Android App
Step 1: Designing the Layout
- Open activity_main.xml: Design the layout of your app's main activity.
- Add Widgets: Include necessary widgets such as
TextView,Button, andEditText. - XML Configuration: Use XML attributes to configure the appearance and behavior of each widget.
Example activity_main.xml:
xml
<TextView
    android:id="@+id/textView"
    android:layout_width="wrap_content"
    android:layout_height="wrap_content"
    android:text="Hello, World!" />

<Button
    android:id="@+id/button"
    android:layout_width="wrap_content"
    android:layout_height="wrap_content"
    android:text="Click Me" />

<EditText
    android:id="@+id/editText"
    android:layout_width="match_parent"
    android:layout_height="wrap_content"
    android:hint="Enter your name" />
Step 2: Writing the Code
- Open MainActivity.java/Kotlin: Write the code to handle user interactions and update the UI.
- Handle Button Click: Use an
OnClickListenerto handle button clicks and perform actions. - Update UI: Use methods like
findViewByIdandsetTextto update the UI based on user input.
Example MainActivity.java:
java
package com.example.helloworld;
import androidx.appcompat.app.AppCompatActivity;
import android.os.Bundle;
import android.view.View;
import android.widget.Button;
import android.widget.EditText;
import android.widget.TextView;
public class MainActivity extends AppCompatActivity {
private TextView textView;
private Button button;
private EditText editText;

@Override
protected void onCreate(Bundle savedInstanceState) {
    super.onCreate(savedInstanceState);
    setContentView(R.layout.activity_main);

    // Initialize views
    textView = findViewById(R.id.textView);
    button = findViewById(R.id.button);
    editText = findViewById(R.id.editText);

    // Set button click listener
    button.setOnClickListener(new View.OnClickListener() {
        @Override
        public void onClick(View v) {
            String name = editText.getText().toString();
            textView.setText("Hello, " + name + "!");
        }
    });
}
}
Step 3: Running the App
- Connect a Device or Emulator: Connect your Android device or start an emulator.
- Run the App: Click on the "Run" button or press
Shift+F10(orCmd+Ron Mac) to run the app.
Building a Search Engine in Android Studio
A search engine is a crucial feature in many mobile apps, helping users find what they need quickly and easily.
Prerequisites
Before building a search engine, ensure you have:
- Android Studio Installed: Ensure Android Studio is installed on your computer.
- Basic Understanding of Java or Kotlin: Have a basic understanding of either Java or Kotlin programming languages.
- XML Knowledge: Familiarize yourself with XML for designing user interfaces.
Setting Up Your Project
-
Create a New Project:
- Open Android Studio and click on "Start a new Android Studio project."
- Choose an "Empty Activity" template and give your project a name.
- Set the language to either Java or Kotlin and click "Finish."
-
Add Necessary Dependencies:
-
Open the
build.gradlefile in theappmodule. -
Add necessary dependencies for search functionality:
gradle
dependencies {
implementation 'androidx.appcompat:appcompat:1.2.0'
implementation 'androidx.recyclerview:recyclerview:1.1.0'
implementation 'androidx.cardview:cardview:1.0.0'
} -
Sync your project to download these libraries.
-
Designing the Layout
- Open activity_main.xml:
- Add a
SearchViewand aRecyclerViewto handle search queries and display results respectively. - Example XML configuration:
- Add a
xml
<SearchView
    android:id="@+id/searchView"
    android:layout_width="match_parent"
    android:layout_height="wrap_content"
    android:queryHint="Search..." />

<androidx.recyclerview.widget.RecyclerView
    android:id="@+id/recyclerView"
    android:layout_width="match_parent"
    android:layout_height="match_parent" />
Creating Data Model
- Define a Class for Data Items:
- Create a class to hold data items that will be displayed in the RecyclerView.
- Example:
java
public class Item {
private String name;
public Item(String name) {
    this.name = name;
}

public String getName() {
    return name;
}

public void setName(String name) {
    this.name = name;
}
}
Setting Up Adapter
- Create an Adapter for RecyclerView:
- Extend RecyclerView.Adapter and implement necessary methods to bind data items to views.
- Example:
java
public class ItemAdapter extends RecyclerView.Adapter<ItemAdapter.ViewHolder> {
private List<Item> itemList;

public ItemAdapter(List<Item> itemList) {
    this.itemList = itemList;
}

@NonNull
@Override
public ViewHolder onCreateViewHolder(@NonNull ViewGroup parent, int viewType) {
    View view = LayoutInflater.from(parent.getContext()).inflate(R.layout.item_layout, parent, false);
    return new ViewHolder(view);
}

@Override
public void onBindViewHolder(@NonNull ViewHolder holder, int position) {
    Item item = itemList.get(position);
    holder.textView.setText(item.getName());
}

@Override
public int getItemCount() {
    return itemList.size();
}

public class ViewHolder extends RecyclerView.ViewHolder {
    public TextView textView;

    public ViewHolder(View itemView) {
        super(itemView);
        textView = itemView.findViewById(R.id.textView);
    }
}
}
Handling Search Queries
- Handle Search Queries:
- Use the SearchView to get user input and filter data items accordingly.
- Example:
java
public class MainActivity extends AppCompatActivity {
private SearchView searchView;
private RecyclerView recyclerView;
private ItemAdapter adapter;

@Override
protected void onCreate(Bundle savedInstanceState) {
    super.onCreate(savedInstanceState);
    setContentView(R.layout.activity_main);

    // Initialize views
    searchView = findViewById(R.id.searchView);
    recyclerView = findViewById(R.id.recyclerView);

    // Initialize adapter with sample data
    adapter = new ItemAdapter(getSampleData());
    recyclerView.setAdapter(adapter);

    // Set search query listener
    searchView.setOnQueryTextListener(new SearchView.OnQueryTextListener() {
        @Override
        public boolean onQueryTextSubmit(String query) {
            // Filter data items based on query
            adapter.filter(query);
            return true;
        }

        @Override
        public boolean onQueryTextChange(String newText) {
            // Filter data items based on query
            adapter.filter(newText);
            return true;
        }
    });
}

private List<Item> getSampleData() {
    List<Item> items = new ArrayList<>();
    items.add(new Item("Apple"));
    items.add(new Item("Banana"));
    items.add(new Item("Cherry"));
    return items;
}
}
Mastering Flutter Installation
Flutter is an open-source mobile app development framework created by Google. It allows you to build natively compiled applications for mobile, web, and desktop from a single codebase.
Creating Your First Flutter Project
-
Install Flutter SDK:
- Download the Flutter SDK from the official Flutter website.
- Unzip the file and add the Flutter bin directory to your system's PATH.
-
Set Up Environment Variables:
- Run
flutter doctorin your terminal to check for any dependencies you might need.
- Run
-
Install Android Studio and Plugins:
- Download and install Android Studio.
- Install the Flutter and Dart plugins.
-
Create a New Flutter Project:
- Open your terminal and run
flutter create project_name. Replaceproject_namewith your desired project name.
- Open your terminal and run
-
Understand Flutter’s Project Structure:
- The
libfolder contains your Dart code, including themain.dartfile which is the entry point of your app. - The
pubspec.yamlfile manages your app's dependencies, assets, and more. - The
androidandiosfolders contain platform-specific code and configurations.
- The
Navigating Flutter’s Widgets
Flutter apps are built using widgets, which form a tree-like structure called the widget tree. Basic widgets include:
- Text: Displays a string of text.
- Container: A versatile widget that can contain other widgets and apply padding, margins, and more.
- Row and Column: Arrange widgets horizontally and vertically.
Understanding how to use these widgets is crucial for building your app's interface.
Deploying Flutter Apps to Multiple Platforms
Preparing an Android App for Release
-
Build Your App:
- Run
flutter build androidto build your app for Android.
- Run
-
Generate APK File:
- Run
flutter build apkto generate an APK file.
- Run
-
Upload to Play Store:
- Follow Google Play Store guidelines to upload your app.
Preparing an iOS App for Release
-
Build Your App:
- Run
flutter build iosto build your app for iOS.
- Run
-
Generate IPA File:
- Run
flutter build ipato generate an IPA file.
- Run
-
Upload to App Store:
- Follow Apple App Store guidelines to upload your app.
Building Android projects is an exciting journey that requires patience, dedication, and practice. Whether creating a simple app or a complex search engine, understanding the basics of Android development and leveraging tools like Android Studio and Flutter can help you achieve your goals. Stay updated with the latest tools and technologies, and seek help from online communities and resources when needed. Happy coding!