
Source: Lifewire.com
Understanding Email Basics
Before diving into tips and tricks, understanding the basics of sending emails on Android devices is crucial. Here are the fundamental steps:
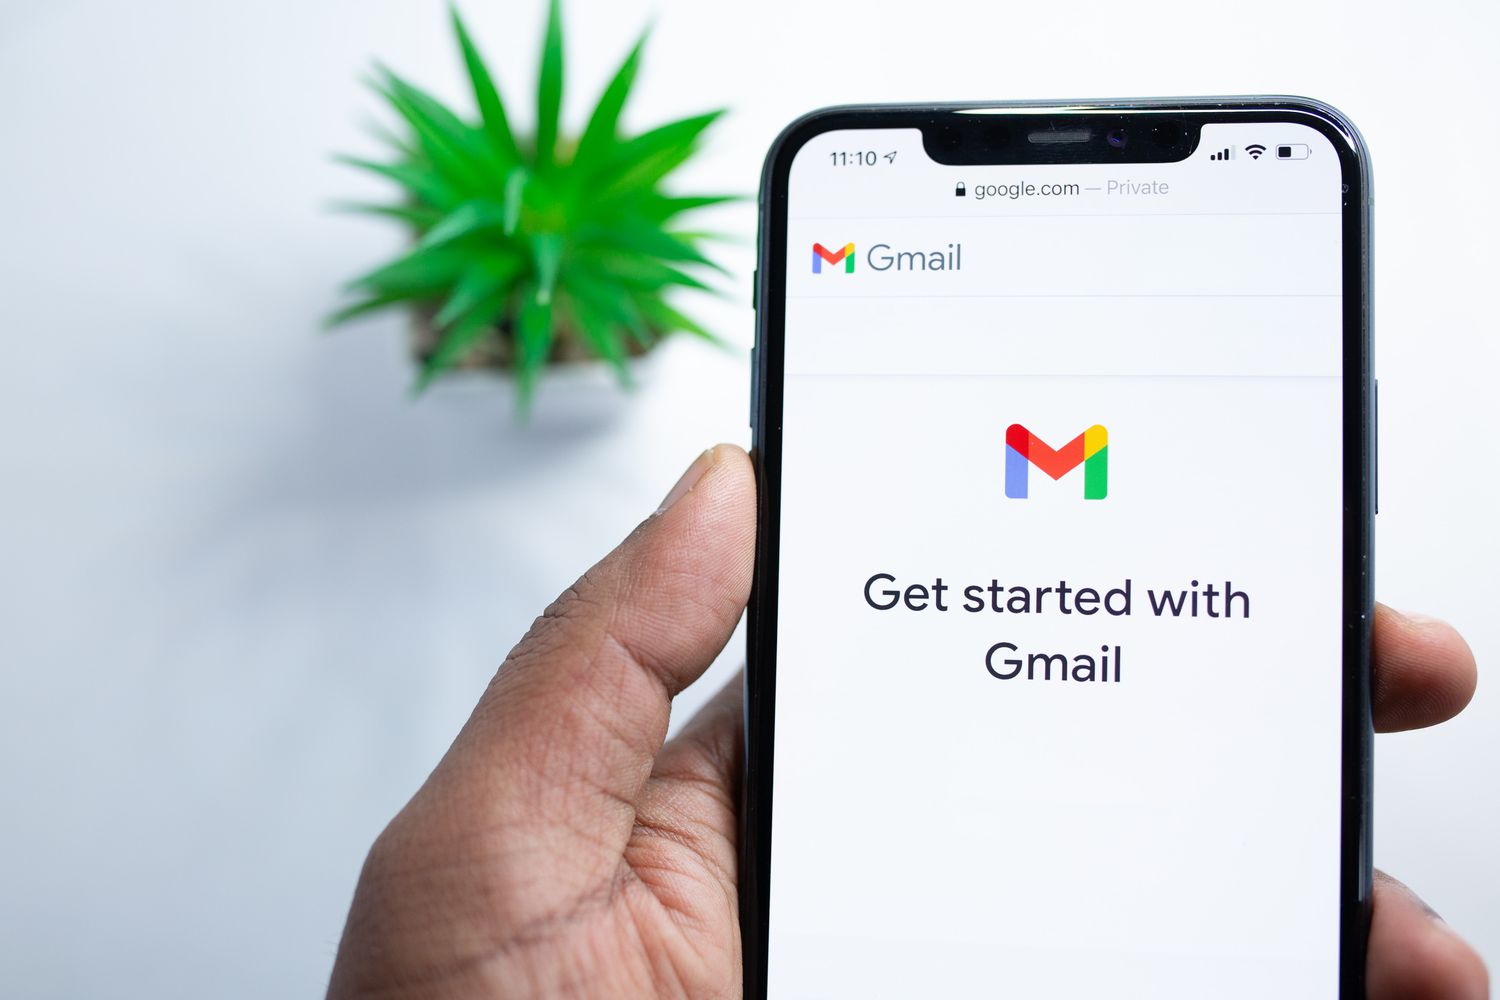
- Opening the Email App: Start by opening your email app. Most Android devices come with pre-installed apps like Gmail, Outlook, or Yahoo Mail. Third-party email apps are also available on the Google Play Store.
- Logging In: Log in with your email account credentials to access your inbox and start sending emails.
- Composing an Email: Tap on the "Compose" or "New Message" button, usually located at the bottom of the screen, to start a new email.
- Entering Recipient Information: Enter the recipient's email address in the compose window. Add multiple recipients by separating their addresses with commas.
- Adding Subject and Body: The subject line helps the recipient understand your email's content. Write your message in the body, using formatting tools like bold, italic, and underlined text.
- Adding Attachments: Attach files like documents, images, or videos by browsing through your device's storage.
- Sending the Email: Tap on the "Send" button after entering all necessary information.
Tips for Effective Email Communication
Subject Line Optimization
- Keep it Short: Make the subject line concise and to the point.
- Be Clear: Clearly indicate the purpose of your email.
- Use Keywords: Incorporate relevant keywords to help your email stand out.
Personalization
- Use Recipient's Name: Addressing the recipient by their name makes your email more personal.
- Customize Content: Tailor your message according to the recipient's preferences or previous interactions.
Formatting
- Use Headings: Break up content using headings for easier reading.
- Bullet Points: Use bullet points for lists or key points.
- Emojis and Images: Use emojis and images sparingly to avoid cluttering your message.
Attachments
- Size Limitations: Be mindful of file size limits set by your email provider.
- File Types: Ensure you're sending files in compatible formats.
Timing
- Avoid Rush Hours: Avoid sending emails during peak hours to prevent delays.
- Consider Time Zones: Consider the recipient's time zone and schedule.
Proofreading
- Check Spelling and Grammar: A well-written email reflects positively on you.
- Read Aloud: Reading your email aloud can help catch grammatical errors or awkward phrasing.
Follow-Up
- Set Reminders: Set reminders to follow up if you haven't received a response.
- Track Responses: Use email tracking features to see if your email has been opened.
Security Measures
- Use Encryption: Consider using encrypted email services for sensitive information.
- Verify Sender Information: Always verify the sender's information to avoid phishing scams.
Organizing Emails
- Use Labels and Folders: Organize your emails using labels and folders.
- Prioritize Tasks: Use flags or stars to mark important emails.
Managing Spam
- Report Spam: Report spam emails to your email provider.
- Use Spam Filters: Enable spam filters to automatically sort out unwanted messages.
Advanced Features
Customizing Email App
- Themes and Layouts: Customize themes and layouts to enhance your user experience.
- Widgets: Add widgets to your home screen for quick access to your inbox or compose window.
Integration with Other Apps
- Calendar Integration: Schedule meetings directly from your inbox with calendar integration.
- Task Management Integration: Manage tasks alongside your emails with apps like Google Tasks.
Smart Compose
- Predictive Text: Save time with predictive text features that suggest words or phrases as you type.
Smart Reply
- Quick Responses: Use Smart Reply for quick responses with pre-defined replies.
Undo Send
- Second Chance: Undo sending an email within a brief window if you realize a mistake.
Email Templates
- Reusable Content: Create reusable email templates for common scenarios.
Advanced Search
- Filtering Options: Filter emails based on criteria like sender, recipient, subject, and content.
Offline Access
- Offline Mode: Compose and manage emails without an internet connection.
Security Features
- Two-Factor Authentication (2FA): Enable 2FA for extra security.
- Password Managers Integration: Use password managers for easier login credential management.
Analytics and Insights
- Email Analytics: Use analytics to optimize your communication strategy.
Troubleshooting Common Issues
Email Not Sending
- Check Internet Connection: Ensure a stable internet connection.
- Check Email Account Settings: Verify email account settings, including username and password.
- Clear Cache and Data: Clear the cache and data of your email app to resolve issues.
Attachments Not Sending
- File Size Limitations: Check if the file size exceeds the limit.
- File Format Compatibility: Ensure the file format is compatible with the recipient's device.
Spam Filters Blocking Emails
- Report Spam: Report spam emails to improve spam filtering algorithms.
- Whitelist Senders: Whitelist frequently blocked senders.
Emails Not Being Delivered
- Check Server Status: Verify if the email server is down.
- Contact Provider Support: Reach out to your email provider's support team for assistance.
Emails Being Marked as Spam
- Check Sender Reputation: Avoid spammy practices to maintain a good sender reputation.
- Use Authenticating Services: Use SPF and DKIM to verify your domain.
Best Practices for Email Security
Use Strong Passwords
- Complexity Requirements: Use strong passwords with uppercase letters, numbers, and special characters.
- Password Managers: Use password managers to generate and store unique passwords.
Enable Two-Factor Authentication (2FA)
- Additional Layer of Security: Enable 2FA for added security.
- Authenticator Apps: Use apps like Google Authenticator for time-based one-time passwords.
Regularly Update Software
- Security Patches: Regularly update your email app and device operating system.
- Automatic Updates: Enable automatic updates to always run the latest version.
Be Cautious with Links and Attachments
- Phishing Scams: Be cautious with links or attachments from unknown senders.
- Verify Sender Information: Always verify the sender's information.
Use Encrypted Email Services
- End-to-End Encryption: Use encrypted email services for sensitive information.
- Secure Communication Channels: Use secure channels like Signal or WhatsApp.
Delete Old Emails Regularly
- Data Storage Management: Regularly delete old emails to manage data storage.
- Data Retention Policies: Implement data retention policies based on needs and regulations.
Disable Message Previews on Lock Screen
- Privacy Protection: Disable message previews to prevent others from seeing your texts or emails.
- Secure Data Protection: Protect sensitive information from unauthorized access.
Enable Delivery Reports
- Message Tracking: Confirm whether your emails have been delivered successfully.
- Message Status Updates: Receive status updates on whether your emails have been read.
Backup Important Emails
- Data Backup Strategies: Regularly backup important emails to your email account or cloud storage.
- Data Recovery Plans: Implement data recovery plans in case of data loss.
Monitor Account Activity Regularly
- Account Security Monitoring: Regularly monitor account activity for suspicious behavior.
- Alert Systems Setup: Set up alert systems for unusual login attempts or security breaches.