Source: Android.gadgethacks.com
Why Customize Your Ringtones?
Customizing ringtones offers several benefits:
- Personalization: Make your phone unique by choosing sounds reflecting your personality, interests, or favorite media.
- Organization: Assign different ringtones to specific contacts for quick identification without looking at the screen.
- Fun: Custom ringtones add enjoyment to daily phone interactions.
Adding Custom Ringtones
Follow these steps to add custom ringtones:
- Open Settings: Swipe down from the top of the screen and tap the gear icon or find the Settings app in the app drawer.
- Navigate to Sounds & Vibration: Locate the “Sounds & vibration” section in the Settings app.
- Select Phone Ringtone: Choose “Phone ringtone” to access built-in ringtones or add a custom one.
- Add Custom Ringtone: Tap the “+” icon in the upper-right corner to open a sound picker menu.
- Select Audio File: Browse your device’s storage for an audio file, play a preview, and select it.
- Set as Default Ringtone: Tap “Done” to set the chosen file as your default ringtone.
Setting Custom Notification Sounds
Customize notification tones with these steps:
- Open Settings: Access the Settings app.
- Navigate to Sounds & Vibration: Go to the “Sounds & vibration” section.
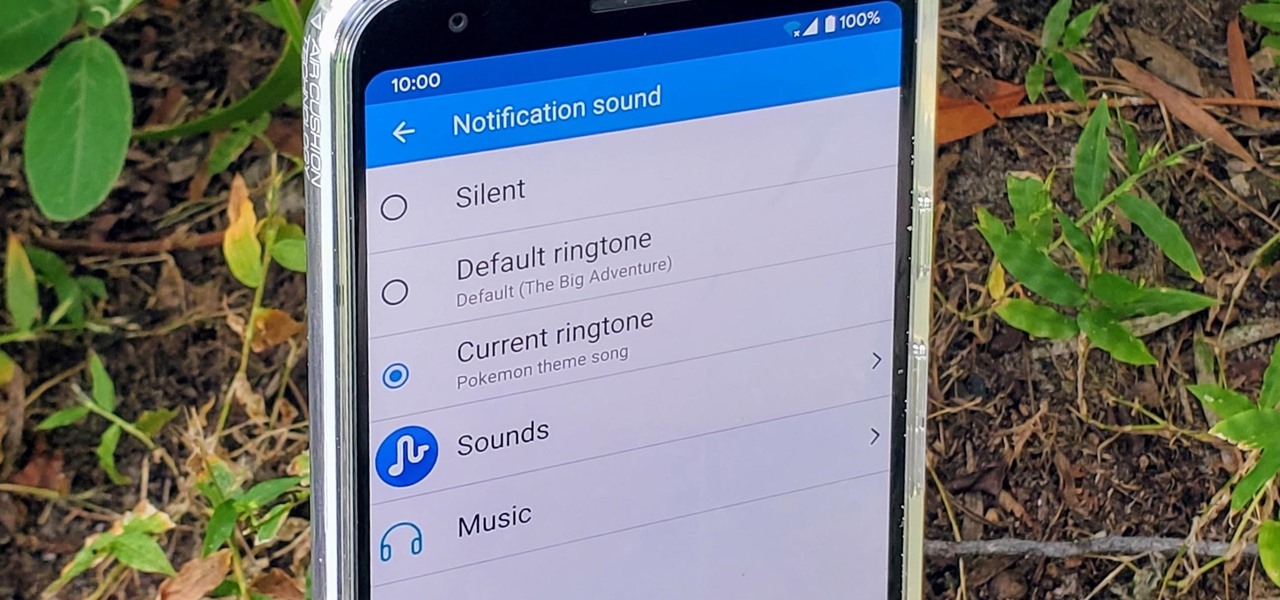
- Select Notification Sound: Find and tap the option related to notification sounds.
- Choose Custom Sound: Tap the “+” icon to add a custom notification sound.
- Select Audio File: Browse for an audio file and select it.
- Set as Default Notification Sound: Tap “Done” to set the chosen file as your default notification sound.
Assigning Custom Ringtones to Contacts
Identify callers quickly by assigning custom ringtones to contacts:
- Open Contacts App: Access the Contacts app.
- Select Contact: Find and select the desired contact.
- Access Contact Info: Tap the contact’s information icon.
- Change Ringtone/Vibration: Choose “Change ringtone/vibration” from the menu.
- Select Custom Ringtone: Pick a custom tone from the available ringtones.
- Save Changes: Tap “Back” or “Save” to apply the changes.
Using Zedge for Custom Ringtones
Zedge simplifies finding and installing custom ringtones:
- Download Zedge App: Get Zedge from the Google Play Store.
- Explore Ringtones Library: Open Zedge and browse its extensive library.
- Download Desired Tone: Select and download a tone.
- Set as Default Ringtone: Follow the steps for setting custom ringtones in your device’s Settings app.
Customizing Ringtones on Samsung Galaxy Phones
Samsung Galaxy phones have slight variations for customizing ringtones:
- Open Settings App: Access the Settings app.
- Navigate to Sounds & Vibration: Go to “Sounds and vibration.”
- Select Ringtone Menu: Open the “Ringtone” menu.
- Add Custom Ringtone: Tap “+” to open the Sound picker menu.
- Search for Custom Tone: Search for your custom tone by name or browse files.
- Set as Default Ringtone: Tap “Done” to set the selected tone as your default ringtone.
Customizing Ringtones on Google Pixel Phones
Google Pixel phones also offer straightforward ringtone customization:
- Open Settings App: Access the Settings app.
- Navigate to Sound & Vibration: Go to “Sound & vibration.”
- Select Phone Ringtone: Open “Phone ringtone.”
- Choose Custom Tone: Tap “+” to add a custom tone from your storage.
- Set as Default Ringtone: Tap “Save” to set the chosen file as your default ringtone.
Tips for Managing Custom Ringtones
Effectively manage custom ringtones with these tips:
- Organize Your Files: Create folders labeled “Ringtones” and “Notifications” in your file manager.
- Use File Explorer: Utilize a file explorer app to locate and manage audio files.
- Reboot If Necessary: Reboot your device if new custom ringtones don't appear immediately.
- Assign Multiple Tones: Assign different custom tones for calls, texts, or specific apps.
