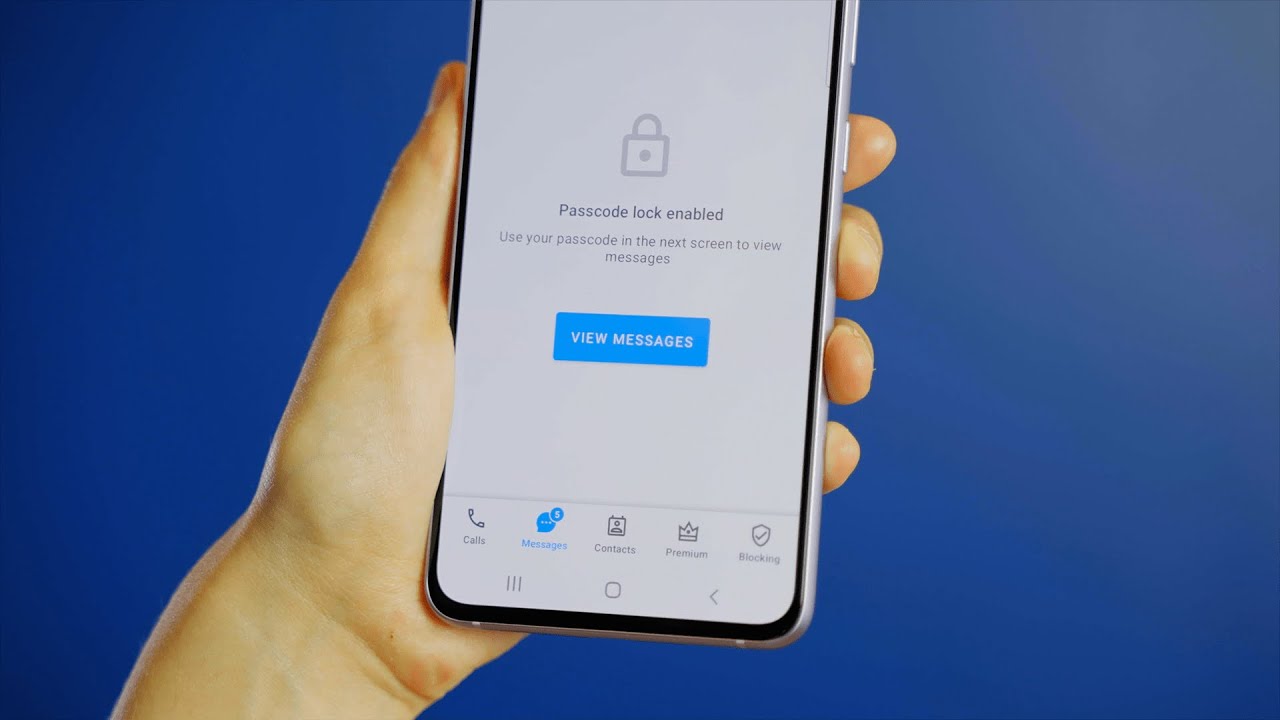
Understanding the Risks
Before diving into security measures, it's vital to grasp the risks of unsecured communication:
- Interception by Hackers: Unencrypted messages can be intercepted, allowing unauthorized access to your conversations.
- Data Breaches: Compromised devices can expose stored data, including messages.
- Public Wi-Fi Risks: Unsecured public Wi-Fi networks can be exploited to intercept data.
- App Permissions: Excessive permissions requested by messaging apps can lead to unauthorized access to sensitive information.
Step 1: Choose a Secure Messaging App
Not all messaging apps offer the same level of security. Consider these options:
- Google Messages: Provides end-to-end encryption for RCS chats, ensuring only you and the recipient can read the messages.
- Signal: An open-source app known for its robust end-to-end encryption.
- WhatsApp: Offers end-to-end encryption for all messages, making it a secure choice for personal and group chats.
Step 2: Enable End-to-End Encryption
End-to-end encryption is crucial for securing messages. Here's how to enable it in Google Messages:
- Check if RCS is Enabled: Ensure RCS is enabled on both your device and the recipient's device by checking Google Messages settings.
- Verify Encryption: When starting a conversation with someone who also has RCS enabled, the chat will automatically upgrade to end-to-end encryption. Look for a lock icon above the message and the send icon to verify.
Step 3: Manage App Permissions
App permissions can pose significant security risks if not managed properly. Follow these steps to manage permissions on your Android device:
- Access Permission Manager: Navigate to your device’s settings, then to the “Security & Privacy” section, and find the “Permission manager” option.
- Review Permissions: Examine the permissions granted to each app, especially messaging apps. Only grant necessary permissions.
- Limit Location Access: Be cautious with location access permissions, granting them only to apps that genuinely need it.
Step 4: Use a VPN
A Virtual Private Network (VPN) can enhance communication security. Here’s why:
- Public Wi-Fi Protection: Encrypts internet traffic, protecting you from hackers on public Wi-Fi networks.
- Data Encryption: Makes intercepted data unreadable.
- Anonymity: Masks your IP address, making online activities harder to track.
To use a VPN:
- Download and Install a VPN App: Choose a reputable VPN app from the Google Play Store.
- Set Up the VPN: Follow the app’s instructions to create an account and select a server location.
- Enable the VPN: Activate the VPN when using public Wi-Fi or whenever you want to encrypt internet traffic.
Step 5: Audit App Permissions Regularly
Regular audits of app permissions help maintain device security. Here’s how:
- Check Permissions Periodically: Regularly review the permissions granted to each app.
- Remove Unnecessary Permissions: Revoke any permissions no longer required by the app.
- Use Permission Manager Tools: Utilize tools like the “Permission manager” in your device’s settings to manage permissions.
Step 6: Disable Personalized Ads
Personalized ads can compromise privacy by collecting data about your activities. Disable them by following these steps:
- Access Ad Settings: Go to your device’s settings and navigate to the “Privacy” section.
- Disable Ad Personalization: Tap on “Ads” and confirm the disablement of ad personalization across your Google account.
- Use Third-Party Tracking Protection: Consider using features like DuckDuckGo App Tracking Protection to block third-party trackers.
Step 7: Keep Sensitive Notifications Off the Lock Screen
Sensitive notifications on the lock screen can expose information to unauthorized users. Here’s how to keep them off:
- Access Lock Screen Settings: Navigate to your device’s settings, then to the “Security & Privacy” section.
- Restrict Notification Content: Tap on “More privacy settings” and select “Notifications on lock screen.”
- Change Notification Settings: Change the setting from “Show all notification content” to “Show sensitive content only when unlocked.”
Step 8: Enable Two-Factor Authentication
Two-factor authentication (2FA) adds an extra layer of security. Enable it by following these steps:
- Access Security Settings: Go to your device’s settings and navigate to the “Security & Privacy” section.
- Enable 2FA: Look for the option to enable 2FA and follow the prompts.
- Use Authenticator Apps: Use apps like Google Authenticator or Authy to generate verification codes.
Step 9: Use a Secure Operating System
A secure operating system can significantly enhance device security. Consider these options:
- GrapheneOS: A custom OS based on Android offering enhanced security features like locked bootloaders and no Google services.
- LineageOS: Another custom OS providing high security by removing bloatware and disabling unnecessary services.
- Rooting: Rooting your device can give more control over the OS but increases security risks if not done properly.
Additional Tips
- Avoid Public Wi-Fi: Public Wi-Fi networks are often unsecured. Avoid using them whenever possible.
- Use Strong Passwords: Never send passwords or other personally identifiable information in messages. Use strong, unique passwords for all accounts.
- Discuss Security with Family and Friends: Share security tips with loved ones to ensure everyone uses secure communication methods.
- Regularly Update Your Device: Keep your device updated with the latest security patches to ensure you have the latest security features.
By following these tips and staying vigilant about digital security, you can enjoy secure and private communications on your Android device.
