Introduction
In recent years, the lines between mobile and desktop computing have become increasingly blurred. With advanced technologies like the Windows Subsystem for Android (WSA), running Android apps directly on your Windows 11 computer is now possible. This feature bridges the gap between mobile and desktop environments, allowing you to enjoy your favorite Android apps without switching devices.
This comprehensive guide will walk you through the steps required to run Android apps on Windows 11. We will cover the necessary hardware and software requirements, the process of setting up the Windows Subsystem for Android, and how to access and run Android apps on your PC.
What You Need and Compatibility
To run Android apps on Windows 11, your device needs to meet specific requirements. Here are the key points to consider:
Operating System
Ensure Windows 11 is installed on your computer. Older versions of Windows will not support this feature, so make sure you are running the latest version.
RAM
Your system should have at least 8GB of RAM, but 16GB is recommended for better performance. This ensures that your computer can handle the additional workload of running Android apps smoothly.
Processor
The processor is another critical factor. You need an Intel Core i3 8th Gen or later, an AMD Ryzen 3000 series or newer, or a Qualcomm Snapdragon 8c or higher. These processors provide the necessary power and efficiency to run Android apps effectively.
Virtualization Support
Your device must also support Hyper-V and Virtual Machine Platform. These settings can usually be enabled in your BIOS. This support is essential for running the Windows Subsystem for Android.
Storage
Ensure you have at least 64GB of free space on your hard drive. An SSD (Solid-State Drive) is preferable for faster load times and overall system performance.
Graphics
For graphics, you need a DirectX 12 compatible GPU with a WDDM 2.0 driver. This ensures that your graphics card can handle the demands of running Android apps.
Internet Connection
Finally, ensure your device is connected to the internet, as you'll need to download the Amazon Appstore and other required files.
If your device meets these requirements, you should be able to run Android apps smoothly on Windows 11.
Making Android Apps Work on Windows 11
Running Android apps on Windows 11 is straightforward once you've met the hardware requirements. Here’s a step-by-step guide:
Install the Windows Subsystem for Android
To start, you need to install the Windows Subsystem for Android (WSA) from the Microsoft Store. This is the core component that allows you to run Android apps on your PC.
- Open the Microsoft Store: Go to the Microsoft Store app on your Windows 11 computer.
- Search for WSA: In the search bar, type "Windows Subsystem for Android" and select the result.
- Install WSA: Click on the "Get" button to install the WSA.
- Wait for Installation: The installation process may take a few minutes, depending on your internet speed and system performance.
Enable Developer Mode
After installing WSA, you need to enable developer mode to allow sideloading of APKs if needed.
- Open Settings: Go to Settings on your Windows 11 computer.
- Update & Security: Navigate to Update & Security > Recovery.
- Advanced Startup: Click on Restart now under Advanced startup.
- Troubleshoot: Select Troubleshoot > Advanced options > Startup Settings.
- Restart: Restart your computer and press F7 to enable developer mode.
Download the Amazon Appstore
Once WSA is installed and developer mode is enabled, you need to download the Amazon Appstore.
- Open Microsoft Store: Open the Microsoft Store app again.
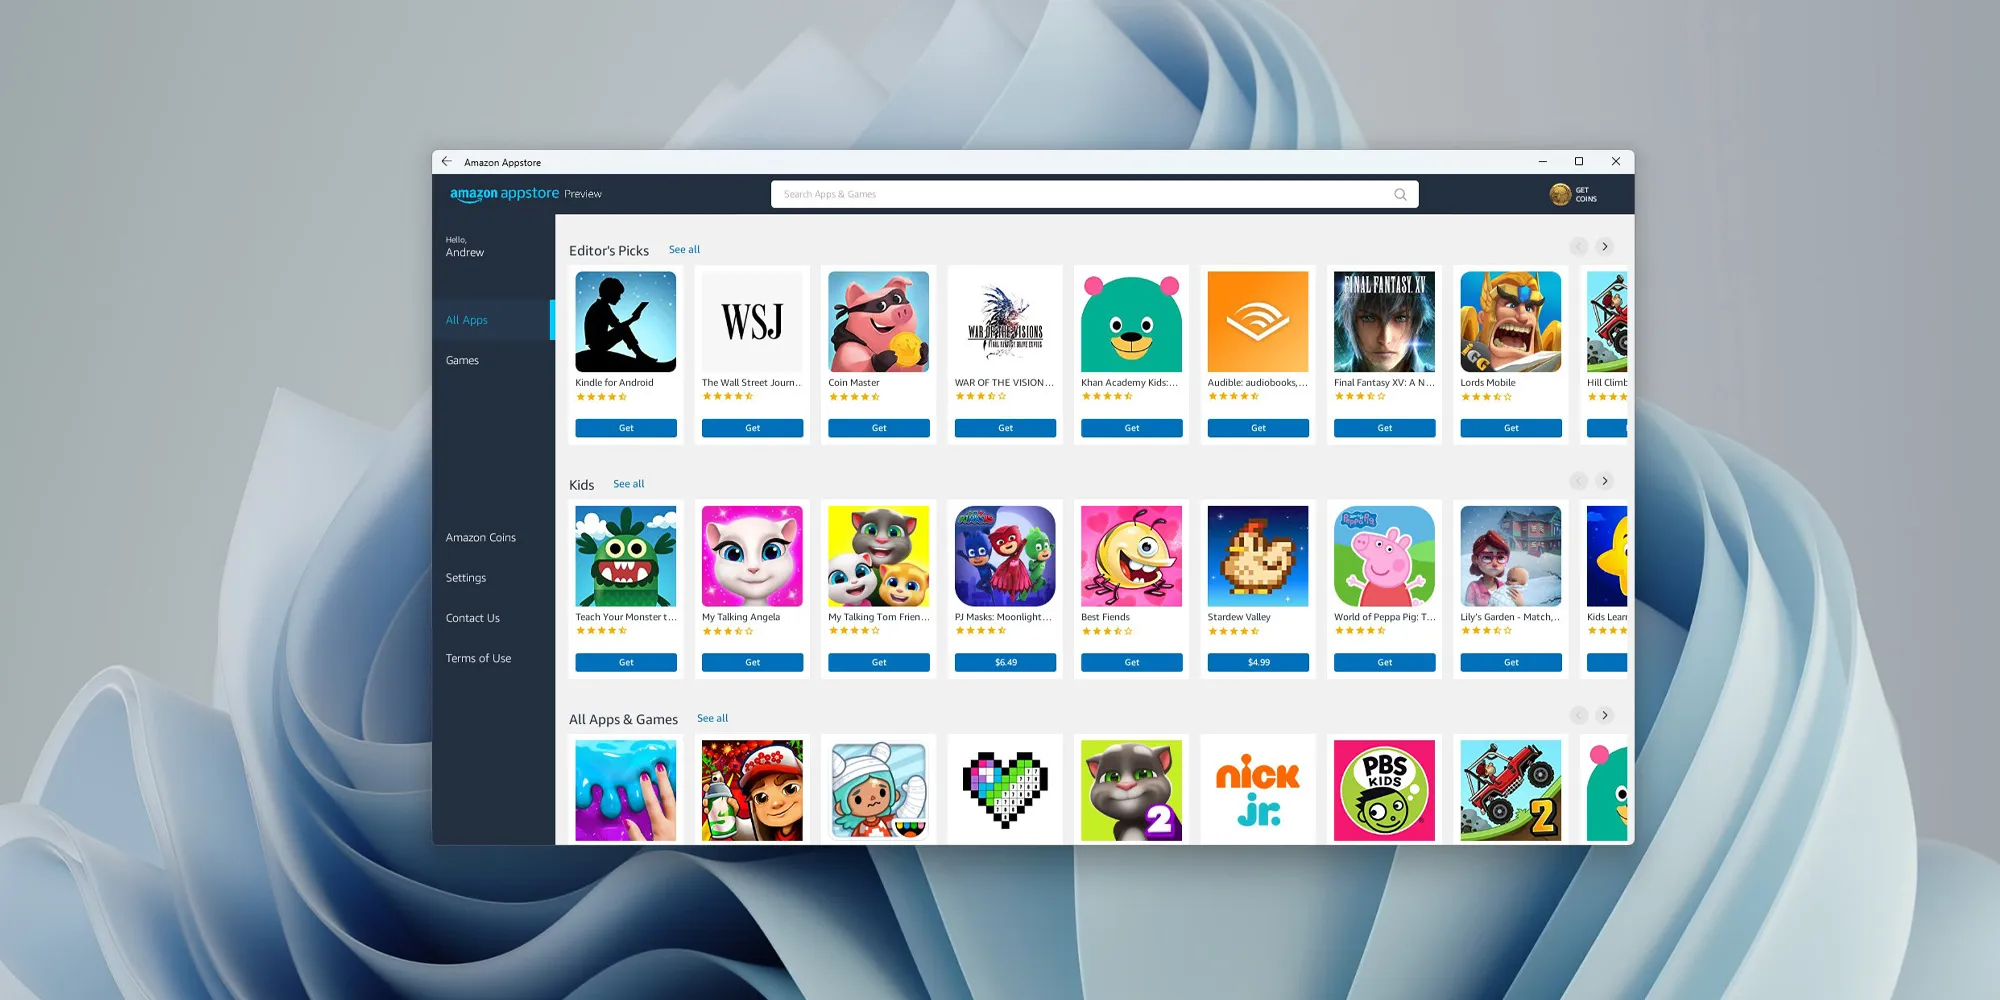
- Search for Amazon Appstore: Type "Amazon Appstore" in the search bar and select the result.
- Install Amazon Appstore: Click on the "Get" button to install the Amazon Appstore.
- Sign In: After installation, open the Amazon Appstore and sign in with your Amazon account credentials.
Access and Run Android Apps
Now that you have both WSA and the Amazon Appstore installed, you can access and run your favorite Android apps.
- Open Amazon Appstore: Launch the Amazon Appstore from your Start menu or taskbar.
- Browse Apps: Browse through various categories or search for specific apps you want to install.
- Download Apps: Select an app you want to install and click on the "Download" button.
- Run Apps: Once downloaded, you can run your Android apps directly from within the Amazon Appstore.
Using an Android Emulator
If you need more flexibility or access to apps not available on the Amazon Appstore, consider using an Android emulator like BlueStacks or NoxPlayer.
- Download Emulator: Download and install an Android emulator of your choice from its official website.
- Set Up Emulator: Follow the setup instructions provided by the emulator to configure it according to your needs.
- Install Apps: Use the emulator to install APKs or access Google Play Store (though this is not officially supported).
Running Android apps on Windows 11 is a powerful feature that enhances your computing experience by providing access to a wide range of mobile-only applications directly on your desktop. By following the steps outlined in this guide, you can easily set up and start using your favorite Android apps on your Windows 11 computer.
Ensure your system meets the necessary hardware requirements and download the required software components like the Windows Subsystem for Android and the Amazon Appstore. With these tools at your disposal, you'll be able to bridge the gap between mobile and desktop computing seamlessly.
Whether you're looking to enhance productivity with specialized mobile apps or simply enjoy your favorite games and entertainment on a larger screen, running Android apps on Windows 11 offers numerous benefits that can significantly improve your overall computing experience.
