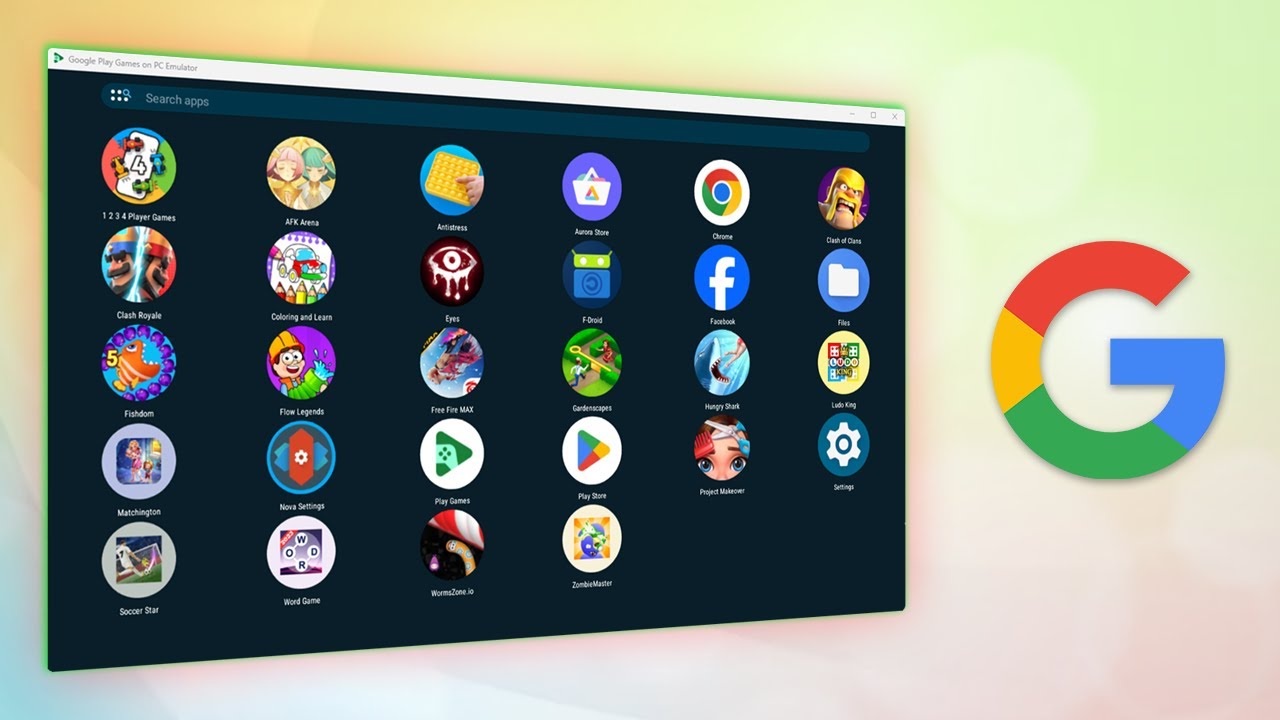
Online Google Emulator: Android Tips & Tricks

Android Emulator
online-google-emulator-android-tips-tricks
Source: Youtube.com

Introduction to Android Emulators

What is an Android Emulator?

An Android emulator is a software application that mimics an Android device on your computer. It lets you run and test Android apps without needing a physical device. Developers use emulators to test their apps on different Android versions and screen sizes. Gamers also use them to play mobile games on a bigger screen with better controls.

Why Use an Android Emulator?

Using an emulator has several perks. For developers, it’s a handy tool for testing apps across various devices and Android versions without owning multiple phones or tablets. It speeds up the development process by allowing quick testing and debugging. Gamers benefit from playing mobile games with a keyboard and mouse, offering a more comfortable and precise gaming experience.

Key Takeaways:

  • Android emulators let you run and test apps or play mobile games on your computer, making it easier for developers and gamers to enjoy a bigger screen and better controls.
  • Tweaking settings like RAM allocation, screen resolution, and hardware acceleration can make your emulator run faster and smoother, giving you a better experience.

Setting Up Your Android Emulator

Download and Install Android Studio

First, you need to download Android Studio, the official IDE for Android development. Head to the Android Studio website, download the installer for your operating system, and run it. Follow the on-screen instructions to complete the installation. Once installed, open Android Studio and set up the necessary SDK components.

Creating a Virtual Device (AVD)

After installing Android Studio, you’ll need to create an Android Virtual Device (AVD). Open Android Studio and go to the AVD Manager. Click on "Create Virtual Device" and choose a device model from the list. Select the desired Android version, then click "Next." Configure the AVD settings as needed and click "Finish" to create your virtual device.

Configuring AVD for Optimal Performance

To get the best performance from your AVD, tweak a few settings. Allocate more RAM and CPU cores to the emulator if your computer has enough resources. Enable hardware acceleration if your system supports it. This will make the emulator run smoother and faster. You can find these settings in the AVD Manager under "Advanced Settings."

Boosting Emulator Performance

Enable Hardware Acceleration

To get the best performance from your Android emulator, enabling hardware acceleration is a must. This process allows your computer's hardware to handle more of the workload, making the emulator run smoother and faster.

  1. Check System Requirements: Ensure your computer supports hardware acceleration. Most modern CPUs do, but it's always good to double-check.
  2. Enable in BIOS/UEFI: Restart your computer and enter the BIOS/UEFI settings. Look for options like "Intel VT-x" or "AMD-V" and enable them.
  3. Configure in Android Studio: Open Android Studio, go to "Preferences" or "Settings," then "Appearance & Behavior," and finally "System Settings." Under "Android SDK," select "SDK Tools" and ensure "Intel HAXM" or "Hypervisor Framework" is installed.

Using GPU Emulation

Enabling GPU emulation can significantly speed up rendering, making your emulator more responsive.

  1. Open AVD Manager: In Android Studio, click on the AVD Manager icon.
  2. Edit Virtual Device: Select your virtual device and click on the pencil icon to edit.
  3. Enable GPU Emulation: Under the "Graphics" section, choose "Hardware – GLES 2.0" or "Automatic." Save your changes and start the emulator.

Optimizing RAM Usage

Managing RAM usage is crucial for maintaining emulator performance. Allocating too much or too little RAM can cause slowdowns.

  1. Adjust RAM Allocation: In the AVD Manager, edit your virtual device. Under "Memory and Storage," adjust the RAM to a suitable value. Typically, 2GB to 4GB works well.
  2. Close Unnecessary Applications: Free up RAM by closing other applications running on your computer.
  3. Monitor RAM Usage: Use tools like Task Manager (Windows) or Activity Monitor (Mac) to keep an eye on RAM usage and ensure the emulator isn't hogging too much memory.

Advanced Configuration Tips

Adjusting Screen Resolution

Changing the screen resolution can improve performance and make the emulator more responsive.

  1. Edit AVD: Open the AVD Manager and edit your virtual device.
  2. Change Resolution: Under "Advanced Settings," find the "Resolution" section. Choose a lower resolution to boost performance or a custom resolution that fits your needs.
  3. Save and Restart: Save your changes and restart the emulator to apply the new resolution.

Managing Emulator Skins

Customizing emulator skins can make your virtual device look more like a real one and help with testing.

  1. Download Skins: Find and download emulator skins from trusted sources.
  2. Add Skins: In the AVD Manager, edit your virtual device. Under "Device," click "New Device" and add your downloaded skin.
  3. Apply Skins: Select the new skin from the list and save your changes.

Using Command-Line Tools

Command-line tools offer powerful ways to manage and interact with your emulator.

  1. ADB (Android Debug Bridge): Use ADB to install apps, transfer files, and run shell commands. Open a terminal and type adb devices to see connected devices.
  2. Emulator Command: Start and configure emulators directly from the command line. For example, emulator -avd <AVD_NAME> starts a specific virtual device.
  3. Fastboot: Use Fastboot for tasks like flashing a device or unlocking the bootloader. Type fastboot devices to list connected devices in Fastboot mode.

Enhancing Usability

Increasing Font and Icon Size

Sometimes, the default font and icon sizes on an emulator can be too small, making it hard to see details. To fix this, you can easily adjust the sizes. First, open the emulator and go to the Settings app. Navigate to Display and then select Font size or Display size. Here, you can drag the slider to increase the size to your liking. This change will make everything more readable and easier to interact with.

Changing Wallpaper and Adding Widgets

Customizing the look of your emulator can make it feel more like a real device. To change the wallpaper, press and hold on the home screen until a menu pops up. Select Wallpapers and choose from the available options or add your own image. Adding widgets is just as simple. Press and hold on the home screen, then select Widgets. Drag and drop your desired widgets onto the screen. This can make your emulator not only look better but also more functional.

Setting Custom Notification Sounds

Hearing the same old notification sounds can get boring. To set custom notification sounds, open the Settings app and go to Sound. From there, select Notification sound. You can choose from the pre-installed sounds or add your own by placing audio files in the Notifications folder of the emulator's internal storage. This way, you can personalize your emulator experience even more.

Troubleshooting Common Issues

Resetting ADB

ADB (Android Debug Bridge) can sometimes run into issues, causing your emulator to act up. To reset ADB, open a command prompt or terminal window. Type adb kill-server to stop the ADB server, then type adb start-server to restart it. This simple reset can often resolve many common problems.

Clearing Cache and Data

If your emulator is running slow or acting weird, clearing the cache and data might help. Open the Settings app and go to Storage. Select Cached data and confirm to clear it. For a more thorough cleanup, go to Apps, select the app causing issues, and choose Clear cache and Clear data. This can free up space and improve performance.

Updating or Reinstalling the Emulator

Sometimes, the best way to fix persistent bugs is to update or reinstall the emulator. To update, open Android Studio and go to the SDK Manager. Check for updates and install them. If updating doesn't help, you might need to reinstall the emulator. Uninstall it from your system, then download and install the latest version from the official website. This fresh start can often solve lingering issues.

Final Thoughts

In a nutshell, Android emulators are a game-changer for developers and gamers alike, offering a virtual playground for testing apps or enjoying mobile games on a larger screen. While setting up and fine-tuning these emulators might seem like a hassle, the benefits far outweigh the effort. From enabling hardware acceleration to customizing virtual devices and managing RAM usage, these tweaks can supercharge performance. Plus, little touches like adjusting screen resolution or changing notification sounds can make your virtual device feel more lifelike. So, grab your keyboard, dive into the settings, and take full advantage of what Android emulators have to offer!

Introduction to Android Emulator

The Online Google Emulator allows users to simulate Android devices directly in their web browser. It helps developers test apps without needing physical devices. Users can access different Android versions, install apps, and debug issues. This tool supports various screen sizes and resolutions, making it versatile for testing. It also offers network simulation to check app performance under different conditions.

Necessary Specs and Compatibility

To use the online Google emulator, your device needs to meet certain requirements. First, ensure your operating system is either Windows 7 or later, macOS 10.10 or later, or a recent Linux distribution. Your processor should be at least an Intel Core i3 or equivalent. For RAM, a minimum of 4GB is necessary, but 8GB is recommended for smoother performance.

Your browser plays a crucial role too. Make sure you have the latest version of Google Chrome, Mozilla Firefox, Microsoft Edge, or Safari. The emulator relies heavily on WebGL, so your browser must support it. Check your graphics card; it should be compatible with OpenGL 2.0 or higher.

A stable internet connection is vital. Aim for at least 5 Mbps download speed to avoid lag. Ensure your device has at least 2GB of free storage for temporary files and cache.

Lastly, JavaScript must be enabled in your browser settings. Without it, the emulator won't function correctly. If your device meets these criteria, you’re all set to enjoy the features of the online Google emulator.

How to Set Up the Emulator

  1. Open your browser and go to the Google Play Store.
  2. Search for "Android Emulator" in the search bar.
  3. Select a trusted emulator like BlueStacks or NoxPlayer.
  4. Click "Install" to download the emulator.
  5. Open the downloaded file to start the installation process.
  6. Follow the on-screen instructions to complete the installation.
  7. Launch the emulator once installed.
  8. Sign in with your Google account to access the Play Store within the emulator.
  9. Search for apps or games you want to use.
  10. Click "Install" to download and install the apps within the emulator.
  11. Open the app from the emulator's home screen to start using it.

Tips for Effective Use

Multitasking: Open multiple apps simultaneously by using split-screen mode. Drag an app to the top or side of the screen, then select another app to fill the remaining space.

Customization: Personalize your home screen with widgets. Long-press on the home screen, choose "Widgets," then drag your favorites to the desired spot.

Battery Life: Extend battery life by enabling Battery Saver mode. Swipe down to access Quick Settings, then tap the battery icon.

Notifications: Manage notifications efficiently by long-pressing a notification and selecting "Manage". Choose which apps can send alerts.

Storage: Free up space using Google Files. Open the app, tap "Clean," and follow the prompts to delete unnecessary files.

Privacy: Protect your data by enabling App Permissions. Go to Settings, tap "Apps & notifications," then "Permissions manager" to control what each app can access.

Voice Commands: Utilize Google Assistant for hands-free control. Say "Hey Google" followed by your command, like setting reminders or sending texts.

Updates: Keep your device secure by regularly checking for system updates. Go to Settings, tap "System," then "Advanced," and "System update."

Backup: Safeguard your data with Google Backup. Navigate to Settings, tap "System," then "Backup," and ensure it's turned on.

Accessibility: Enhance usability with Accessibility features. Go to Settings, tap "Accessibility," and explore options like magnification and text-to-speech.

Troubleshooting Common Problems

Battery draining too fast? Lower screen brightness, close unused apps, and disable background data for non-essential apps.

Phone running slow? Clear cache, uninstall unused apps, and restart the device.

Apps crashing? Update the app, clear its cache, or reinstall it.

Wi-Fi not connecting? Restart the router, forget the network on your phone, then reconnect.

Bluetooth issues? Turn Bluetooth off and on, unpair then re-pair the device.

Storage full? Delete old files, move photos to cloud storage, or use an SD card.

Overheating? Avoid using the phone while charging, close heavy apps, and keep it out of direct sunlight.

Screen unresponsive? Restart the device, remove any screen protector, and ensure the screen is clean.

Notifications not showing? Check app notification settings, ensure Do Not Disturb is off, and restart the phone.

Camera not working? Restart the phone, clear the camera app's cache, or try a different camera app.

Privacy and Security Tips

Using an online Google emulator can be handy, but security and privacy should always be top of mind. User data might be at risk if not handled properly. Always log out of your accounts after use. Avoid entering sensitive information like passwords or credit card details. Use a VPN to mask your IP address and encrypt your connection. Regularly clear your browser cache and cookies to remove any stored data. Enable two-factor authentication on your accounts for an extra layer of security. Be cautious about permissions you grant to apps within the emulator. Always update the emulator and your browser to the latest versions to patch any vulnerabilities.

Comparing Other Emulators

Pros:

  1. Accessibility: Google’s online emulator can be accessed from any device with internet, unlike physical devices.
  2. Cost: Free to use, saving money compared to buying multiple devices for testing.
  3. Convenience: No need to carry multiple devices; everything is online.
  4. Updates: Automatically updated with the latest Android versions.

Cons:

  1. Performance: May lag compared to actual devices, especially with complex apps.
  2. Internet Dependency: Requires a stable internet connection.
  3. Limited Features: Some hardware-specific features might not be fully emulated.
  4. Battery Testing: Cannot test battery performance or behavior.

Alternatives:

  1. Android Studio Emulator: Offers more features and better performance but requires installation and a powerful computer.
  2. Bluestacks: Good for running Android apps on a PC but less ideal for development.
  3. Genymotion: Cloud-based and local options with better performance but comes with a cost.
  4. Physical Devices: Best for real-world testing but expensive and less convenient.

Battery draining too fast? Lower screen brightness, close unused apps, and disable background data for non-essential apps.

Phone running slow? Clear cache, uninstall unused apps, and restart the device.

Apps crashing? Update the app, clear its cache, or reinstall it.

Wi-Fi not connecting? Restart the router, forget the network on your phone, then reconnect.

Bluetooth issues? Turn Bluetooth off and on, unpair then re-pair the device.

Storage full? Delete old files, move photos to cloud storage, or use an SD card.

Overheating? Avoid using the phone while charging, close heavy apps, and keep it out of direct sunlight.

Screen unresponsive? Restart the device, remove any screen protector, and ensure the screen is clean.

Notifications not showing? Check app notification settings, ensure Do Not Disturb is off, and restart the phone.

Camera not working? Restart the phone, clear the camera app's cache, or try a different camera app.

Key Takeaways

Using an online Google emulator for Android offers a bunch of benefits. It lets you test apps without needing a physical device, which saves both time and money. You can also experiment with different Android versions and configurations easily. Plus, it’s a great way to learn and practice Android development if you’re just starting out.

However, keep in mind that emulators might not perfectly mimic real-world performance. They can be slower and might not handle hardware-specific features well. So, while they’re super useful, don’t rely on them completely for final testing.

In short, an online Google emulator is a handy tool for developers and enthusiasts alike. Just remember its limitations and use it as part of a broader testing strategy.

How can I boost Android emulator performance?

You can significantly improve emulator performance by enabling hardware acceleration and using virtual device images suited for your processor. Check out "Configure hardware acceleration for the Android Emulator" on developer.android.com for more details.

How do I make online emulators run faster?

Enable GPU Emulation to let the emulator use your computer's GPU for faster drawing. It's off by default, so turn it on whenever you launch an AVD.

What can I do with an Android emulator?

An Android Emulator mimics device software and hardware, letting you test apps. While it can't simulate performance issues or hardware capabilities, it’s great for basic testing.

Why is my Android emulator so slow?

Your emulator might be slow due to insufficient RAM, lack of hardware acceleration, or using an outdated version. Try increasing RAM, enabling hardware acceleration, or updating the emulator.

Can I use an Android emulator for gaming?

Yes, you can use an Android emulator for gaming. Just ensure it supports hardware acceleration and has enough resources to handle game graphics and performance.

How do I enable hardware acceleration on my Android emulator?

To enable hardware acceleration, go to your emulator settings and look for the "Emulated Performance" section. Select "Hardware - GLES 2.0" or higher for better performance.

Are there any alternatives to the default Android emulator?

Yes, alternatives like BlueStacks, Genymotion, and NoxPlayer offer different features and performance benefits. Choose one that fits your needs and system capabilities.

Was this page helpful?