
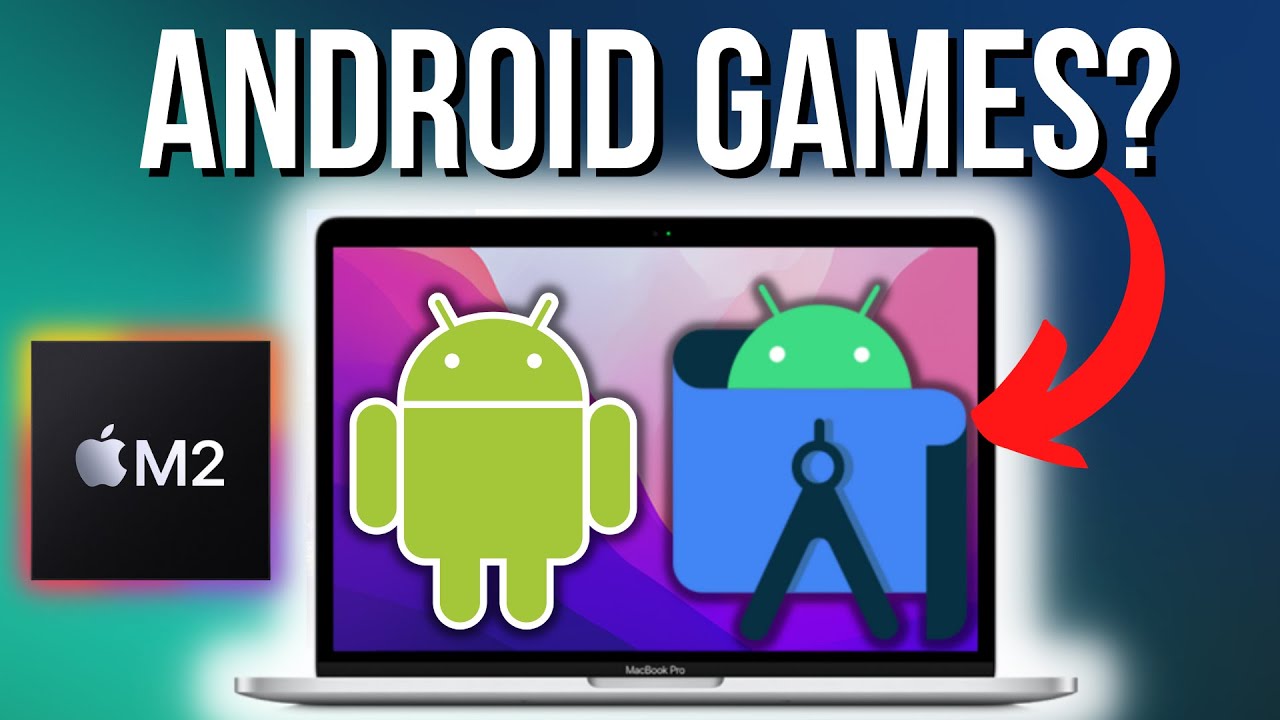
Introduction
The Android Emulator is a powerful tool for developers and users, allowing you to run and test Android applications on your Mac without needing a physical device. This guide will walk you through setting up and managing an Android emulator on your Mac, including creating and managing virtual devices, installing and running apps, and troubleshooting common issues.
System Requirements
Before starting, ensure your Mac meets the system requirements for running the Android Emulator. The minimum specifications include:
- 16 GB RAM: Ensures smooth and efficient emulator performance.
- 64-bit Operating System: Requires macOS 12 or higher.
- 16 GB Disk Space: Minimum disk space needed to run the emulator.
For higher API levels or virtual devices with larger screens, higher system specs may be necessary. If your Mac doesn't meet these requirements, consider testing on a physical device instead.
Step-by-Step Guide
Step 1: Install Homebrew
Homebrew simplifies software installation on macOS. If not already installed, run the following command in your Terminal:
bash
/bin/bash -c "$(curl -fsSL https://raw.githubusercontent.com/Homebrew/install/HEAD/install.sh)"
This command will download and install Homebrew, which you'll use to install the Android Command Line Tools.
Step 2: Install Android Command Line Tools
With Homebrew installed, use it to install the Android Command Line Tools. Run the following command:
bash
brew install –cask android-commandlinetools
This command installs the necessary tools, including the sdkmanager, which you'll use to download system images and manage AVDs.
Step 3: Set Up Environment Variables
Configure your environment variables to ensure the command line tools can locate the necessary files. Add the following lines to your ~/.zshrc (or ~/.bash_profile if using bash):
bash
export ANDROID_HOME=$HOME/Library/Android/sdk
export PATH=$ANDROID_HOME/cmdline-tools/latest/bin:$PATH
export PATH=$ANDROID_HOME/emulator:$PATH
export PATH=$ANDROID_HOME/platform-tools:$PATH
Apply the changes to your shell configuration by running:
bash
source ~/.zshrc
or
source ~/.bash_profile
Step 4: Download Required System Images
Since Apple Silicon uses the ARM architecture, download ARM system images instead of x86 images. Use the sdkmanager to download the necessary system images. For example, to download Android 34 system images with Google Play:
bash
sdkmanager "system-images;android-34;default;armeabi-v7a" "system-images;android-34;default;x86_64" "system-images;android-34;google_apis_playstore;armeabi-v7a" "system-images;android-34;google_apis_playstore;x86_64"
This command ensures your emulator is compatible with the latest devices and OS versions.
Step 5: Create an Android Virtual Device (AVD)
Create an AVD using the AVD Manager interface within Android Studio or manage it from the command line using the avdmanager. Here’s how to do it from the command line:
-
List Available AVDs:
bash
avdmanager list avd -
Create a New AVD:
bash
avdmanager create avd –name Pixel_6_Pro_API_34 –package 'system-images;android-34;default;armeabi-v7a' –tag 'google_apis_playstore' -
Start the Emulator:
bash
emulator @Pixel_6_Pro_API_34 -netdelay none -netspeed full
This will start the emulator with the specified AVD and network settings.
Step 6: Install and Run Apps
Once the emulator is running, install and run apps using the adb utility. Here’s how to do it:
-
Build and Package Your App:
Follow the steps to build and package your app into an APK, as described in the Android documentation. -
Install Your App:
bash
adb install path/to/your/app.apk -
Run and Test Your App:
The app will now be installed and running on the emulator. Test it as you would on a physical device.
Step 7: Manage AVDs
Efficient development requires managing AVDs. Here’s how to manage them:
-
List AVDs:
bash
avdmanager list avd -
Delete AVDs:
bash
avdmanager delete avd -n Pixel_6_Pro_API_34 -
Update System Images:
bash
sdkmanager –update -
Download Additional System Images:
bash
sdkmanager "system-images;android-34;default;armeabi-v7a" "system-images;android-34;default;x86_64"
Step 8: Troubleshooting Common Issues
While setting up and managing an Android emulator on your Mac can be straightforward, you may encounter some common issues. Here are some troubleshooting tips:
-
Emulator Not Starting:
- Ensure the necessary environment variables are set correctly.
- Check if the system images are downloaded and installed correctly.
- Verify the AVD is created and configured properly.
-
Performance Issues:
- Increase the RAM allocated to the emulator.
- Adjust the network settings (
-netdelay none -netspeed full). - Consider upgrading your system specs if performance is still an issue.
-
ADB Not Recognizing Emulator:
- Ensure the emulator is running and recognized by the
adbutility. - Use the
-dflag withadbcommands to specify the target device.
- Ensure the emulator is running and recognized by the
-
Emulator Crashing:
- Check for any updates to the emulator and SDK tools.
- Clear the user data partition by starting the emulator with the
-wipe-dataoption.
Additional Resources
For more detailed information and advanced features, refer to the official Android documentation:
Community forums and developer documentation are excellent resources for additional help and customization. By following this guide, you'll be well-equipped to handle any Android development task on your Mac, ensuring that your projects run smoothly and efficiently. Happy developing!
Feature Overview
This feature allows users to run Android apps on a Mac computer. It creates a virtual Android environment where you can install, use, and test apps just like on a real Android device. Key functionalities include app compatibility, keyboard and mouse support, file transfer between Mac and Android, and customizable settings for performance optimization.
What You Need and Compatibility
To run an Android emulator on a Mac, your device needs to meet certain requirements. First, ensure your Mac runs on macOS 10.12 (Sierra) or later. Older versions might not support the latest emulators.
Your Mac should have at least 4GB of RAM, but 8GB or more is recommended for smoother performance. A dual-core Intel processor is the minimum, but a quad-core or higher will provide better speed and efficiency.
Check your storage. Emulators can be space-hungry, so having at least 10GB of free disk space is crucial. More space ensures you can install apps and games without running into issues.
For graphics, your Mac should support OpenGL 2.0 or higher. This is essential for rendering the Android interface and running apps smoothly.
Lastly, ensure your Mac has a stable internet connection. Many emulators require downloading additional files during setup or updates.
In summary, you need macOS 10.12+, 4GB+ RAM, a dual-core Intel processor, 10GB+ free disk space, OpenGL 2.0+ support, and a stable internet connection. Meeting these requirements ensures your Mac can handle an Android emulator effectively.
How to Set Up
- Download the emulator software from a trusted website.
- Open the downloaded file.
- Drag the emulator icon into the Applications folder.
- Launch the emulator from the Applications folder.
- Sign in with your Google account.
- Search for the Android app you want to use.
- Click install.
- Open the app from the emulator's home screen.
- Adjust settings as needed for performance.
- Enjoy using Android apps on your Mac!
Effective Usage Tips
Optimize Performance: Close unnecessary apps on your Mac. Emulators can be resource-heavy. Allocate More RAM: In emulator settings, increase RAM allocation for smoother performance. Use Keyboard Shortcuts: Familiarize yourself with shortcuts to navigate quickly. Test Different Emulators: Not all emulators are created equal. Try a few to find the best fit. Update Regularly: Keep both your emulator and macOS updated to avoid compatibility issues. Backup Data: Regularly save your progress to avoid losing important data. Adjust Graphics Settings: Lower graphics settings if experiencing lag. Enable Developer Options: In Android settings, enable developer options for advanced features. Use a Gamepad: For gaming, a gamepad can provide a better experience than a keyboard. Check Compatibility: Ensure the apps you want to use are compatible with the emulator. Monitor Temperature: Emulators can heat up your Mac. Use a cooling pad if necessary. Read Reviews: Look for user reviews and forums for tips specific to the emulator you choose. Experiment with Settings: Don’t be afraid to tweak settings to find the optimal configuration. Secure Your Mac: Use antivirus software to protect against potential threats from downloaded APKs. Network Settings: Configure network settings for better online performance. Use Multiple Instances: Some emulators allow running multiple instances for multitasking. Screen Recording: Use built-in tools to record your screen for tutorials or gameplay. Custom Key Mapping: Customize key mapping for games to improve control. Cloud Sync: Use cloud services to sync data across devices. Stay Organized: Keep your emulator workspace tidy to avoid clutter and confusion.
Troubleshooting Common Problems
Slow Performance: Close unused apps. Increase RAM allocation in emulator settings. Update the emulator and macOS.
App Crashes: Ensure the app is compatible with the emulator. Clear app cache. Reinstall the app.
Graphics Issues: Update graphics drivers. Enable hardware acceleration in emulator settings. Switch to a different graphics mode (OpenGL or DirectX).
Network Problems: Check internet connection. Restart the emulator. Reset network settings within the emulator.
Sound Issues: Verify sound settings in both macOS and the emulator. Update sound drivers. Restart the emulator.
Keyboard Input Lag: Increase RAM allocation. Close background apps. Update the emulator.
Installation Errors: Ensure enough disk space. Download the latest version of the emulator. Check for macOS updates.
Sync Problems: Re-login to your Google account. Check sync settings. Restart the emulator.
Black Screen: Increase RAM allocation. Enable hardware acceleration. Update graphics drivers.
Emulator Not Starting: Reinstall the emulator. Check for macOS updates. Ensure virtualization is enabled in BIOS settings.
Privacy and Security Tips
Using an Android emulator on a Mac involves some security and privacy considerations. User data can be at risk if the emulator isn't from a trusted source. Always download from official websites or reputable developers. Avoid emulators that ask for unnecessary permissions.
Data handling within emulators can vary. Some might store data locally, while others might sync with cloud services. Check the emulator's privacy policy to understand how your data is managed.
To maintain privacy, use a VPN to mask your IP address. Regularly clear cache and cookies within the emulator. Disable unnecessary permissions and avoid logging into sensitive accounts. Keep the emulator and your Mac's OS updated to protect against vulnerabilities.
Be cautious with third-party apps installed on the emulator. Only download apps from trusted sources like the Google Play Store. Regularly review app permissions and revoke any that seem excessive.
Other Options and Comparisons
Pros:
- BlueStacks: Runs Android apps on Mac smoothly. Offers good performance and user-friendly interface.
- NoxPlayer: Another solid choice for Mac users. Provides a customizable experience with keyboard mapping.
- Genymotion: Great for developers. Offers advanced features like GPS simulation and network quality testing.
Cons:
- BlueStacks: Can be resource-heavy. May slow down older Macs.
- NoxPlayer: Sometimes lags with high-end games. Limited support for some apps.
- Genymotion: Requires a VirtualBox installation. Not ideal for casual users due to complexity.
Alternatives:
- Android Studio: Best for developers needing an official emulator. Includes a full suite of development tools.
- MEmu: Good for gaming. Offers high performance but primarily designed for Windows.
- KOPlayer: Another gaming-focused emulator. Runs well but lacks some advanced features.
Using Mac Android emulators opens up a world of possibilities. They let you run Android apps on your Mac, making it easier to test apps or play mobile games on a bigger screen. Popular options like BlueStacks, NoxPlayer, and Genymotion offer different features to suit various needs. BlueStacks is user-friendly, NoxPlayer is great for gamers, and Genymotion is perfect for developers.
Installing these emulators is usually straightforward. Download the software, follow the installation steps, and you’re good to go. Just make sure your Mac meets the system requirements for smooth performance.
Whether you’re a developer, gamer, or just curious, these tools can make your Mac more versatile. Give one a try and see how it can enhance your experience.
What is a Mac Android Emulator?
A Mac Android Emulator is software that lets you run Android apps on a Mac computer. It creates a virtual Android device on your Mac, so you can use apps, play games, and test software just like you would on an Android phone or tablet.
Why would I need an Android Emulator on my Mac?
You might need an Android Emulator to test apps if you're a developer, play mobile games on a bigger screen, or use Android apps that aren't available on macOS. It's handy for anyone who wants to experience Android without buying a separate device.
Are there any free Android Emulators for Mac?
Yes, there are free options like BlueStacks, NoxPlayer, and Genymotion. These emulators offer a range of features and are popular among users for their ease of use and reliability.
How do I install an Android Emulator on my Mac?
First, download the emulator software from its official website. Open the downloaded file and follow the on-screen instructions to install it. Once installed, launch the emulator and sign in with your Google account to start using Android apps.
Is it safe to use Android Emulators on a Mac?
Generally, it's safe if you download emulators from reputable sources. Stick to well-known emulators like BlueStacks or NoxPlayer to avoid malware or other security risks. Always read reviews and check for any security concerns before installing.
Can I use Google Play Store on an Android Emulator?
Yes, most Android Emulators come with Google Play Store pre-installed. You can log in with your Google account and download apps just like you would on an actual Android device.
Do Android Emulators slow down my Mac?
Running an emulator can use a lot of system resources, which might slow down your Mac, especially if it's an older model. Closing other applications and ensuring your Mac meets the emulator's system requirements can help maintain performance.