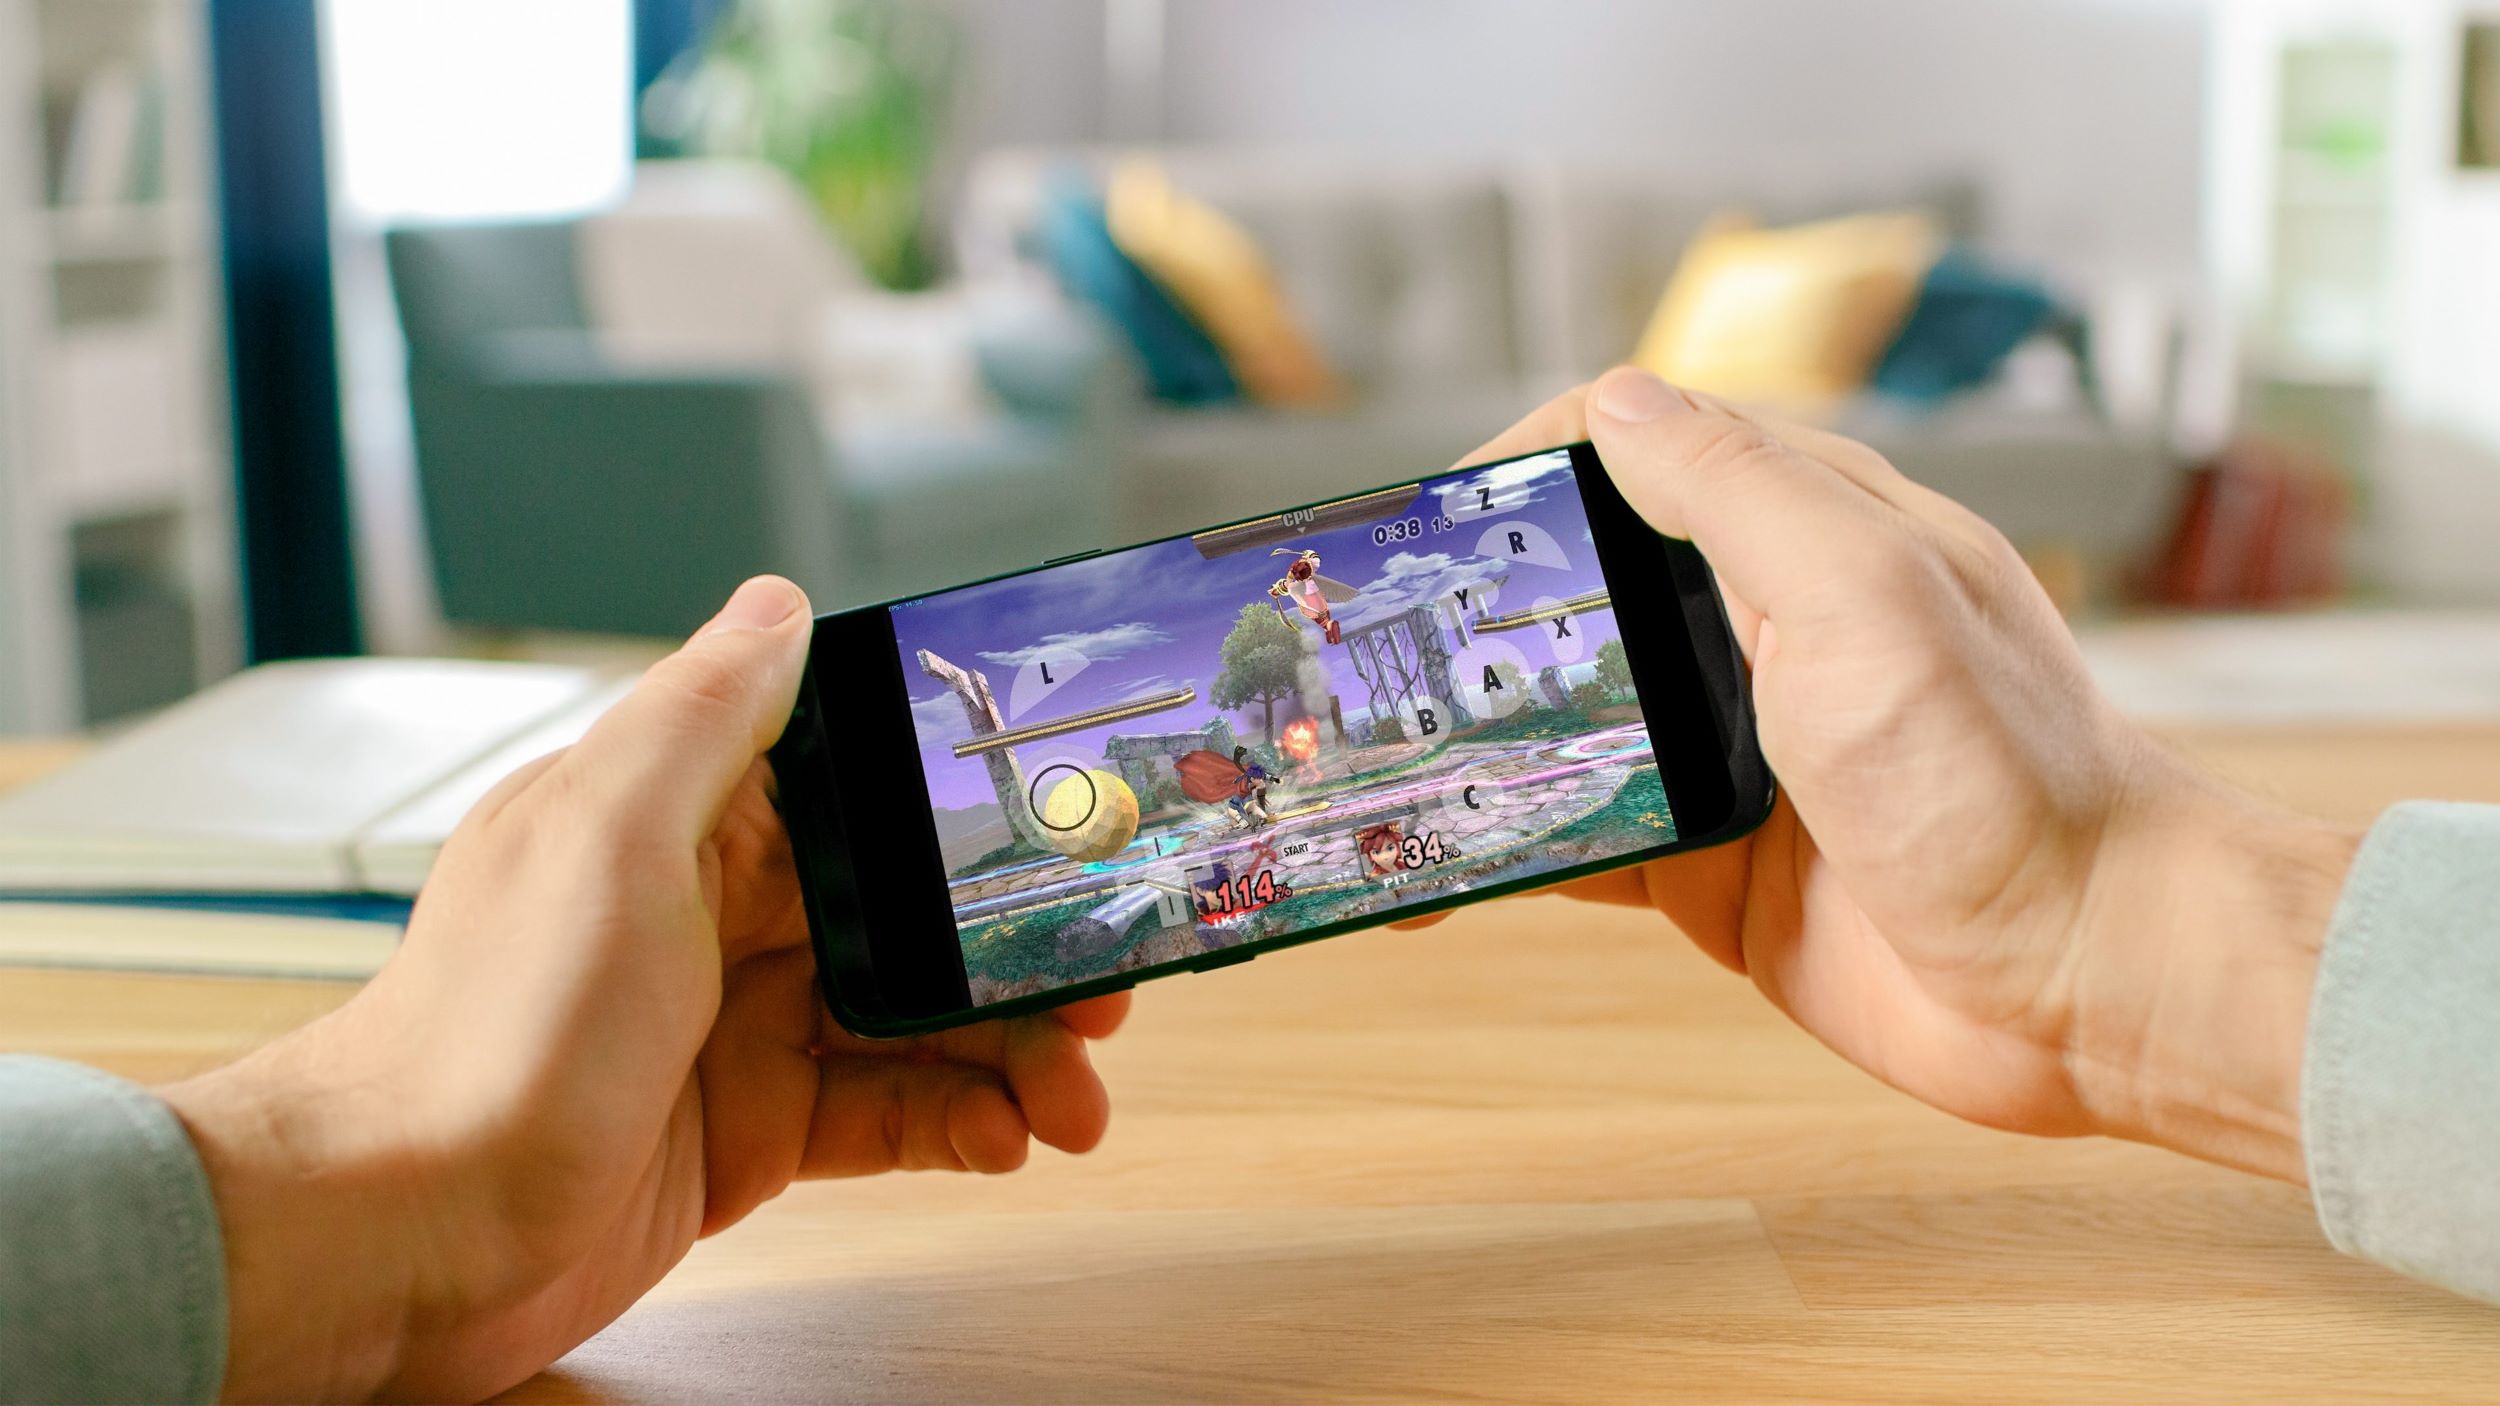
Android Emulator: How to Play Google Games on Your Device

Play Games
android-emulator-how-to-play-google-games-on-your-device
Source: Nextpit.com

Introduction to Android Emulators

What is an Android Emulator?

An Android Emulator is a software application that mimics an Android device on your computer. It lets you run Android apps and games on a PC or Mac, creating a virtual environment that behaves like a real Android phone or tablet. This tool is handy for developers testing apps or gamers wanting to play mobile games on a bigger screen.

Why Use an Emulator for Google Play Games?

Using an emulator to play Google Play Games on a PC has several perks. First, you get a larger screen, which can make gameplay more enjoyable. Second, you can use a keyboard and mouse, offering better control for some games. Lastly, emulators often provide better performance and graphics, especially if your computer is more powerful than your mobile device.

Key Takeaways:

  • Android Emulators let you play mobile games on your computer with better graphics and controls, making gaming more fun and easier to manage.
  • Setting up an emulator involves downloading the software, signing in with your Google account, and tweaking settings for the best performance.

Setting Up the Emulator

System Requirements

Before diving in, check if your computer meets the minimum system requirements. Most emulators need at least:

  • Windows 7 or higher, or macOS.
  • Intel or AMD processor with virtualization support.
  • 4GB of RAM (8GB recommended).
  • 5GB of free disk space.
  • Updated graphics drivers.

Downloading and Installing the Emulator

To get started, you need to download and install an emulator. Let's use the Google Play Games on PC Developer Emulator as an example:

  1. Visit the official website and download the installer.
  2. Run the installer and follow the on-screen instructions.
  3. Once installed, open the emulator and sign in with your Google account.

Initial Configuration

Enabling Virtualization

Virtualization boosts emulator performance. To enable it:

  1. Restart your computer and enter the BIOS settings (usually by pressing F2, F10, DEL, or ESC during startup).
  2. Look for a setting named Intel VT-x, AMD-V, or SVM Mode.
  3. Enable the setting and save changes.
  4. Restart your computer.

Configuring Emulator Settings

After enabling virtualization, tweak the emulator settings for optimal performance:

  1. Open the emulator and go to the Settings menu.
  2. Adjust the CPU and RAM allocation based on your computer's specs. More resources generally mean better performance.
  3. Set the resolution and DPI to match your monitor for a clearer display.
  4. Enable hardware acceleration if available.

Installing Google Play Games

Sign In to Google Play

First things first, you need to sign in to your Google account within the emulator. Open the emulator and look for the Google Play Store icon. Click on it, and a sign-in screen will pop up. Enter your Google account email and password. If you have two-factor authentication enabled, follow the prompts to complete the sign-in process. Once signed in, you’ll have access to all your apps and games.

Navigating the Google Play Store

Navigating the Google Play Store within the emulator is pretty straightforward. Once you’re signed in, you’ll see the familiar Play Store interface. Use the search bar at the top to find specific games or apps. You can also browse through categories like Top Charts, Games, Family, and more. Clicking on any app or game will take you to its detailed page, where you can read reviews, see screenshots, and check ratings.

Downloading and Installing Games

Downloading and installing games is a breeze. After finding the game you want, click on it to open its page. You’ll see a green Install button—click it. The game will start downloading, and once it’s done, it will automatically install. You can monitor the download progress in the notification bar at the top of the emulator screen. Once installed, you can open the game directly from the Play Store or find it in the emulator’s app drawer.

Debugging and Testing

Using ADB for Debugging

ADB, or Android Debug Bridge, is a powerful tool for debugging. To use ADB, you first need to enable Developer Options in the emulator. Go to Settings > About Phone and tap on Build Number seven times. This will unlock Developer Options. Now, go to Developer Options and enable USB Debugging. Connect your PC to the emulator using ADB by typing adb connect <emulator_ip_address> in the command prompt. You can now use ADB commands to debug your games.

Testing Game Performance

Testing game performance is crucial to ensure a smooth gaming experience. Start by playing the game and observing its performance. Look for any lag, stuttering, or graphical glitches. Use built-in tools like FPS counters to monitor frame rates. If the game supports it, enable performance metrics to get detailed insights. Adjust the emulator settings as needed to improve performance.

Troubleshooting Common Issues

Sometimes, things don’t go as planned. Here are some common issues and their solutions:

  • Game Crashes: Ensure your emulator and game are updated to the latest versions. Try clearing the game’s cache from the emulator settings.
  • Lag and Stuttering: Allocate more RAM and CPU to the emulator. Lower the game’s graphics settings.
  • Connectivity Issues: Check your internet connection. Restart the emulator and try again.

If problems persist, consult the emulator’s support forums or documentation for more specific solutions.

Advanced Configuration

Customizing Emulator Settings

Diving into the advanced settings of your emulator can significantly enhance your gaming experience. Start by adjusting the CPU and RAM allocation. Most emulators allow you to tweak these settings, letting you dedicate more resources to the emulator. This can make games run smoother and reduce lag. Additionally, explore the graphics settings. Some emulators offer options like OpenGL or DirectX. Experiment with these to see which one provides the best performance for your system.

Another useful setting is the frame rate limit. By default, many emulators cap the frame rate at 30 FPS. Increasing this to 60 FPS or higher can make gameplay feel more fluid. However, ensure your system can handle the increased load to avoid overheating or crashes.

Testing Different Aspect Ratios

Different games may look better with different aspect ratios. Most emulators let you switch between common ratios like 16:9, 4:3, or even custom settings. To test this, open the emulator settings and look for the display or screen settings. Try playing your game in each ratio to see which one offers the best visual experience.

Remember, some games are designed with a specific aspect ratio in mind. If a game looks stretched or squished, it might be worth reverting to its original ratio. This can also help with touch controls, making them more accurate and responsive.

Graphics Profiling

Profiling your graphics performance helps identify bottlenecks and optimize settings. Most emulators come with built-in tools for this purpose. Start by enabling the graphics profiler in the emulator settings. This tool will show you real-time data on frame rates, GPU usage, and other critical metrics.

While playing a game, keep an eye on these metrics. If you notice frame drops or high GPU usage, consider lowering the graphics settings or switching to a different rendering mode. This can help maintain a stable performance, especially in graphically intensive games.

Optimizing Game Performance

Adjusting Emulator Resources

Allocating more resources to your emulator can drastically improve game performance. In the emulator settings, find the resource allocation section. Here, you can increase the amount of CPU cores and RAM dedicated to the emulator. For most modern games, allocating at least 4 CPU cores and 4GB of RAM is recommended.

However, be mindful of your system's overall capacity. Allocating too many resources to the emulator can slow down other applications or even cause system instability. Balance is key.

Optimizing Graphics Settings

Graphics settings play a huge role in game performance. Start by setting the resolution to match your monitor's native resolution. This ensures the game looks sharp and clear. Next, adjust the graphics quality. Many emulators offer presets like low, medium, high, and ultra.

If your game is lagging, try lowering the quality setting. You can also tweak individual settings like texture quality, shadows, and anti-aliasing. Each of these can have a significant impact on performance.

Monitoring System Performance

Keeping an eye on your system's performance while running the emulator is crucial. Use tools like Task Manager on Windows or Activity Monitor on macOS to monitor CPU, RAM, and GPU usage. This helps identify if the emulator is consuming too many resources.

Additionally, some emulators come with built-in performance monitors. These tools provide real-time data on how the emulator is performing. If you notice any spikes or unusual activity, it might be time to adjust your settings or close unnecessary background applications.

Additional Tips

Keeping Tools Up to Date

Regularly updating your emulator and related tools ensures you have the latest features and bug fixes. Most emulators will notify you when an update is available. Make it a habit to check for updates at least once a month. This can also improve compatibility with new games and system updates.

Scoped Storage and Package Visibility

For developers, understanding scoped storage and package visibility is essential. Scoped storage limits how apps access your device's storage, improving security and privacy. Make sure your emulator settings comply with these guidelines to avoid issues with app permissions.

Package visibility controls which apps can see each other on your device. This is important for debugging and testing, as it affects how apps interact. Adjust these settings in the emulator to match your development needs.

Wrapping It Up

In a nutshell, Android emulators are game-changers for both developers and gamers alike. They let you run mobile apps on a bigger screen, offering better control and performance. By following the setup steps and tweaking settings, you can make your emulator run smoothly and efficiently. Whether you're testing new apps or diving into your favorite mobile games, these tips will help you get the most out of your virtual Android experience. Remember to keep your software updated and monitor system performance for the best results. So, fire up that emulator and enjoy the enhanced capabilities it brings to your tech toolkit!

How do I install Google Play Games on an emulator?

Download an Android emulator like BlueStacks or NoxPlayer. Open it, sign in with your Google account, then head to the Google Play Store. Search for Google Play Games, click install, and you're good to go!

Can I play all Google Play Games on an emulator?

Most games work fine, but some might have issues or restrictions. Check game reviews and forums to see if others have had success with your chosen emulator.

Is it safe to use an emulator for Google Play Games?

Generally, yes. Stick to well-known emulators like BlueStacks or NoxPlayer. Avoid downloading from sketchy sites to keep your device safe from malware.

Do I need a powerful computer to run an emulator?

Not necessarily. A mid-range computer should handle most games. However, more demanding games might need better specs for smooth gameplay.

Can I use my existing Google Play account on an emulator?

Absolutely! Just sign in with your Google account when setting up the emulator. All your saved games and progress should sync automatically.

Are there any alternatives to BlueStacks and NoxPlayer?

Yes, there are others like LDPlayer, MEmu, and Andy. Each has its own features and performance levels, so try a few to see which works best for you.

Can I use a game controller with an emulator?

Yep! Most emulators support game controllers. Just connect your controller to your computer, configure it in the emulator settings, and start playing.

Was this page helpful?