
Method 1: Using iTunes
One traditional method for transferring data between devices involves using iTunes. Though it may seem outdated compared to modern cloud services, it remains reliable for those preferring a direct approach.
Step-by-Step Guide Using iTunes
-
Connect Your Android Device to Your Computer:
- Use a USB cable to connect your Android device to your computer. Ensure the device is recognized by your computer.
- If prompted, select "File Transfer" or "Media Device (MTP)" on your Android device to allow file transfers.
-
Copy Ringtones to Your Computer:
- Navigate to the folder where your ringtones are stored on your Android device, usually found in "System" > "Media" > "Audio" > "Ringtone."
- Copy the desired ringtones and paste them into a folder on your computer for easier management.
-
Open iTunes and Add Ringtones:
- Download and install iTunes from the official Apple website if not already installed.
- Open iTunes and go to "File" > "Add File to Library" or "Add Folder to Library." Select the folder containing the copied ringtones.
-
Convert Ringtones if Necessary:
- iPhones use the M4R file format for ringtones. If your ringtones are in a different format (like MP3), convert them.
- Right-click on the MP3 file in iTunes, select "Get Info," then go to the "Options" tab. Change the start and stop times to trim the audio to less than 30 seconds.
- Click "OK," then go back to the iTunes library. Select the original song and go to "File" > "Convert" > "Create AAC Version." This creates a new file in M4A format, which can then be converted to M4R.
-
Convert M4A to M4R:
- Right-click on the trimmed M4A file and select "Show in Windows Explorer" (or Show in Finder on Mac). Copy and paste this file to your desktop.
- Rename the file extension from .m4a to .m4r.
-
Transfer Ringtones to iPhone via iTunes:
- Connect your iPhone to your computer using a USB cable.
- In iTunes, select your iPhone from the top left corner and navigate to the "Tones" tab.
- Check the box next to "Sync Tones" and select the M4R files you converted earlier.
- Click "Apply" or "Sync" to initiate the synchronization process and transfer the ringtones to your iPhone.
Method 2: Using Send Anywhere
Send Anywhere allows wireless file transfers between devices, making it useful for transferring ringtones without cables or cloud services.
Step-by-Step Guide Using Send Anywhere
-
Download and Install Send Anywhere on Both Devices:
- Download and install the Send Anywhere app from the Google Play Store on your Android device.
- Download and install the Send Anywhere app from the App Store on your iPhone.
-
Select Ringtones on Android Device:
- Launch the Send Anywhere app on your Android device.
- Tap the plus icon or the file icon to select the ringtones you want to transfer.
-
Generate a Key or QR Code:
- After selecting the files, tap the send button.
- The app will generate a unique six-digit key or a QR code.
-
Receive Ringtones on iPhone:
- Open the Send Anywhere app on your iPhone.
- Enter the six-digit key or scan the QR code generated on the Android device.
- Once connected, the ringtones will be displayed. Tap "Receive" to download and save them on your iPhone.
Method 3: Using Share It
Share It offers another wireless file transfer option, similar to Send Anywhere but with its own features.
Step-by-Step Guide Using Share It
-
Download and Install Share It on Both Devices:
- Download and install the Share It app from the Google Play Store on your Android device.
- Download and install the Share It app from the App Store on your iPhone.
-
Select Ringtones on Android Device:
- Launch the Share It app on your Android device.
- Tap the send button and choose the ringtones you want to transfer.
-
Connect Devices:
- On your iPhone, launch the Share It app and tap on the receive option.
- The Share It app on your iPhone will start searching for nearby devices. Select your Android device from the available list.
-
Confirm Connection:
- On your Android device, confirm the connection. Accept the connection once established, and the file transfer will begin.
-
Complete Transfer:
- Once the transfer is complete, a completion message will appear on both devices.
Method 4: Using Cloud Services
Cloud services like Google Drive, Dropbox, and OneDrive provide an easy way to transfer ringtones between devices without cables or specialized apps. However, this method may take longer due to the upload and download process.
Step-by-Step Guide Using Google Drive
-
Install Google Drive on Both Devices:
- Download and install the Google Drive app from the Google Play Store on your Android device.
- Download and install the Google Drive app from the App Store on your iPhone.
-
Upload Ringtones to Google Drive:
- Open the Google Drive app on your Android device.
- Tap the "+" icon at the bottom right and select "Upload."
- Choose the ringtones you want to transfer and upload them to your Google Drive.
-
Download Ringtones on iPhone:
- Sign in to the Google Drive app on your iPhone using the same credentials.
- Find the uploaded songs and tap the three dots next to a song.
- Choose "Download" to save it to your iPhone's storage.
-
Convert Songs to Ringtone Format:
- If you want to use these songs as ringtones, convert them to M4R format. One way to do this is by using GarageBand, which is installed on iPhones by default.
- Open GarageBand and tap the "Project" icon.
- Tap the "Loop" icon on the top-right corner of the screen.
- Choose the audio file transferred from Android and trim it to less than 30 seconds.
- Long-press on the clip you made, tap "Share," and choose "Ringtone."
- Name the ringtone and tap "Export."
Additional Tips
Using FoneTool
FoneTool offers an efficient way to transfer ringtones from Android to iPhone.
-
Connect Android Phone to Computer:
- Connect your Android phone to your computer using a USB cable.
- Copy the ringtones from your Android device to your computer.
-
Download and Install FoneTool:
- Download, install, and run FoneTool.
- Connect your iPhone via USB cable.
-
Transfer Ringtones:
- When the software recognizes the device, choose the "Phone Transfer" option.
- Go to "PC to iPhone" and click "Get Started."
- Click "Ringtones" and drag and drop the ringtones into the box.
- Click "Start Transfer" to add ringtones to your iPhone.
-
Set Ringtones on iPhone:
- Once the transfer is finished, go to "Settings" on your iPhone.
- Tap "Sounds & Haptics" and select "Ringtone."
- Choose the targeted files as your iPhone ringtone.
Setting Ringtones on Samsung and iPhone
Samsung Device
-
Open Settings App:
- Open the "Settings" app on your Samsung device.
-
Select Sounds & Vibration:
- Tap "Sounds & Vibration."
-
Choose Ringtone:
- Select "Ringtone."
-
Add New Ringtone:
- Tap the "+" at the top right of the display.
- Select the song you want to set as your next Samsung ringtone.
-
Confirm Selection:
- Once selected, hit the "Done" button.
iPhone
-
Open Settings App:
- Open the "Settings" app on your iPhone.
-
Select Sounds & Haptics:
- Tap "Sounds & Haptics."
-
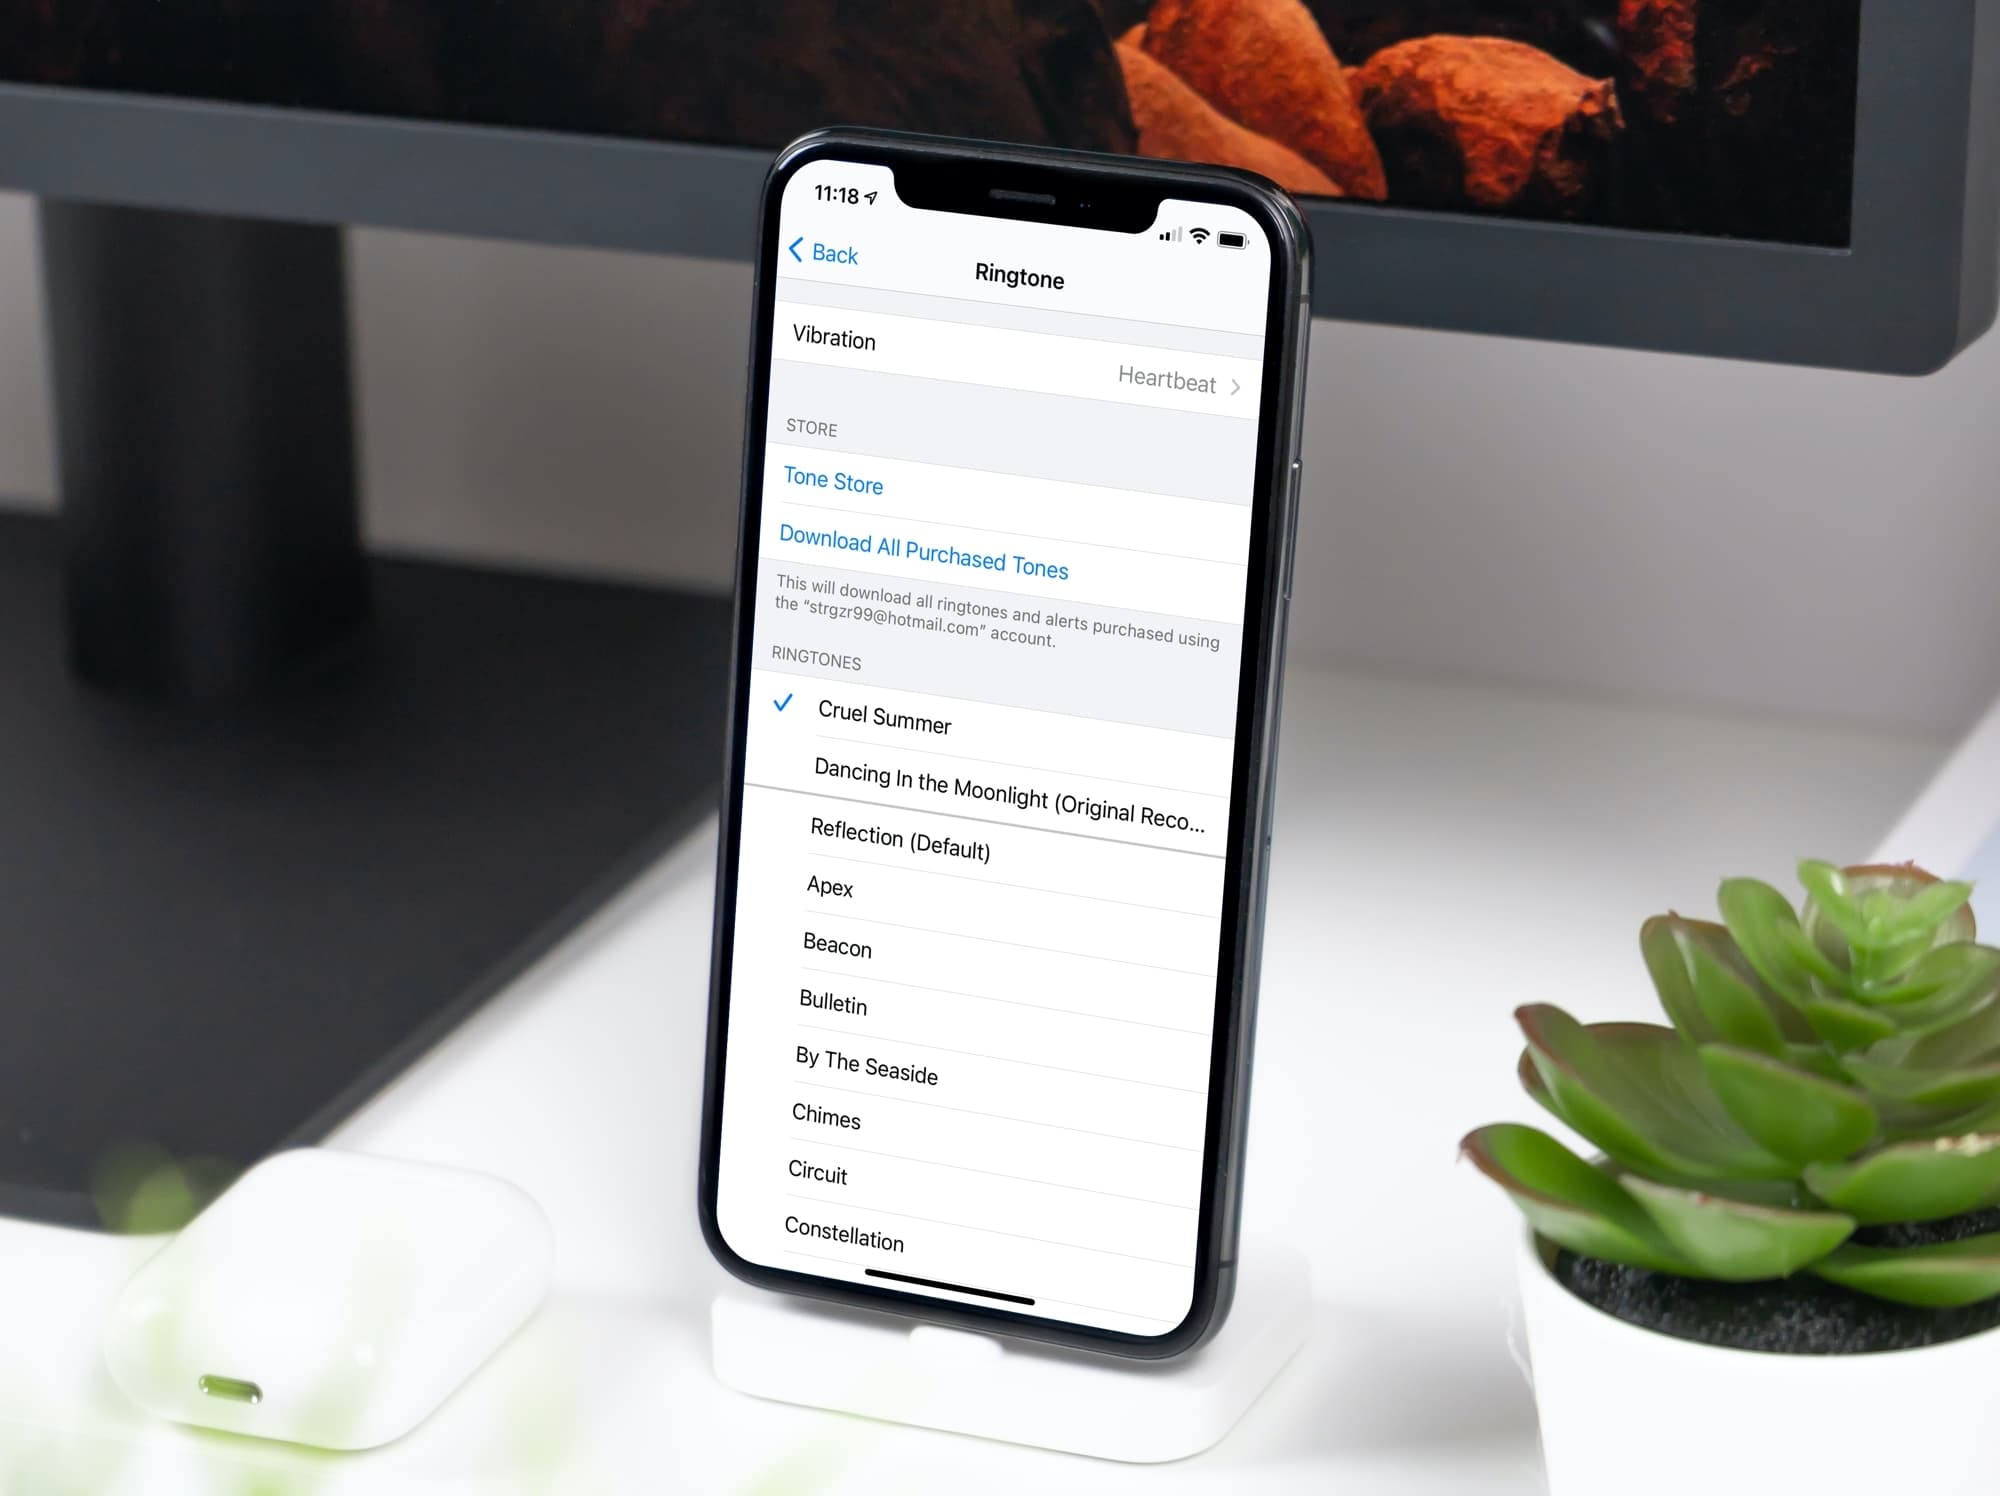
Choose Ringtone:
- Select "Ringtone."
-
Select Song:
- From the ringtone list, tap the song you want to set as your next iPhone ringtone.
Transferring ringtones from an Android device to an iPhone can be done using various methods, each with its own set of advantages and disadvantages. Whether you prefer using iTunes for a more traditional approach or cloud services like Google Drive for convenience, there is a method that suits your needs. By following these steps and tips, you'll be able to seamlessly transfer your favorite ringtones from your Android device to your new iPhone, ensuring that you have the perfect sound for every occasion.