Understanding Your Tablet's Battery
Replacing the battery in your Android tablet can be straightforward with careful attention to detail and the right tools. Before starting, it's important to understand the type of battery your tablet uses. Most modern Android tablets use lithium-ion batteries, which are rechargeable but have a limited lifespan. Over time, these batteries degrade, leading to reduced performance and shorter battery life.
Identifying Your Battery Type
To identify the type of battery in your tablet, check the device's manual or the manufacturer's website. Common types include:
- Lithium-ion (Li-ion) batteries: Most common in modern devices.
- Lithium-polymer (Li-polymer) batteries: Similar to Li-ion but with a more flexible design.
- Lead-acid batteries: Less common, typically found in older devices.
Gathering Materials
To replace the battery in your Android tablet, gather the following materials:
- New battery: Ensure compatibility with your tablet model.
- Screwdriver: A small flathead or Torx screwdriver, depending on the screws used.
- Prying tool: A plastic spudger or similar tool for prying open the casing.
- Tweezers: For handling small components.
- Anti-static wrist strap: To prevent static electricity damage.
- Torx driver (if required): Some tablets may use Torx screws.
- Cleaning cloth: For cleaning debris from the battery compartment.
Disassembling Your Tablet
Disassembling your tablet involves carefully removing the outer casing to access the battery.
Step-by-Step Disassembly Guide
-
Remove the back cover:
- Remove any screws holding the back cover in place using your screwdriver.
- Gently pry open the back cover with a plastic spudger. Avoid damaging internal components.
-
Disconnect cables:
- Look for cables connecting components like the screen and Wi-Fi module.
- Use tweezers to carefully disconnect these cables from their connectors.
-
Remove additional components:
- Depending on your tablet model, there might be additional components like antennas or sensors to remove.
- Use your screwdriver or prying tool as needed.
-
Locate the battery:
- The battery is usually at the bottom or center of the device.
- Identify which terminal is positive (+) and which is negative (-). This information is often marked on the battery or in the device's manual.
Removing the Old Battery
Once the old battery is located, follow these steps to remove it:
-
Disconnect battery connectors:
- Use tweezers to carefully disconnect any connectors linking the old battery to other components.
-
Remove screws holding the battery in place:
- If screws hold down the old battery, use your screwdriver to remove them.
-
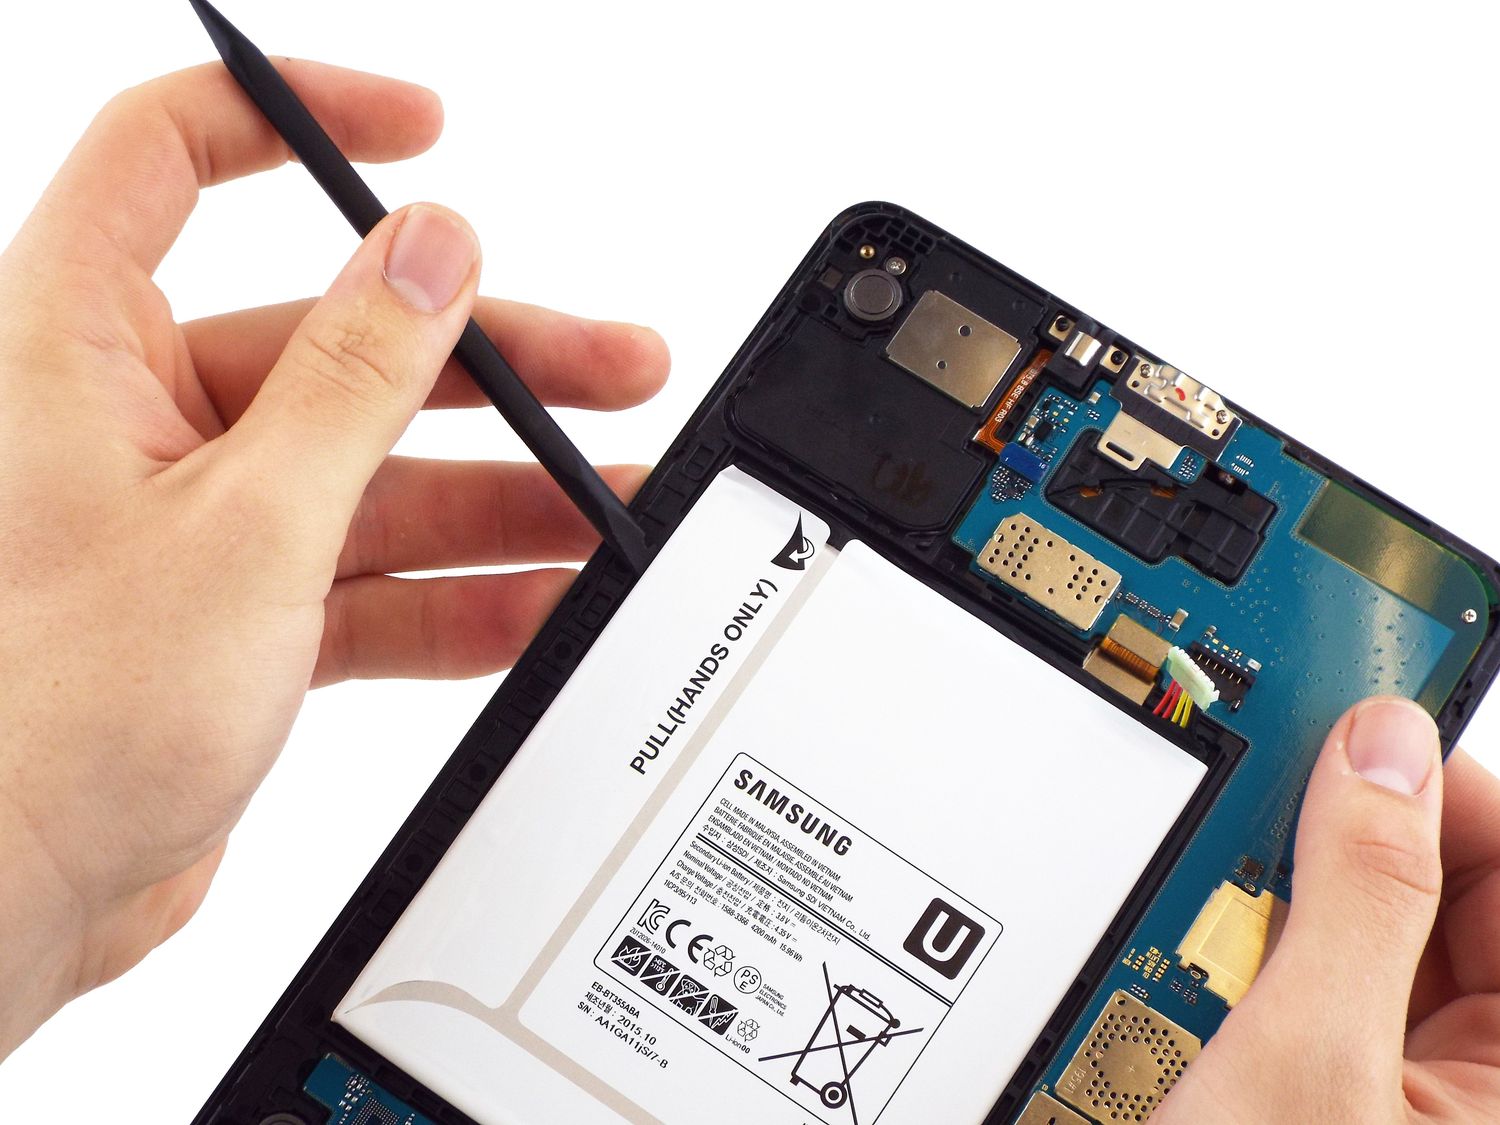
Gently lift out the old battery:
- Carefully lift out the old battery from its compartment. Avoid touching internal components with bare hands to prevent static electricity damage.
Installing the New Battery
Now that the old battery is removed, it's time to install the new one:
-
Place the new battery in the compartment:
- Align the new battery with its corresponding compartment in your tablet.
- Ensure it is securely seated and all terminals are properly aligned.
-
Reconnect battery connectors:
- Use tweezers to reconnect any connectors previously disconnected from the old battery.
-
Replace screws holding the battery in place:
- If screws held down the old battery, replace them with new ones if necessary.
-
Reassemble your tablet:
- Reconnect all cables previously disconnected.
- Replace any additional components like antennas or sensors.
- Reattach any screws holding down the back cover.
Reassembling Your Tablet
Reassembling your tablet involves putting everything back together in reverse order of disassembly:
-
Reattach the back cover:
- Use your screwdriver to tighten any screws holding down the back cover.
- Ensure it is securely fastened but avoid overtightening.
-
Reconnect cables:
- Use tweezers to reconnect all cables previously disconnected.
-
Replace additional components:
- Put back any additional components like antennas or sensors removed during disassembly.
-
Test your device:
- Plug in your charger and test your device to ensure it works properly.
Tips for Efficient Reassembly
Here are some tips to help reassemble your tablet efficiently:
- Label cables: Label each cable before disconnecting to know exactly where they go when reconnecting later.
- Organize components: Keep all components organized to avoid mixing up or misplacing them during reassembly.
- Use an anti-static wrist strap: Continue using an anti-static wrist strap throughout the reassembly process.
- Clean up debris: Use a cleaning cloth to wipe away any debris from inside the casing before reassembling.
- Double-check connections: Double-check all connections before plugging the charger into the power source.
Troubleshooting Common Issues
If something goes wrong during disassembly or reassembly, here are a few common issues and their solutions:
-
Battery not recognized by the system:
- Ensure the new battery has the correct polarity (+/-) marked clearly.
-
Cables not connecting properly:
- Check labels carefully to ensure correct placement.
-
Screws stripped while removing them:
- Use the appropriate sized screwdriver to avoid stripping further.
-
Debris inside the casing causing problems:
- Clean thoroughly using a soft cloth to avoid scratching internal components.
-
Static electricity causing damage:
- Continue wearing an anti-static wrist strap throughout the entire process.
