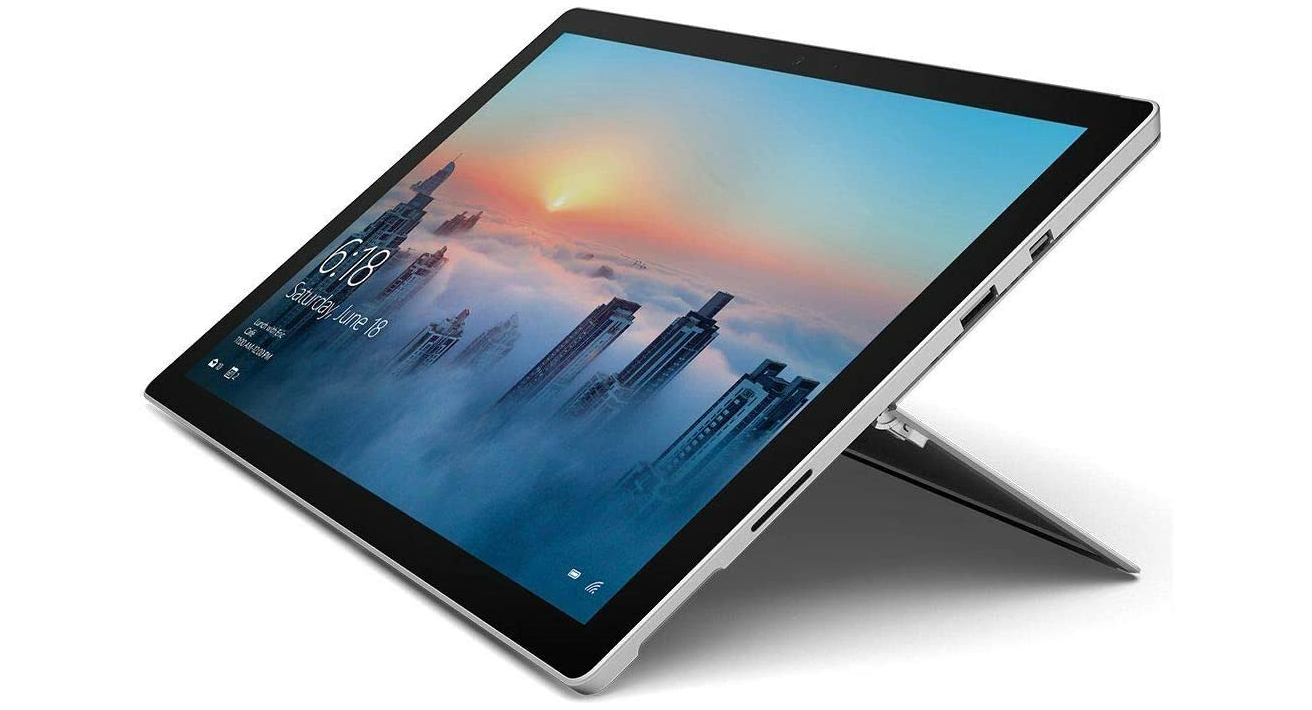
How to Install Android on Windows Tablet

Android Tablet
how-to-install-android-on-windows-tablet
Source: Mikronis.hr

Introduction

Installing Android on a Windows tablet can breathe new life into your device. Imagine having access to thousands of Android apps and games right at your fingertips. Plus, Android's user-friendly interface can make your tablet more versatile and fun to use.

Before diving in, check if your tablet meets the compatibility requirements. Your Windows tablet should be either 32-bit or 64-bit. Unfortunately, tablets with ARM processors won't work for this installation process.

Key Takeaways:

  • Installing Android on a Windows tablet can make it more fun and useful, giving you access to tons of apps and games.
  • If installing Android seems tough, you can use emulators like BlueStacks to run Android apps on your Windows tablet easily.

What You Need to Install Android on a Windows Tablet

Hardware Requirements

First, let's talk about the hardware you'll need. A USB stick with at least 8GB of storage is essential. You'll also need a keyboard, which makes navigating the installation process much easier. If your tablet doesn't have a USB port, an OTG (On-The-Go) adapter will come in handy.

Software Requirements

Now, onto the software. You'll need to download an Android OS like Android-x86 or Bliss OS. These versions are designed to run on x86 architecture, which most Windows tablets use. Additionally, a bootable USB creation tool like Rufus will be necessary to create the installation media.

Preparing Your Windows Tablet

Backup Your Data

Before starting, back up all your important data. You don't want to lose any files during the installation. Use an external hard drive or cloud storage to save your documents, photos, and other essential files. Better safe than sorry!

Disable Secure Boot

Next, you'll need to disable Secure Boot. This feature in the BIOS settings can prevent the tablet from booting from the USB stick. To disable it, restart your tablet and enter the BIOS setup by pressing a specific key (usually F2, F10, or Delete). Navigate to the Secure Boot option and turn it off. Save the changes and exit the BIOS.

Creating a Bootable USB Stick

Download the Android OS

First things first, you'll need to get your hands on an Android OS ISO file. You can choose from popular options like Android-x86 or Bliss OS. Head over to their official websites and download the latest version. Make sure to select the correct ISO file for your tablet's architecture (32-bit or 64-bit).

Use a Bootable USB Creation Tool

Once you've got the ISO file, you'll need a tool to create a bootable USB stick. Rufus is a great choice for this. Here’s how to use it:

  1. Download and Install Rufus: Visit the Rufus website and download the latest version. Install it on your Windows tablet.
  2. Insert Your USB Stick: Plug in a USB stick with at least 8GB of storage.
  3. Open Rufus: Launch Rufus and select your USB stick from the device list.
  4. Select the ISO File: Click on the "SELECT" button and browse to the location of your downloaded Android ISO file.
  5. Start the Process: Click "START" to begin creating the bootable USB stick. Rufus will format the USB stick and copy the necessary files.

Installing Android on Your Windows Tablet

Boot from USB Stick

Now that your bootable USB stick is ready, it’s time to boot your Windows tablet from it. Here’s how:

  1. Restart Your Tablet: While it’s booting up, press the key to enter the BIOS/UEFI settings (usually F2, F10, DEL, or ESC).
  2. Change Boot Order: Navigate to the boot menu and set the USB stick as the primary boot device.
  3. Save and Exit: Save your changes and exit the BIOS/UEFI settings. Your tablet should now boot from the USB stick.

Installation Process

With the tablet booting from the USB stick, follow these steps to install Android:

  1. Select Installation Option: When the boot menu appears, choose the option to install Android.
  2. Partition the Drive: If prompted, create or select a partition where Android will be installed. Be careful not to overwrite any important data.
  3. Follow On-Screen Instructions: Continue with the installation by following the on-screen prompts. This will include selecting the installation drive and confirming the installation.

Post-Installation Configuration

Initial Setup

After the installation is complete, your tablet will reboot into Android. Here’s what you need to do next:

  1. Language and Wi-Fi: Select your preferred language and connect to a Wi-Fi network.
  2. Google Account: Sign in with your Google account to access the Play Store and other Google services.

Install Necessary Drivers

To ensure all hardware components work properly, you may need to install additional drivers:

  1. Check for Missing Drivers: Go to the settings menu and check for any hardware that isn’t functioning correctly.
  2. Download Drivers: Visit the manufacturer’s website or use a driver update tool to download and install the necessary drivers.
  3. Reboot: After installing the drivers, reboot your tablet to apply the changes.

Alternative Ways to Run Android Apps on Windows

Using Emulators

If installing Android directly on a Windows tablet seems too complicated, emulators offer a simpler alternative. BlueStacks and NoxPlayer are two popular choices. These programs create a virtual Android environment on your Windows device, allowing you to run Android apps without changing your operating system.

BlueStacks is user-friendly and supports a wide range of apps. It’s great for gaming, offering features like key mapping and multi-instance. NoxPlayer, on the other hand, is known for its speed and efficiency. It also supports game controllers, making it a favorite among gamers. Both emulators are free to download and easy to set up, making them a convenient option for running Android apps on Windows.

Running Android in a Virtual Machine

Another way to run Android apps on a Windows tablet is by using a virtual machine. Software like VirtualBox can create a virtual Android device within your Windows system. This method requires a bit more technical know-how but offers greater flexibility.

First, download and install VirtualBox. Then, get an Android-x86 ISO file. Create a new virtual machine in VirtualBox, selecting the Android-x86 ISO as the boot disk. Follow the installation steps to set up Android within the virtual machine. This setup allows you to run Android apps in a contained environment, providing a full Android experience without altering your Windows installation.

Troubleshooting Common Issues

Boot Issues

Sometimes, after installing Android, the tablet might not boot correctly. If you encounter a black screen or boot loop, try accessing the BIOS settings and adjusting the boot order. Ensure the USB stick or installation drive is correctly prioritized. If problems persist, recheck the installation steps to confirm everything was done correctly.

Driver Problems

Missing or incompatible drivers can cause hardware issues. If the touchscreen, Wi-Fi, or other components aren’t working, you might need to install specific drivers. Visit the Android-x86 or Bliss OS forums for driver recommendations. Sometimes, using a USB keyboard and mouse temporarily can help navigate and install necessary drivers.

Performance Optimization

To get the best performance from Android on a Windows tablet, consider a few optimization tips. First, disable unnecessary background apps to free up resources. Adjust the display settings to a lower resolution if the tablet feels sluggish. Also, keeping the system updated with the latest patches and updates can improve stability and performance.

Wrapping Things Up

Installing Android on a Windows tablet can give your device a fresh start, opening up a world of apps and possibilities. Though it may seem tricky at first, following the steps carefully makes it manageable. Whether you're creating a bootable USB stick or using emulators like BlueStacks and NoxPlayer, each method has its perks. Remember to back up your data and disable Secure Boot to avoid hiccups. If problems arise, don't panic! Checking forums for solutions or tweaking settings usually does the trick. So, dust off that old Windows tablet and dive into the world of Android!

Introduction to Android on Windows Tablets

This feature allows users to install Android on a Windows tablet, transforming it into a dual-boot device. It provides access to Google Play Store, enabling the download and use of Android apps. Users can switch between Windows and Android operating systems, offering flexibility and a broader range of applications. The feature also supports touchscreen functionality, ensuring a seamless experience across both platforms.

What You Need and Compatibility

To install Android on a Windows tablet, ensure your device meets these requirements. First, check if your tablet has an Intel or AMD processor. ARM processors won't work. Your tablet needs at least 2GB of RAM for smooth performance. Storage-wise, ensure you have at least 8GB of free space.

Next, verify that your tablet supports UEFI firmware. This is crucial for booting Android. Also, make sure your tablet has a 64-bit architecture. Most modern tablets meet this, but double-check to avoid issues.

You'll need a USB flash drive with at least 4GB capacity. This will be used to create a bootable Android installer. Ensure your tablet has a USB port or an adapter to connect the flash drive.

Check if your tablet's Wi-Fi and Bluetooth drivers are compatible with Android. Some older models might face connectivity issues.

Lastly, back up your data. Installing a new OS can wipe existing files. If your tablet meets these requirements, you're ready to proceed. Happy installing!

Steps to Install Android on Your Windows Tablet

  1. Backup your data. Save important files to an external drive or cloud storage.
  2. Download the Android-x86 ISO file from the official website.
  3. Install a tool like Rufus to create a bootable USB drive.
  4. Insert the USB drive into your computer.
  5. Open Rufus, select the USB drive, and choose the Android-x86 ISO file.
  6. Click Start and wait for the process to complete.
  7. Restart your Windows tablet and enter the BIOS/UEFI settings (usually by pressing F2, F10, or Del during startup).
  8. Change the boot order to prioritize USB drives.
  9. Save changes and exit BIOS/UEFI settings.
  10. Boot from the USB drive. Select "Install Android-x86 to hard disk" from the menu.
  11. Choose the partition where you want to install Android. Format it if necessary.
  12. Follow on-screen instructions to complete the installation.
  13. Reboot your tablet. Select Android from the boot menu.
  14. Set up Android by following the initial setup prompts.

Tips for Using Android on a Windows Tablet

Backup Data: Before starting, save everything important. Losing files is a pain.

Check Compatibility: Ensure your tablet can handle Android. Older models might struggle.

Download Tools: Get Android-x86 and Rufus. These are essential for the process.

Create Bootable USB: Use Rufus to make a bootable USB drive with the Android-x86 ISO.

Boot from USB: Plug the USB into your tablet. Restart and enter BIOS (usually by pressing F2 or Delete). Change the boot order to start from the USB.

Install Android: Follow the on-screen instructions. Choose to install Android on the internal storage.

Partitioning: Be careful with partitions. Select the right one to avoid wiping out Windows if you want to keep it.

Dual Boot: If you want both Windows and Android, partition your drive accordingly. Install Android on the new partition.

Drivers: Post-installation, check if all hardware works. Wi-Fi, sound, and touch might need additional drivers.

Updates: Keep your Android system updated. New versions fix bugs and improve performance.

Apps: Download apps from the Google Play Store. Avoid third-party sources to keep your device secure.

Battery Management: Android can be a bit heavy on battery. Adjust settings like brightness and background apps to save power.

Security: Use a password or PIN to lock your tablet. Install a good antivirus app.

Customization: Android is highly customizable. Change themes, icons, and widgets to make it your own.

Backup Again: Regularly backup your data. Use cloud services or external drives.

Troubleshooting: If something goes wrong, search forums or ask for help online. Many users share solutions.

Enjoy: Now, enjoy the flexibility and features of Android on your Windows tablet!

Troubleshooting Common Problems

Sometimes, the tablet might not recognize the USB drive. Ensure the USB drive is formatted to FAT32. If the tablet still doesn't recognize it, try using a different USB port or another USB drive.

If the tablet gets stuck on the boot screen, restart it and enter the BIOS settings. Check if the boot order is correct, with the USB drive set as the first boot device. Save changes and restart.

When the installation process fails, verify the Android ISO file is not corrupted. Redownload the file from a reliable source and create the bootable USB drive again.

If the touchscreen doesn't work after installation, connect a USB mouse and keyboard. Download and install the necessary drivers for the touchscreen from the manufacturer's website.

In case the tablet doesn't boot into Android after installation, enter the BIOS settings again. Ensure the internal storage is set as the primary boot device. Save changes and restart.

If Wi-Fi isn't working, check if the Wi-Fi drivers are installed. Download the correct drivers from the manufacturer's website and install them manually.

When the tablet runs slowly, consider installing a lighter version of Android. Some versions are optimized for better performance on older or less powerful devices.

If apps crash frequently, clear the app cache and data. If the problem persists, uninstall and reinstall the app. Ensure the app is compatible with the Android version installed on the tablet.

Keeping Your Device Secure

Using Android on a Windows tablet involves several security and privacy considerations. First, ensure you download the Android installer from a trusted source to avoid malware. During installation, the software might request access to your personal data. Be cautious and only grant permissions that are absolutely necessary.

To maintain privacy, regularly update your system and apps to patch any vulnerabilities. Use a strong password or biometric authentication to protect your device. Enable encryption for sensitive data and consider using a VPN for secure internet connections. Avoid installing apps from unknown sources, as they might compromise your data.

Regularly review app permissions and revoke any that seem excessive. Use antivirus software to scan for potential threats. Always back up important data to a secure location. By following these tips, you can enhance both security and privacy on your device.

Other Options and Comparisons

Installing Android on a Windows tablet can give you access to a wide range of apps from the Google Play Store. However, it might not be as smooth as using a device designed for Android.

Pros:

  • Access to Android apps
  • Customization options
  • Potentially better battery life

Cons:

  • Possible compatibility issues
  • Might void warranty
  • Performance may not be optimal

Alternatives:

  • Chromebooks: Offer Android app support with better integration.
  • Dual-boot tablets: Devices like the Chuwi Hi10 allow switching between Windows and Android.
  • Android tablets: Devices like Samsung Galaxy Tab provide a native Android experience without the hassle of installation.

Sometimes, the tablet might not recognize the USB drive. Ensure the USB drive is formatted to FAT32. If the tablet still doesn't recognize it, try using a different USB port or another USB drive.

If the tablet gets stuck on the boot screen, restart it and enter the BIOS settings. Check if the boot order is correct, with the USB drive set as the first boot device. Save changes and restart.

When the installation process fails, verify the Android ISO file is not corrupted. Redownload the file from a reliable source and create the bootable USB drive again.

If the touchscreen doesn't work after installation, connect a USB mouse and keyboard. Download and install the necessary drivers for the touchscreen from the manufacturer's website.

In case the tablet doesn't boot into Android after installation, enter the BIOS settings again. Ensure the internal storage is set as the primary boot device. Save changes and restart.

If Wi-Fi isn't working, check if the Wi-Fi drivers are installed. Download the correct drivers from the manufacturer's website and install them manually.

When the tablet runs slowly, consider installing a lighter version of Android. Some versions are optimized for better performance on older or less powerful devices.

If apps crash frequently, clear the app cache and data. If the problem persists, uninstall and reinstall the app. Ensure the app is compatible with the Android version installed on the tablet.

Installing Android on a Windows tablet can breathe new life into an old device. Start by backing up important data. Download the necessary tools like Android-x86 ISO and a bootable USB creator. Create a bootable USB drive with the Android-x86 ISO. Boot your tablet from the USB drive and follow the installation prompts. Choose the right partition and install Android. Once installed, configure your settings and enjoy the Android experience.

Remember, this process can void warranties and may not work perfectly on all devices. Some features might not function as expected. Always proceed with caution and ensure you have a backup plan. With patience and careful steps, you can transform your Windows tablet into a versatile Android device. Happy tinkering!

Can Android be installed on a Windows tablet?

Sure can! But it only works on standard 32-bit or 64-bit Windows tablets. Older models with ARM processors, like the Microsoft Surface RT, won't cut it.

How do I install a new Android OS on my tablet?

Open the settings app, tap Systems, then Systems Update. Follow the steps on the screen. Your tablet will check for newer OS versions and install them if available.

Is it possible to install Android on Windows?

Absolutely! You can use emulators, bootable USB versions, or standalone apps like BlueStacks to run Android on a PC.

Can you run Android apps on a Microsoft Surface?

Yep! Since Surface Duo runs on Android, you can download any Android apps and games from the Google Play Store.

What tools do I need to install Android on a Windows tablet?

You'll need a USB drive, a tool like Rufus to create a bootable USB, and an Android ISO file. A bit of patience helps too!

Will installing Android erase my Windows data?

Yes, installing Android will wipe your Windows data. Make sure to back up important files before starting the process.

Can I dual-boot Android and Windows on my tablet?

It's possible, but tricky. You'll need a good understanding of partitioning and bootloaders. Not for the faint-hearted!

Was this page helpful?