Introduction
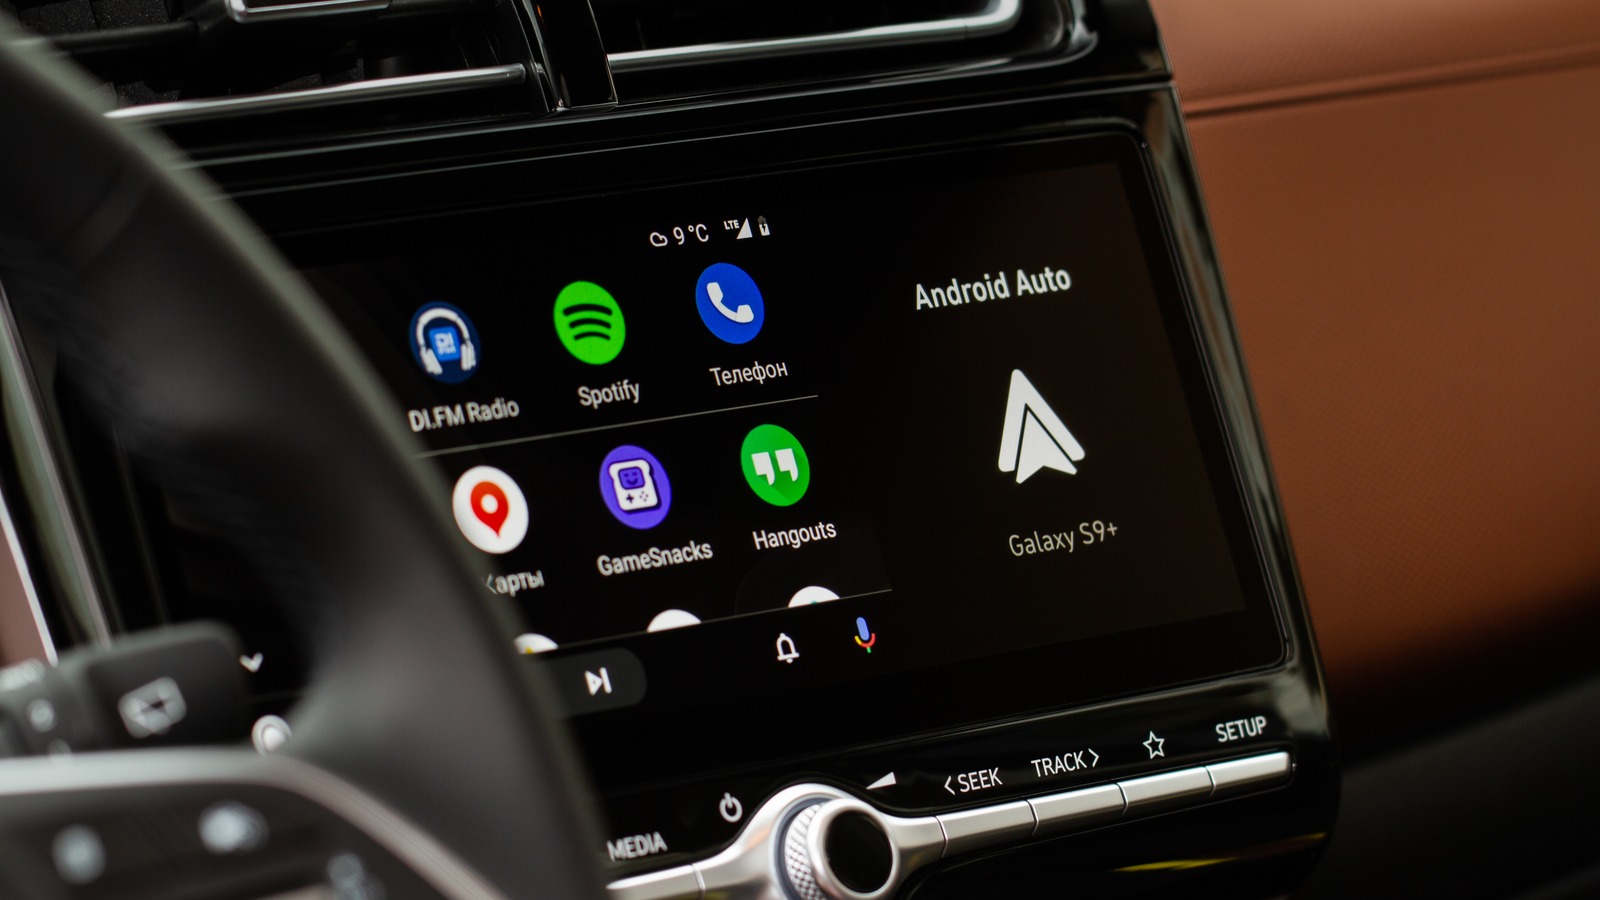
Integrating technology into daily life is more prevalent than ever. One significant advancement in automotive tech is using Android tablets in car dashboards. This setup offers features like navigation, music streaming, and diagnostic tools. This article guides you through installing and using an Android tablet as a car head unit.
Why Choose an Android Tablet?
Using an Android tablet as a car head unit offers several advantages over traditional car radios:
- Cost-Effectiveness: Generally more affordable than dedicated car head units, especially if you already have an old tablet.
- Customization: Install various apps and themes to create an interface that suits your preferences.
- Versatility: Handle multiple tasks simultaneously, such as navigation, music streaming, and diagnostic checks.
- Upgradeability: Easily upgraded with new software and hardware, ensuring your system remains current and functional.
Preparing Your Tablet
Before starting the installation process, prepare the following:
- Choose the Right Tablet: Opt for a tablet with a good display size and resolution. A 7-inch to 10-inch screen is ideal. Ensure compatibility with Android Auto or configure it to run Android Auto using an emulator app.
- Mounting System: Secure the tablet in your car using a sturdy and adjustable mounting system. Options range from suction cup mounts to custom fabricated dashboards.
- Power Supply: Ensure a reliable power supply through a USB port in your car or a dedicated car charger designed for continuous use.
- Cables and Adapters: Depending on your setup, you may need various cables and adapters, including USB cables for charging, audio cables for connecting to your car's speakers, and additional adapters for features like Bluetooth or GPS.
Step-by-Step Installation Guide
Step 1: Plan Your Installation
Thorough planning is crucial before starting the installation process:
- Determine Placement: Decide where to mount the tablet in your car. Common places include the dashboard, glove box, or cup holder. Ensure the placement is convenient and not distracting while driving.
- Measure Your Space: Measure the space where you plan to mount the tablet to ensure a perfect fit. Consider the tablet's thickness and any additional components like a protective case or mounting bracket.
- Gather Materials: List all necessary materials, including the tablet, mounting system, power supply, cables, and any additional adapters or accessories.
Step 2: Mount the Tablet
Mounting the tablet is a critical step:
- Choose a Mounting System: Select a mounting system that fits your needs and is easy to install.
- Install the Mounting System: Follow the manufacturer's instructions to install the mounting system, which may involve attaching it to your dashboard or another surface in your car.
- Secure the Tablet: Firmly secure the tablet, ensuring it is at a comfortable viewing angle and easily accessible while driving.
Step 3: Connect Power and Audio
Ensure your tablet functions properly by connecting power and audio:
- Connect Power Supply: Use a USB port in your car or a dedicated car charger to connect your tablet to a reliable power supply. Ensure the charger can handle the tablet's power requirements.
- Connect Audio Cables: Connect audio cables to your car's speakers. You may need an audio adapter to connect the tablet to your car's audio system.
- Test Connections: Test all connections to ensure they are working properly. Use a multi-meter to check for proper voltage and current.
Step 4: Install Software and Apps
Customize your Android tablet for car use by installing software and apps:
- Download Android Auto App: If your tablet does not natively support Android Auto, download an emulator app like Headunit Reloaded to emulate Android Auto.
- Install Essential Apps: Install essential apps like Google Maps, Spotify, or any other preferred music streaming service. Consider installing apps for diagnostic checks or other desired features.
- Customize Interface: Customize the tablet's interface to make it user-friendly while driving. Use a special launcher or automotive app to minimize clutter and ensure easy access to all options.
Step 5: Test Everything
Testing ensures your setup works seamlessly:
- Check Connections: Recheck all connections for proper voltage and current using a multi-meter.
- Test Audio Output: Ensure the audio output works properly without causing distortion.
- Test Navigation: Verify navigation apps like Google Maps provide accurate directions.
- Test Diagnostic Tools: Ensure diagnostic tools work correctly and provide accurate information.
Additional Tips and Considerations
Keep these tips and considerations in mind when using an Android tablet as a car head unit:
- Avoid Distractions: Ensure the tablet's placement does not distract you while driving. Avoid placing it where you need to look away from the road.
- Use Wireless Connectivity: Use wireless options like Bluetooth or Wi-Fi to avoid cluttering your dashboard with cables.
- Secure Your Tablet: Prevent theft by securely mounting the tablet so it cannot be easily removed from the dashboard.
- Regular Maintenance: Regularly check and maintain your setup to ensure it continues to function properly over time.
