
Understanding the Error
The "No target device found" error typically occurs when Android Studio fails to detect any connected devices or emulators. This can happen due to several reasons, including incorrect configuration, missing drivers, or issues with the Android Debug Bridge (ADB). Identifying the root cause of the problem is crucial for effective troubleshooting.
Pre-requisites
Before diving into troubleshooting, ensure that the following pre-requisites are set up:
- Developer Mode: Enable Developer Mode on your Android device. This can be done by going to
Settings > About phoneand tapping theBuild numberseven times to unlock Developer options. - USB Debugging: Enable USB debugging within the Developer options menu. This allows your device to communicate with your computer.
- ADB Drivers: Install the necessary ADB drivers for your device. These drivers can usually be found in the Android SDK Platform-Tools package.
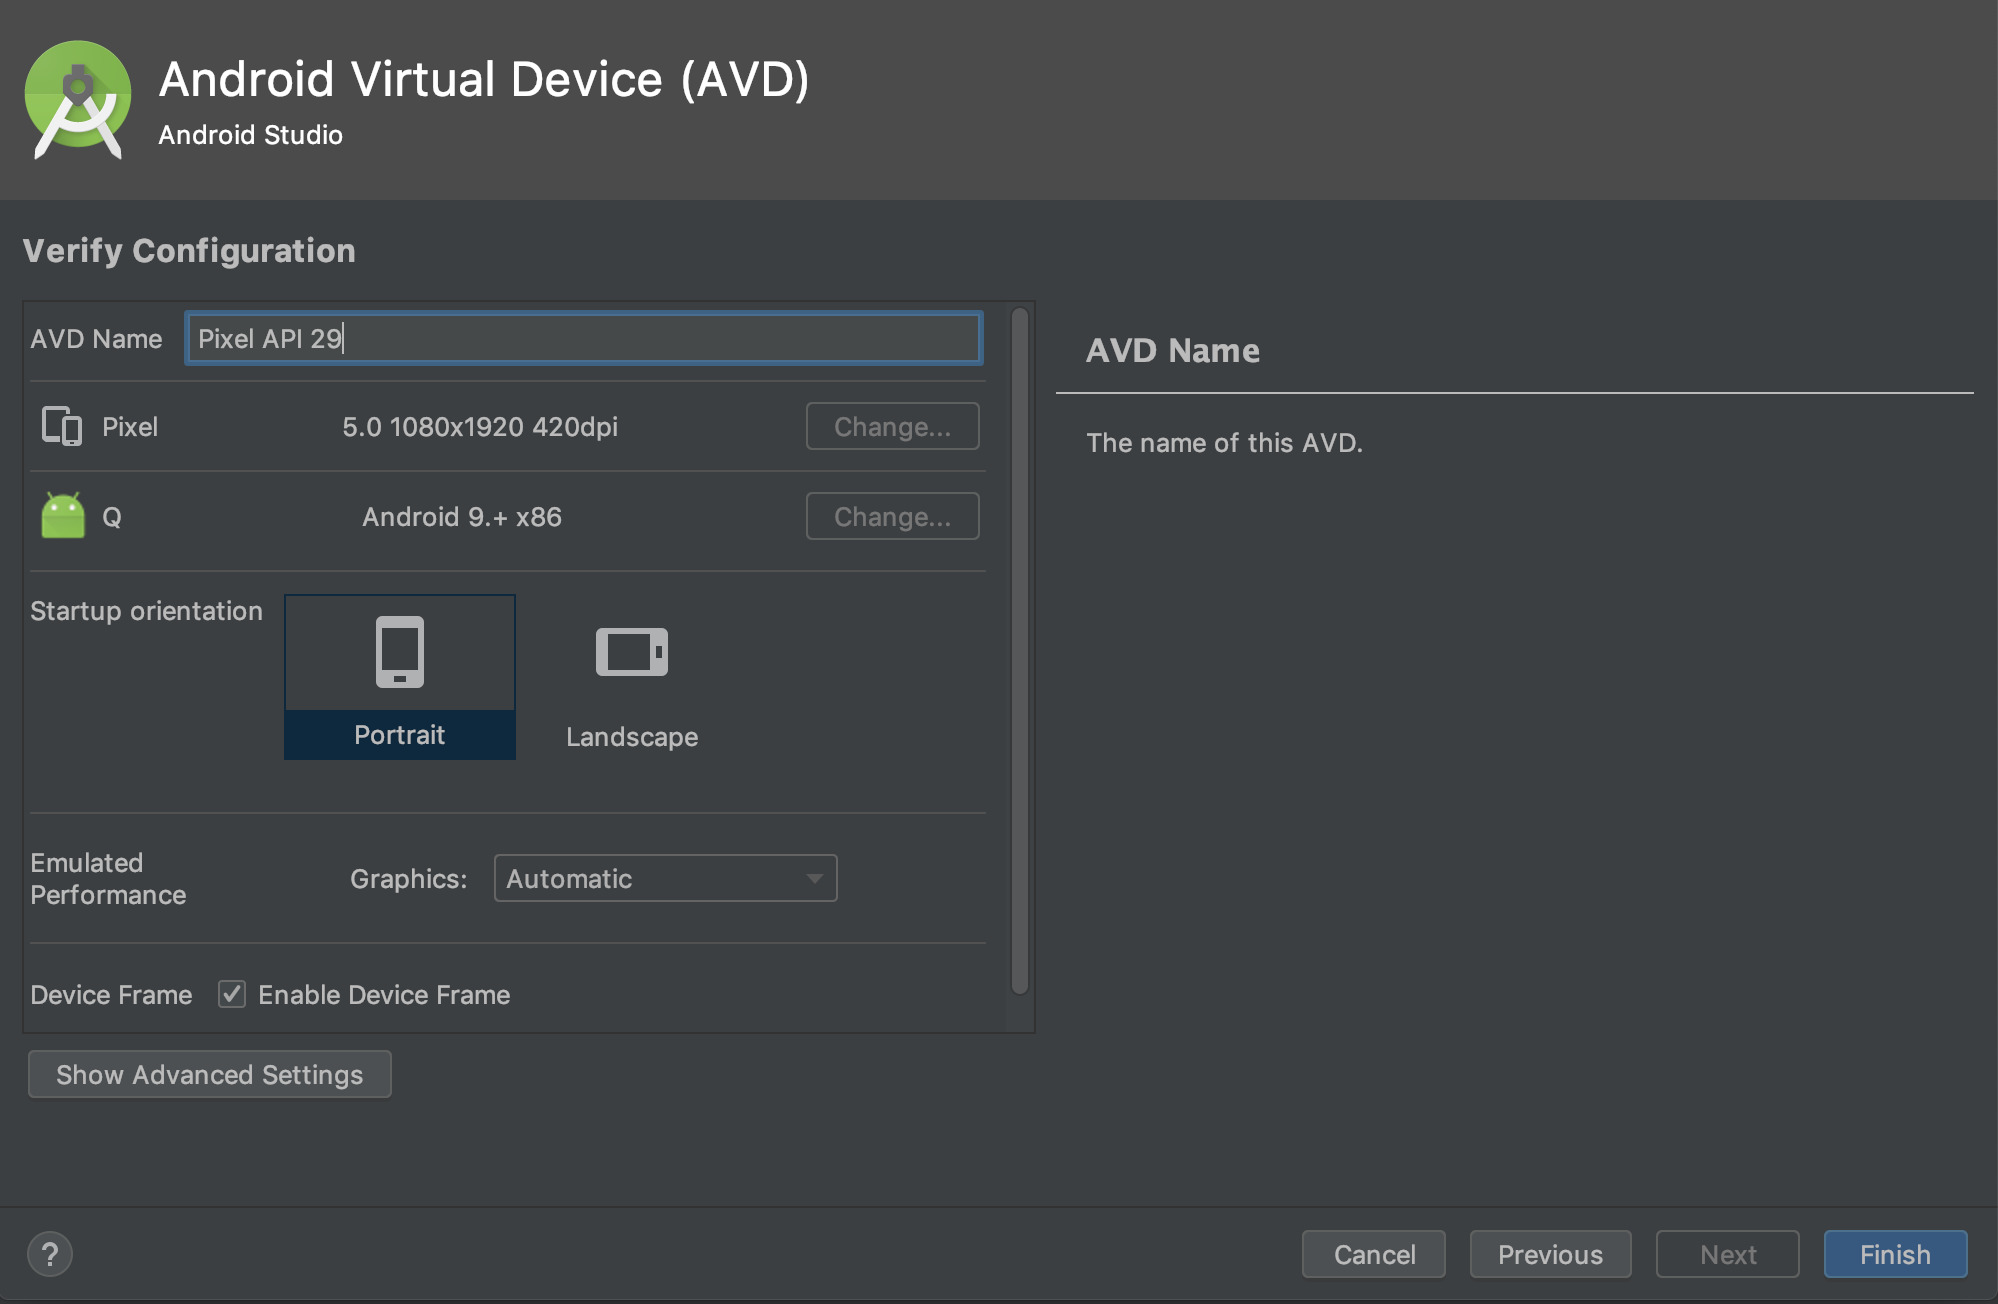
- Android SDK: Ensure that the Android SDK is installed and properly configured in Android Studio.
Basic Troubleshooting Steps
Check Device Connection
First and foremost, verify that your device is properly connected to your computer. Use a high-quality USB cable and ensure that the device is recognized by your system.
Step-by-Step Guide:
- Connect Device: Plug in your Android device using a USB cable.
- Check Device: Navigate to
This PC(orComputeron older systems) and look for your device listed underPortable DevicesorOther Devices. - Verify Charging: If your device starts charging, it indicates that the connection is correct.
Enable USB Debugging
Ensure that USB debugging is enabled on your device. This setting is crucial for ADB to communicate with your device.
Step-by-Step Guide:
- Go to Settings: Open the
Settingsapp on your Android device. - Developer Options: Navigate to
Developer options. - USB Debugging: Enable
USB debugging.
Install ADB Drivers
If your device is not recognized by ADB, you might need to install the correct drivers.
Step-by-Step Guide:
- Download Drivers: Download the ADB drivers from the official Android SDK Platform-Tools package.
- Install Drivers: Follow the installation instructions provided with the drivers.
- Verify Installation: Restart your computer and ensure that ADB recognizes your device.
Advanced Troubleshooting Steps
Check ADB Connection
Sometimes, ADB might not be able to connect to your device due to various reasons like incorrect settings or corrupted files.
Step-by-Step Guide:
- Open Command Prompt/PowerShell: Open a command prompt or PowerShell window.
- ADB Commands: Type
adb devicesand press Enter. If your device is recognized, it should appear in the list. - ADB Kill-Server: If ADB is not recognizing your device, try killing the ADB server by typing
adb kill-serverand then restarting it withadb start-server.
Configure ADB Settings
A few settings within ADB can affect its ability to detect devices.
Step-by-Step Guide:
- Edit Run/Debug Configurations: In Android Studio, go to
Run > Edit Configurations. - Target Device Section: Find the
Target Devicesection under theGeneraltab on theAndroid Applicationpage. - Deployment Target Dialog: Select
Open Select Deployment Target Dialogto list both connected and emulated devices.
Switch USB Transfer Mode
Sometimes switching from MTP (Media Transfer Protocol) to PTP (Picture Transfer Protocol) can resolve connectivity issues.
Step-by-Step Guide:
- File Transfer Options: On your Android device, go to
Settings > Storage > USB computer connection. - PTP Option: Select
PTPas the file transfer option. - Restart ADB: After changing the USB transfer mode, restart ADB by typing
adb kill-serverfollowed byadb start-server.
Enable Developer Options on Android 4.2 and Newer
On devices running Android 4.2 and newer, Developer options are hidden by default.
Step-by-Step Guide:
- About Phone: Go to
Settings > About phone. - Build Number: Tap the
Build numberseven times to unlock Developer options. - Developer Options: Return to the previous screen and find Developer options.
Restart ADB Server
Sometimes simply restarting the ADB server can resolve connectivity issues.
Step-by-Step Guide:
- ADB Kill-Server Command: Type
adb kill-serverin a command prompt or PowerShell window. - ADB Start-Server Command: Follow it up with
adb start-server.
Additional Troubleshooting Methods
Rescan Devices in Android Studio
If Android Studio is not detecting your device, you can try rescanning devices.
Step-by-Step Guide:
- Troubleshoot Device Connections: In Android Studio, hit the tab where you should see your device name but currently see “no device” and select “Troubleshoot Device Connections” from the dropdown list.
- Rescan Devices Button: Click on the “rescan devices” button.
- Restart ADB Server: If the problem persists, restart the ADB server by typing
adb kill-serverfollowed byadb start-server.
Force Kill ADB Process
In some cases, forcing the ADB process to close and then restarting it can resolve connectivity issues.
Step-by-Step Guide:
- Task Manager: Open Task Manager on your computer.
- ADB Process: Look for any running instances of ADB (usually listed as
adb.exe) and force them to close. - Restart ADB: After closing all instances of ADB, restart it by typing
adb start-serverin a command prompt or PowerShell window.
Clear Project Cache
Clearing the project cache can sometimes resolve issues related to ADB not detecting devices.
Step-by-Step Guide:
- Project Folder: Navigate to your project folder.
- Delete Cache Files: Delete
.gradle,.idea, andbuildfolders. - Reopen Project: Reopen your project in Android Studio.
- Clean and Rebuild Project: Clean and rebuild your project.
Special Cases
Samsung Devices
Samsung devices sometimes require specific ADB drivers to be recognized by ADB.
Step-by-Step Guide:
- Download Samsung ADB Drivers: Download the official Samsung ADB drivers from the Samsung Developer website.
- Install Drivers: Follow the installation instructions provided with the drivers.
- Verify Installation: Restart your computer and ensure that ADB recognizes your Samsung device.
Apple M1 Pro Devices
Users with Apple M1 Pro devices may encounter issues with ADB due to compatibility issues with older versions of ADB.
Step-by-Step Guide:
- Update ADB Platform-Tools: Update the ADB Platform-Tools package from the SDK Manager.
- Remove Old Platform-Tools: If updating fails, remove the old Platform-Tools package manually and then reinstall it.
- Restart ADB Server: After updating or reinstalling Platform-Tools, restart the ADB server by typing
adb kill-serverfollowed byadb start-server.
By following these detailed steps, you should be able to troubleshoot and resolve the "No target device found" error effectively. Always check basic settings like USB debugging and ADB drivers before diving into more advanced troubleshooting methods. With patience and persistence, you can get your Android Studio up and running smoothly with your physical devices or emulators.