
Introduction
Setting up your Android device ensures you get the most out of your new smartphone or tablet. Whether upgrading from an older model or switching from an iPhone, understanding the basics can significantly improve your user experience. This guide will walk you through the setup process, including transferring data from an iPhone, scanning WiFi QR codes, and troubleshooting common issues.
Step 1: Unboxing and Physical Setup
Components Inside the Box
- Device: The main unit of your Android smartphone or tablet
- Charger: A USB-C charger, standard for most modern Android devices
- USB-C Cable: A cable used to charge your device
- Headphones/Earbuds: Some devices include headphones or earbuds for listening to music or taking calls
- Quick Start Guide: A small booklet providing basic instructions on setting up your device
Physical Setup
-
Charging Your Device
- Plug the USB-C cable into the charger and then into the charging port on your device. A charging icon will appear on the screen.
-
Powering On
- Once charged enough, press and hold the power button until the boot screen appears. Release the power button when the Android logo shows.
-
Language and Country/Region
- Select your language and country or region based on your preferences.
-
Wi-Fi Setup
- Connect to a Wi-Fi network by selecting it from the list of available networks. Ensure Wi-Fi is turned on in your device's settings if no networks appear.
Step 2: Initial Setup
Initial Setup Wizard
-
Welcome Screen
- A welcome screen with an animation or message will greet you.
-
Google Account
- Sign in using your Google account email and password. This syncs your data across all devices and provides access to Google services like Google Drive and Google Photos.
-
Create a Google Account
- Create a Google account if you don't have one. This simplifies using your device.
-
Device Name
- Assign a name to your device. This name will be used for various purposes, such as setting up Bluetooth connections or sharing files.
-
Google Services
- Enable or disable various Google services like Google Assistant, Google Maps, and Google Play Store.
-
Data Transfer
- Transfer data from an iPhone using the "Quick Switch Adapter" provided by Samsung or similar adapters from other manufacturers.
Step 3: Transferring Data from an iPhone
Using Quick Switch Adapter
-
Purchase Quick Switch Adapter
- The Quick Switch Adapter is a specialized cable designed by Samsung for transferring data directly from an iPhone to an Android device.
-
Connect Devices
- Connect your iPhone and Android device using the Quick Switch Adapter. The adapter will detect both devices and initiate the transfer process.
-
Select Data to Transfer
- Choose the types of data to transfer, such as contacts, photos, and messages.
-
Complete Transfer
- The process will begin automatically once data selection is complete. This may take a few minutes depending on the amount of data.
Using Cloud Services
-
Backup iPhone Data
- Backup your iPhone data using iCloud or iTunes.
-
Restore Data on Android
- Sign in to your Google account on your new Android device and restore the backed-up data from iCloud or iTunes.
Manual Transfer
-
Export Contacts from iPhone
- Export contacts using the Contacts app.
-
Import Contacts on Android
- Import these contacts into your new Android device using the Contacts app.
-
Transfer Photos/Videos
- Transfer photos and videos manually by connecting both devices via USB and using file managers like ES File Explorer.
-
Transfer Messages
- Export messages from your iPhone's Messages app and import them into your new Android device's Messages app.
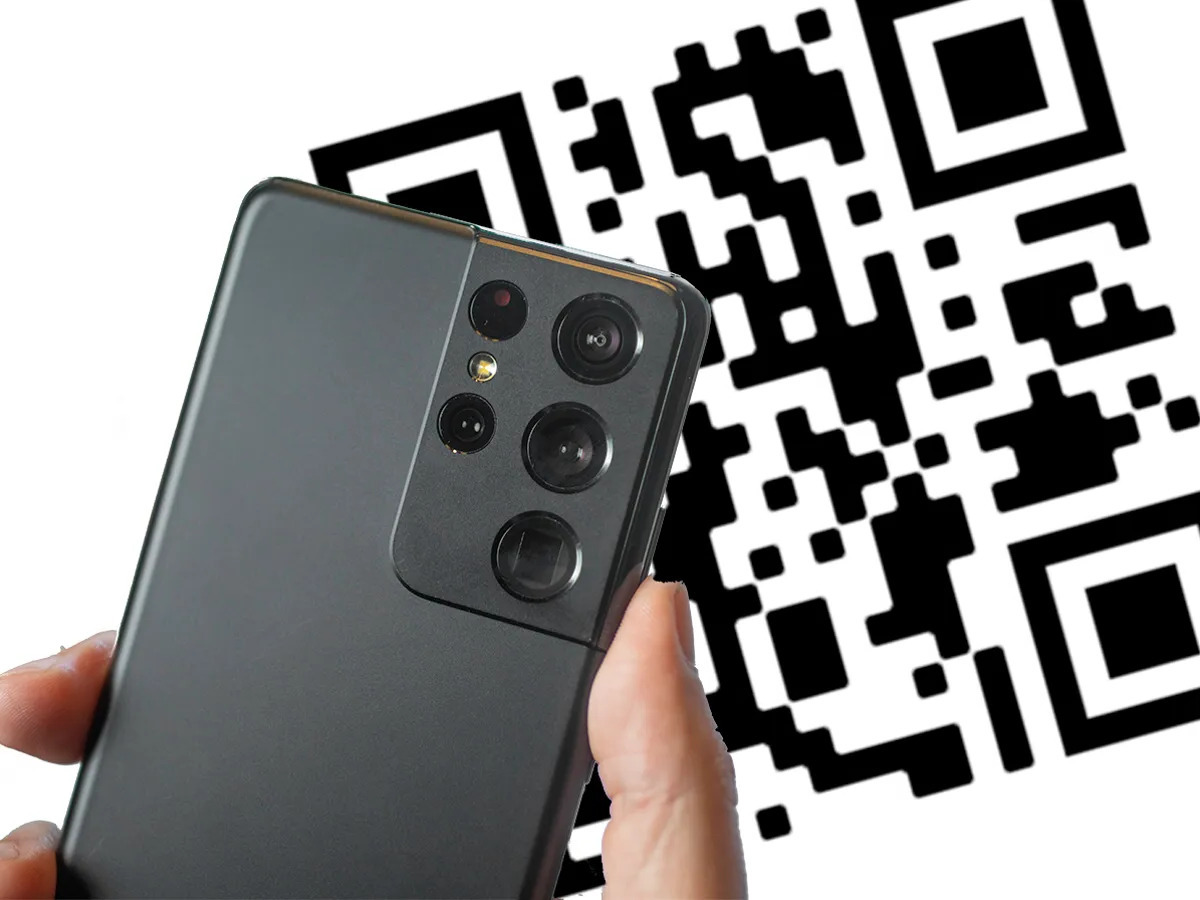
Step 4: Scanning WiFi QR Code
Using Built-in Camera App
-
Open Camera App
- Open the built-in camera app on your Android device.
-
Scan QR Code
- Point the camera at the WiFi QR code displayed on your router or another device.
-
Connect Network
- Your device will automatically connect to the network specified in the QR code once scanned.
Using Third-Party Apps
-
QR Code Scanner Apps
- Download and install a QR code scanner app from the Google Play Store (e.g., QR Code Reader, QR Droid).
-
Scan QR Code
- Open the app and point it at the WiFi QR code.
-
Connect Network
- The app will decode the QR code and prompt you to connect to the specified network.
Step 5: Troubleshooting Common Issues
No Signal/Weak Signal
-
Check Physical Obstacles
- Ensure no physical obstacles exist between your device and the router.
-
Restart Router/Device
- Restart both your router and device to refresh connections.
-
Change WiFi Channel
- Change the WiFi channel on your router if experiencing interference from other devices.
Device Detection Issues
-
Check App Permissions
- Ensure the app has necessary permissions to detect devices.
-
Restart App/Device
- Restart both the app and device to refresh connections.
-
Update App/OS
- Ensure both the app and operating system are updated to the latest versions.
Additional Tips
- Regularly Update Your Device: Keeping your device updated ensures you have the latest security patches and features.
- Use Strong Passwords: Use strong passwords for all accounts to maintain security.
- Backup Data Regularly: Regularly backup your data to prevent loss in case something goes wrong.
- Explore Customization Options: Android offers many customization options; explore them to personalize your experience.
By following these tips and the detailed steps outlined above, you'll be well on your way to mastering your new Android device and enjoying all its capabilities.