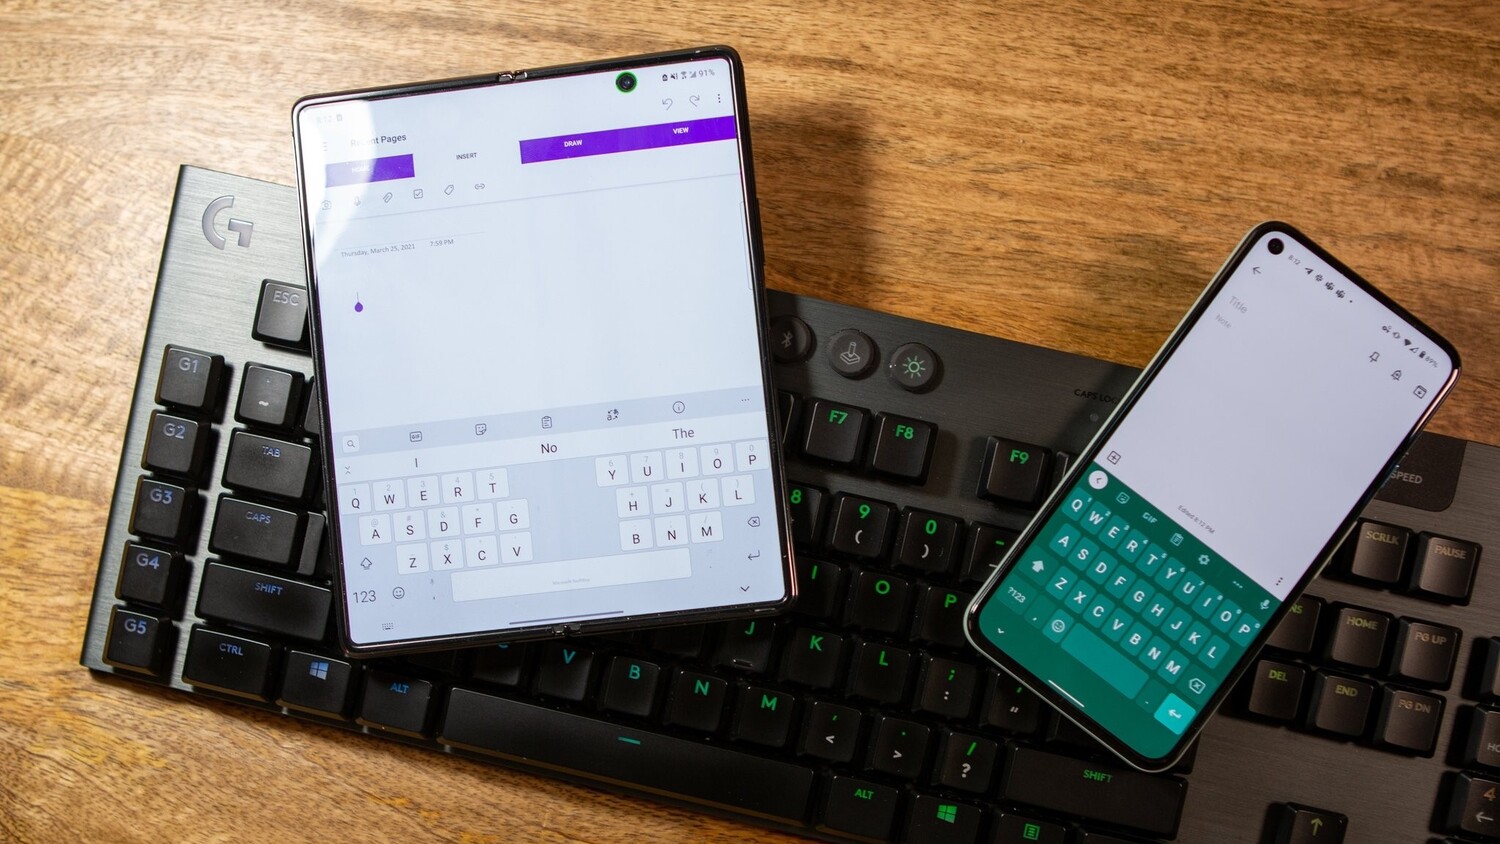
Create Your Own Android Keyboard

Android Studio
create-your-own-android-keyboard
Source: Androidcentral.com

Introduction to Custom Android Keyboards

What is a Custom Keyboard?

A custom keyboard is a personalized virtual keyboard for Android devices. Unlike the default keyboard that comes with your phone, a custom one can be tailored to fit your specific needs. You can change its layout, add special keys, or even create unique themes. It's like designing your own tool for typing, making it as simple or as fancy as you want.

Why Create a Custom Keyboard?

Creating a custom keyboard has several perks. For one, it can make typing faster and more efficient by placing frequently used keys within easy reach. It can also include special functions like emojis, shortcuts, or even different languages. Plus, it's a fun project that lets you learn more about Android development while making something useful.

Key Takeaways:

  • Creating a custom Android keyboard lets you design your own typing tool, making it faster and more fun with special keys and cool themes.
  • Building your keyboard in Android Studio teaches you coding skills and lets you add awesome features like emojis, auto-correct, and unique layouts.

Getting Started

Setting Up Your Development Environment

First things first, you'll need to set up your development environment. Download and install Android Studio, which is the official Integrated Development Environment (IDE) for Android. Make sure to also install the necessary SDKs (Software Development Kits) that match the Android versions you want to support. This setup will be your workspace for building and testing your custom keyboard.

Creating a New Android Project

Once your environment is ready, open Android Studio and start a new project. Choose a project template that fits your needs, but for a keyboard, you'll likely start with an Empty Activity. Name your project and set up the basic configurations like the package name and save location. This new project will be the foundation for your custom keyboard.

Basic Components of a Custom Keyboard

Keyboard Layout Files

The layout of your keyboard is defined in XML files. These files describe the arrangement of keys, their sizes, and their labels. Think of it as a blueprint for your keyboard. You'll create these XML files in the res folder of your project, specifically under res/xml. Each key and its properties will be defined here, giving you control over how your keyboard looks and feels.

Keyboard Java File

The Java file is where the magic happens. This file controls the behavior of your keyboard, like what happens when a key is pressed. You'll write code to handle key events, manage input, and even customize the keyboard's appearance dynamically. This Java file will be the brain behind your custom keyboard, making sure everything works smoothly.

Designing Your Keyboard Layout

Using Keyboard-Layout-Editor.com

Keyboard-Layout-Editor.com is a handy web tool for designing custom keyboard layouts. To start, visit the site and you'll see a blank keyboard template. You can add, remove, and rearrange keys to fit your design. Each key can be customized with different labels, sizes, and colors.

  1. Adding Keys: Click on a key to edit it. You can change its label, size, and color.
  2. Removing Keys: Select a key and hit the delete button.
  3. Rearranging Keys: Drag and drop keys to new positions.
  4. Saving Your Layout: Once satisfied, save your layout as a JSON file. This file will be used later in Android Studio.

Customizing Key Positions and Appearances

Customizing your keyboard layout involves more than just placing keys. You can adjust the size, shape, and color of each key to match your design preferences.

  • Key Sizes: Larger keys can be used for spacebars or enter keys. Adjust the width and height properties in the editor.
  • Key Shapes: While most keys are rectangular, you can create different shapes by combining smaller keys.
  • Colors and Labels: Use different colors to highlight special keys like function keys or shortcuts. Labels can be customized to show symbols, letters, or even emojis.

Implementing the Keyboard in Android Studio

Adding Layout Files to Your Project

After designing your layout, the next step is to integrate it into your Android project.

  1. Create XML Layout Files: Convert your JSON layout into XML. Each key should be defined with its position, size, and label.
  2. Add to Project: Place the XML files in the res/xml directory of your Android project.

Writing the Keyboard Java File

The Java file controls the behavior of your keyboard. Here's a basic guide:

  1. Extend InputMethodService: Your keyboard class should extend InputMethodService.
  2. Override Methods: Override methods like onCreateInputView() to set up the keyboard view.
  3. Handle Key Events: Implement logic to handle key presses and other interactions.

java
public class CustomKeyboard extends InputMethodService {
@Override
public View onCreateInputView() {
KeyboardView keyboardView = (KeyboardView) getLayoutInflater().inflate(R.layout.keyboard, null);
Keyboard keyboard = new Keyboard(this, R.xml.keyboard_layout);
keyboardView.setKeyboard(keyboard);
keyboardView.setOnKeyboardActionListener(new KeyboardActionListener());
return keyboardView;
}
}

Testing Your Custom Keyboard

Running Your Keyboard on an Emulator

Testing your keyboard on an emulator helps catch issues before deploying to real devices.

  1. Set Up Emulator: In Android Studio, create an Android Virtual Device (AVD) that matches your target device specifications.
  2. Install APK: Build and install your app on the emulator.
  3. Activate Keyboard: Go to the emulator's settings, select "Language & Input," and enable your custom keyboard.

Debugging Common Issues

Troubleshooting is part of the development process. Here are some tips:

  • Layout Issues: If keys are misaligned, double-check your XML layout files.
  • Functionality Problems: Ensure your Java methods correctly handle key events.
  • Performance: If the keyboard is slow, optimize your code and reduce resource usage.

Advanced Features and Customizations

Adding Special Keys and Functions

Adding special keys like emojis, numbers, and symbols can make your custom keyboard more versatile and user-friendly. To start, update your XML layout files to include these special keys. For instance, you can add a dedicated emoji key that opens an emoji panel.

In your Java file, handle the logic for these keys. For example, when a user taps the emoji key, the keyboard should switch to an emoji layout. You can also add keys for quick access to numbers and symbols by creating separate layouts for each and toggling between them as needed.

Implementing Auto-Correct and Suggestions

Auto-correct and word suggestions can significantly enhance the typing experience. To implement these features, integrate a dictionary or language model into your keyboard. Android provides APIs for text prediction and correction, which you can use to build these functionalities.

Start by creating a dictionary file that contains common words and their frequencies. Then, in your Java file, write the logic to suggest words based on the user's input. You can display these suggestions above the keyboard and allow users to tap on them to auto-complete their text.

Customizing Keyboard Themes

Customizing keyboard themes can make your keyboard visually appealing and provide a personalized experience for users. To create different themes, design multiple XML layout files with varying colors, fonts, and backgrounds.

In your Java file, add a settings menu where users can choose their preferred theme. When a user selects a theme, update the keyboard's appearance by loading the corresponding XML layout file. You can also allow users to create their own themes by providing options to customize colors and fonts.

Optimizing Performance and Compatibility

Ensuring Compatibility with Different Devices

To ensure your custom keyboard works seamlessly across various devices and Android versions, test it on multiple devices with different screen sizes and resolutions. Use Android's resource qualifiers to provide different layouts for different screen sizes.

Additionally, check for compatibility with different Android versions by using backward-compatible APIs and libraries. This way, your keyboard will function correctly on both older and newer devices.

Improving Performance and Responsiveness

Optimizing your keyboard for performance and responsiveness is crucial for a smooth user experience. Minimize the use of heavy resources like large images and complex animations. Instead, use lightweight graphics and simple animations.

In your Java file, optimize the code to reduce lag and improve response times. For example, handle key presses efficiently by using background threads for intensive tasks. This ensures that the keyboard remains responsive even during heavy usage.

Security Considerations

Protecting User Data

Protecting user data is paramount when developing a custom keyboard. Ensure that sensitive information like passwords and personal messages is not logged or stored. Implement encryption for any data that needs to be saved.

In your Java file, avoid collecting unnecessary user data and provide clear privacy policies. Inform users about the data your keyboard collects and how it is used. This transparency builds trust and ensures compliance with privacy regulations.

Handling Permissions

Managing permissions correctly is essential for the security and functionality of your custom keyboard. Request only the permissions necessary for your keyboard to function. For instance, if your keyboard includes voice input, request microphone access.

In your Java file, handle permission requests gracefully. Provide explanations for why certain permissions are needed and ensure that your app continues to function even if some permissions are denied. This approach respects user privacy and enhances the overall user experience.

Final Thoughts

Tech constantly shapes how we live, work, and play. From creating custom Android keyboards to integrating advanced features like auto-correct and emojis, tech empowers us to tailor our tools to our needs. By setting up a solid development environment, designing unique layouts, and ensuring performance and security, developers can craft innovative solutions. Whether you're a seasoned programmer or just starting, diving into projects like these not only boosts your skills but also lets you contribute to the ever-changing tech landscape. So, grab your Android Studio and start building—the future's at your fingertips!

Feature Overview

This feature lets users customize their Android keyboard. It allows changing the layout, adding themes, and even creating shortcuts for frequently used phrases. Users can also adjust the size of keys, choose different fonts, and add emojis or GIFs. Additionally, it supports multiple languages and offers swipe typing for faster input.

What You Need and Compatibility

To make sure your device supports creating your own Android keyboard, check these requirements:

  1. Operating System: Your device needs to run Android 5.0 (Lollipop) or later. Older versions won't support the necessary features.
  2. Storage: Ensure you have at least 100MB of free space. Custom keyboards can take up space, especially if they include custom themes or extensive dictionaries.
  3. RAM: A minimum of 2GB RAM is recommended. This ensures smooth performance without lag.
  4. Screen Size: While any screen size works, a 5-inch display or larger provides a better experience for designing and using your custom keyboard.
  5. Developer Options: Enable Developer Options on your device. Go to Settings > About Phone > Tap "Build Number" seven times. This allows you to install and test your custom keyboard.
  6. App Permissions: Grant necessary permissions like Storage Access and Keyboard Access. Without these, the keyboard won't function properly.
  7. Google Play Services: Ensure Google Play Services are up-to-date. Many keyboard customization apps rely on these services.
  8. Internet Connection: A stable Wi-Fi or mobile data connection is needed for downloading additional resources and updates.

By meeting these requirements, your device will be ready to support creating and using a custom Android keyboard.

How to Set It Up

  1. Open Settings on your Android device.
  2. Scroll down and tap "System".
  3. Select "Languages & input".
  4. Tap "Virtual keyboard".
  5. Choose "Manage keyboards".
  6. Toggle the switch next to the keyboard you want to activate.
  7. A pop-up might appear asking for permissions. Tap "OK" or "Enable".
  8. Go back to "Virtual keyboard".
  9. Tap "Current keyboard".
  10. Select the newly activated keyboard from the list.

Done! Your new keyboard is ready to use.

Tips for Effective Use

Customization: Personalize your keyboard by changing themes, fonts, and key shapes. This makes typing more enjoyable and efficient.

Shortcuts: Create text shortcuts for frequently used phrases. For example, type "brb" to automatically expand to "be right back."

Gestures: Use swipe gestures to type faster. Drag your finger from letter to letter without lifting it.

Voice Typing: Enable voice typing for hands-free use. Speak clearly into the microphone for accurate text input.

Emoji and GIFs: Add a bit of fun to your messages by using emojis and GIFs. Access them quickly from the keyboard.

Multilingual Typing: Set up multiple languages if you switch between them often. The keyboard will auto-correct and suggest words in the selected language.

Clipboard: Use the clipboard feature to save and paste multiple items. This is handy for copying and pasting text between apps.

One-Handed Mode: Activate one-handed mode for easier typing on large screens. This shifts the keyboard to one side.

Privacy Settings: Review and adjust privacy settings to control what data the keyboard collects. This keeps your information secure.

Updates: Regularly update your keyboard app to get the latest features and improvements. This ensures optimal performance.

Troubleshooting Common Problems

Problem: Keyboard Not Appearing

  1. Restart the device.
  2. Check keyboard settings.
  3. Update the keyboard app.
  4. Clear the keyboard app cache.

Problem: Keyboard Lagging

  1. Close unused apps.
  2. Clear keyboard app cache.
  3. Update the keyboard app.
  4. Restart the device.

Problem: Autocorrect Issues

  1. Adjust autocorrect settings.
  2. Add frequently used words to the dictionary.
  3. Clear the keyboard app cache.
  4. Update the keyboard app.

Problem: Keyboard Not Switching Languages

  1. Add desired languages in settings.
  2. Use the spacebar to switch languages.
  3. Update the keyboard app.
  4. Restart the device.

Problem: Keyboard Not Responding

  1. Restart the device.
  2. Clear the keyboard app cache.
  3. Update the keyboard app.
  4. Reinstall the keyboard app.

Problem: Keyboard Missing Emojis

  1. Check emoji settings.
  2. Update the keyboard app.
  3. Clear the keyboard app cache.
  4. Restart the device.

Privacy and Security Tips

When creating your own Android keyboard, security and privacy are crucial. User data, like keystrokes, can be sensitive. Ensure your keyboard doesn't store or transmit this data without permission. Use encryption to protect any data that must be stored or sent. Regularly update your app to patch vulnerabilities.

For maintaining privacy, avoid using third-party libraries that might collect data. Clearly state your privacy policy and get explicit consent from users. Encourage users to review permissions and only grant those necessary for the keyboard's functionality.

Other Options and Comparisons

Pros:

  1. Customization: Android keyboards allow users to change themes, layouts, and even add custom shortcuts. iOS keyboards offer limited customization.
  2. Third-Party Options: Android supports a wide range of third-party keyboards like SwiftKey, Gboard, and Fleksy. iOS also supports third-party keyboards but with more restrictions.
  3. Gesture Typing: Many Android keyboards include swipe typing, making it faster to type. iOS has added this feature but it's not as widely used.
  4. Voice Typing: Android's Google Voice Typing is highly accurate. iOS has Siri dictation, which is also reliable but less integrated with third-party apps.
  5. Language Support: Android keyboards often support more languages. iOS supports many languages but may lack some regional dialects.

Cons:

  1. Security: Third-party keyboards on Android can pose security risks if not from trusted sources. iOS has stricter guidelines, reducing this risk.
  2. Consistency: Android keyboards can vary greatly between devices, leading to inconsistent user experiences. iOS keyboards are more uniform across devices.
  3. Updates: Android keyboards may not receive updates as frequently. iOS keyboards are updated regularly with system updates.
  4. Integration: iOS keyboards are better integrated with the system, offering smoother performance. Android keyboards may sometimes lag or crash.
  5. Privacy: iOS has stricter privacy controls for keyboards. Android keyboards may collect more data, raising privacy concerns.

Alternatives:

  1. iOS Keyboard: For those who prioritize security and consistency.
  2. SwiftKey: Available on both Android and iOS, known for its predictive text and customization.
  3. Gboard: Google's keyboard, available on both platforms, offers excellent voice typing and search features.
  4. Fleksy: Known for its speed and customization, available on both Android and iOS.
  5. Samsung Keyboard: Pre-installed on Samsung devices, offers good customization and features.

Problem: Keyboard Not Appearing

  1. Restart the device.
  2. Check keyboard settings.
  3. Update the keyboard app.
  4. Clear the keyboard app cache.

Problem: Keyboard Lagging

  1. Close unused apps.
  2. Clear keyboard app cache.
  3. Update the keyboard app.
  4. Restart the device.

Problem: Autocorrect Issues

  1. Adjust autocorrect settings.
  2. Add frequently used words to the dictionary.
  3. Clear the keyboard app cache.
  4. Update the keyboard app.

Problem: Keyboard Not Switching Languages

  1. Add desired languages in settings.
  2. Use the spacebar to switch languages.
  3. Update the keyboard app.
  4. Restart the device.

Problem: Keyboard Not Responding

  1. Restart the device.
  2. Clear the keyboard app cache.
  3. Update the keyboard app.
  4. Reinstall the keyboard app.

Problem: Keyboard Missing Emojis

  1. Check emoji settings.
  2. Update the keyboard app.
  3. Clear the keyboard app cache.
  4. Restart the device.

Creating your own Android keyboard can be a rewarding project. It lets you customize your typing experience and learn more about Android development. Start by setting up Android Studio, then create a new project. Use the InputMethodService class to handle keyboard input. Design your keyboard layout using XML files. Implement key press handling in your service class. Test your keyboard thoroughly to ensure it works smoothly. Finally, publish your keyboard on the Google Play Store if you want to share it with others. With patience and practice, you'll have a unique keyboard that suits your needs. Happy coding!

How do I create a custom keyboard on Android?

Tap the Settings button (the gear icon) in the keyboard to open the keyboard settings. In the keyboard settings, tap the Input Method option and select your custom keyboard from the list of available keyboards. Tap the Done button to close the keyboard settings and return to the app.

Can I make my own keyboard layout?

Yes! Keyboard-layout-editor.com is a web application that lets you edit keyboard layouts, meaning you can change the position and appearance of each physical key. Start by exploring the presets and samples from the menu bar to get an idea of the possibilities.

How do I create a custom Samsung keyboard?

Click on Make your own keyboard. Click on the + under English to create a new keyboard. Then click on Edit. Now you’ll see keys displayed in the top half of the screen that you can add to the keyboard.

Is it possible to customize the appearance of my Android keyboard?

Absolutely! Many keyboard apps like Gboard or SwiftKey allow you to change themes, colors, and even add backgrounds to your keyboard. Just go to the app’s settings and look for the Theme or Appearance options.

Can I add special characters to my custom keyboard?

Yes, you can add special characters. When creating your custom keyboard, look for options to add symbols, emojis, or other special characters. Most keyboard customization tools will have this feature.

Do I need any special software to create a custom keyboard?

Not necessarily. While there are specialized apps and websites like Keyboard-layout-editor.com, many Android devices come with built-in options for customizing keyboards. Check your device’s settings or the settings of your current keyboard app.

How do I switch back to my default keyboard after using a custom one?

Go to Settings > System > Languages & input > Virtual keyboard. Tap Manage keyboards and toggle off your custom keyboard, then select your default keyboard from the list.

Was this page helpful?