
Introduction to Android Studio
Android Studio, the official Integrated Development Environment (IDE) for Android app development, has become the preferred tool for developers globally. Built on IntelliJ IDEA's robust code editor and developer tools, it offers a unified environment for creating, testing, and deploying applications across all Android devices. Designed for both beginners and advanced developers, it is essential for anyone looking to develop Android applications.
Key Features of Android Studio
Flexible Gradle-Based Build System
Android Studio uses a Gradle-based build system, allowing developers to customize build configurations and generate builds for various devices. This flexibility optimizes app performance and ensures compatibility across different Android versions and devices.
Fast and Feature-Rich Emulator
The emulator in Android Studio is efficient, providing an augmented reality experience with Google’s ARCore. It enables developers to test applications on various virtual devices, speeding up app development and testing.
Live Edits
Live editing is one of Android Studio's most innovative features. It allows developers to update composables in emulators and physical devices in real-time, significantly reducing debugging and testing time.
Code Templates and GitHub Integration
Pre-built code templates help developers quickly build common app features. Seamless integration with GitHub allows importing sample code and collaborating with other developers.
Extensive Testing Tools and Frameworks
Android Studio includes a comprehensive set of testing tools and frameworks, making it easier to write unit tests, integration tests, and UI tests. This ensures thorough testing before deployment.
Lint Tools
Lint tools catch performance, usability, version compatibility, and other problems in the code. These tools run automatically during compilation, providing detailed reports on potential issues, helping maintain high-quality code.
C++ and NDK Support
Support for C++ and NDK allows developers to create native modules for applications. This feature is particularly useful for games and performance-critical applications.
Built-in Support for Google Cloud Platform
Seamless integration with Google Cloud Platform makes it easy to integrate Google Cloud Messaging and App Engine into applications, enhancing capabilities with robust backend services.
Project Structure in Android Studio
Each project in Android Studio is organized into one or more modules, including source code files and resource files. Types of modules include:
- Android App Modules: Contain the main application code and resources.
- Library Modules: Contain reusable code shared across multiple applications.
- Google App Engine Modules: Used for developing backend services using Google App Engine.
By default, Android Studio displays project files in the Android project view, organized by modules for quick access to key source files. All build files are visible at the top level under Gradle Scripts.
App Module Folders
Each app module contains the following folders:
- manifests: Contains the
AndroidManifest.xmlfile, defining the application's components and configurations. - java: Contains Kotlin and Java source code files, including JUnit test code.
- res: Contains all non-code resources such as UI strings, bitmap images, and other visual elements.
For more detailed information about the project structure, developers can switch to the Project view from the Project menu.
Setting Up Android Studio
Downloading Android Studio
First, download the IDE from the official Android Studio download page. Choose the version compatible with your operating system (Windows, macOS, or Linux) and download the installer.
Installing Required Components
During installation, Android Studio will prompt you to install required components, including the Android SDK, Android Virtual Device (AVD) Manager, and the Android Emulator. The Android SDK is a collection of libraries and tools used to build Android applications. The AVD Manager creates and manages virtual devices for testing applications. The Android Emulator is a virtual device that allows testing applications without using a physical device.
Configuring Android Studio
After installation, configure Android Studio before starting. When launching Android Studio for the first time, choose the “Standard” configuration and click “Next.” Customize the settings based on preferences if needed.
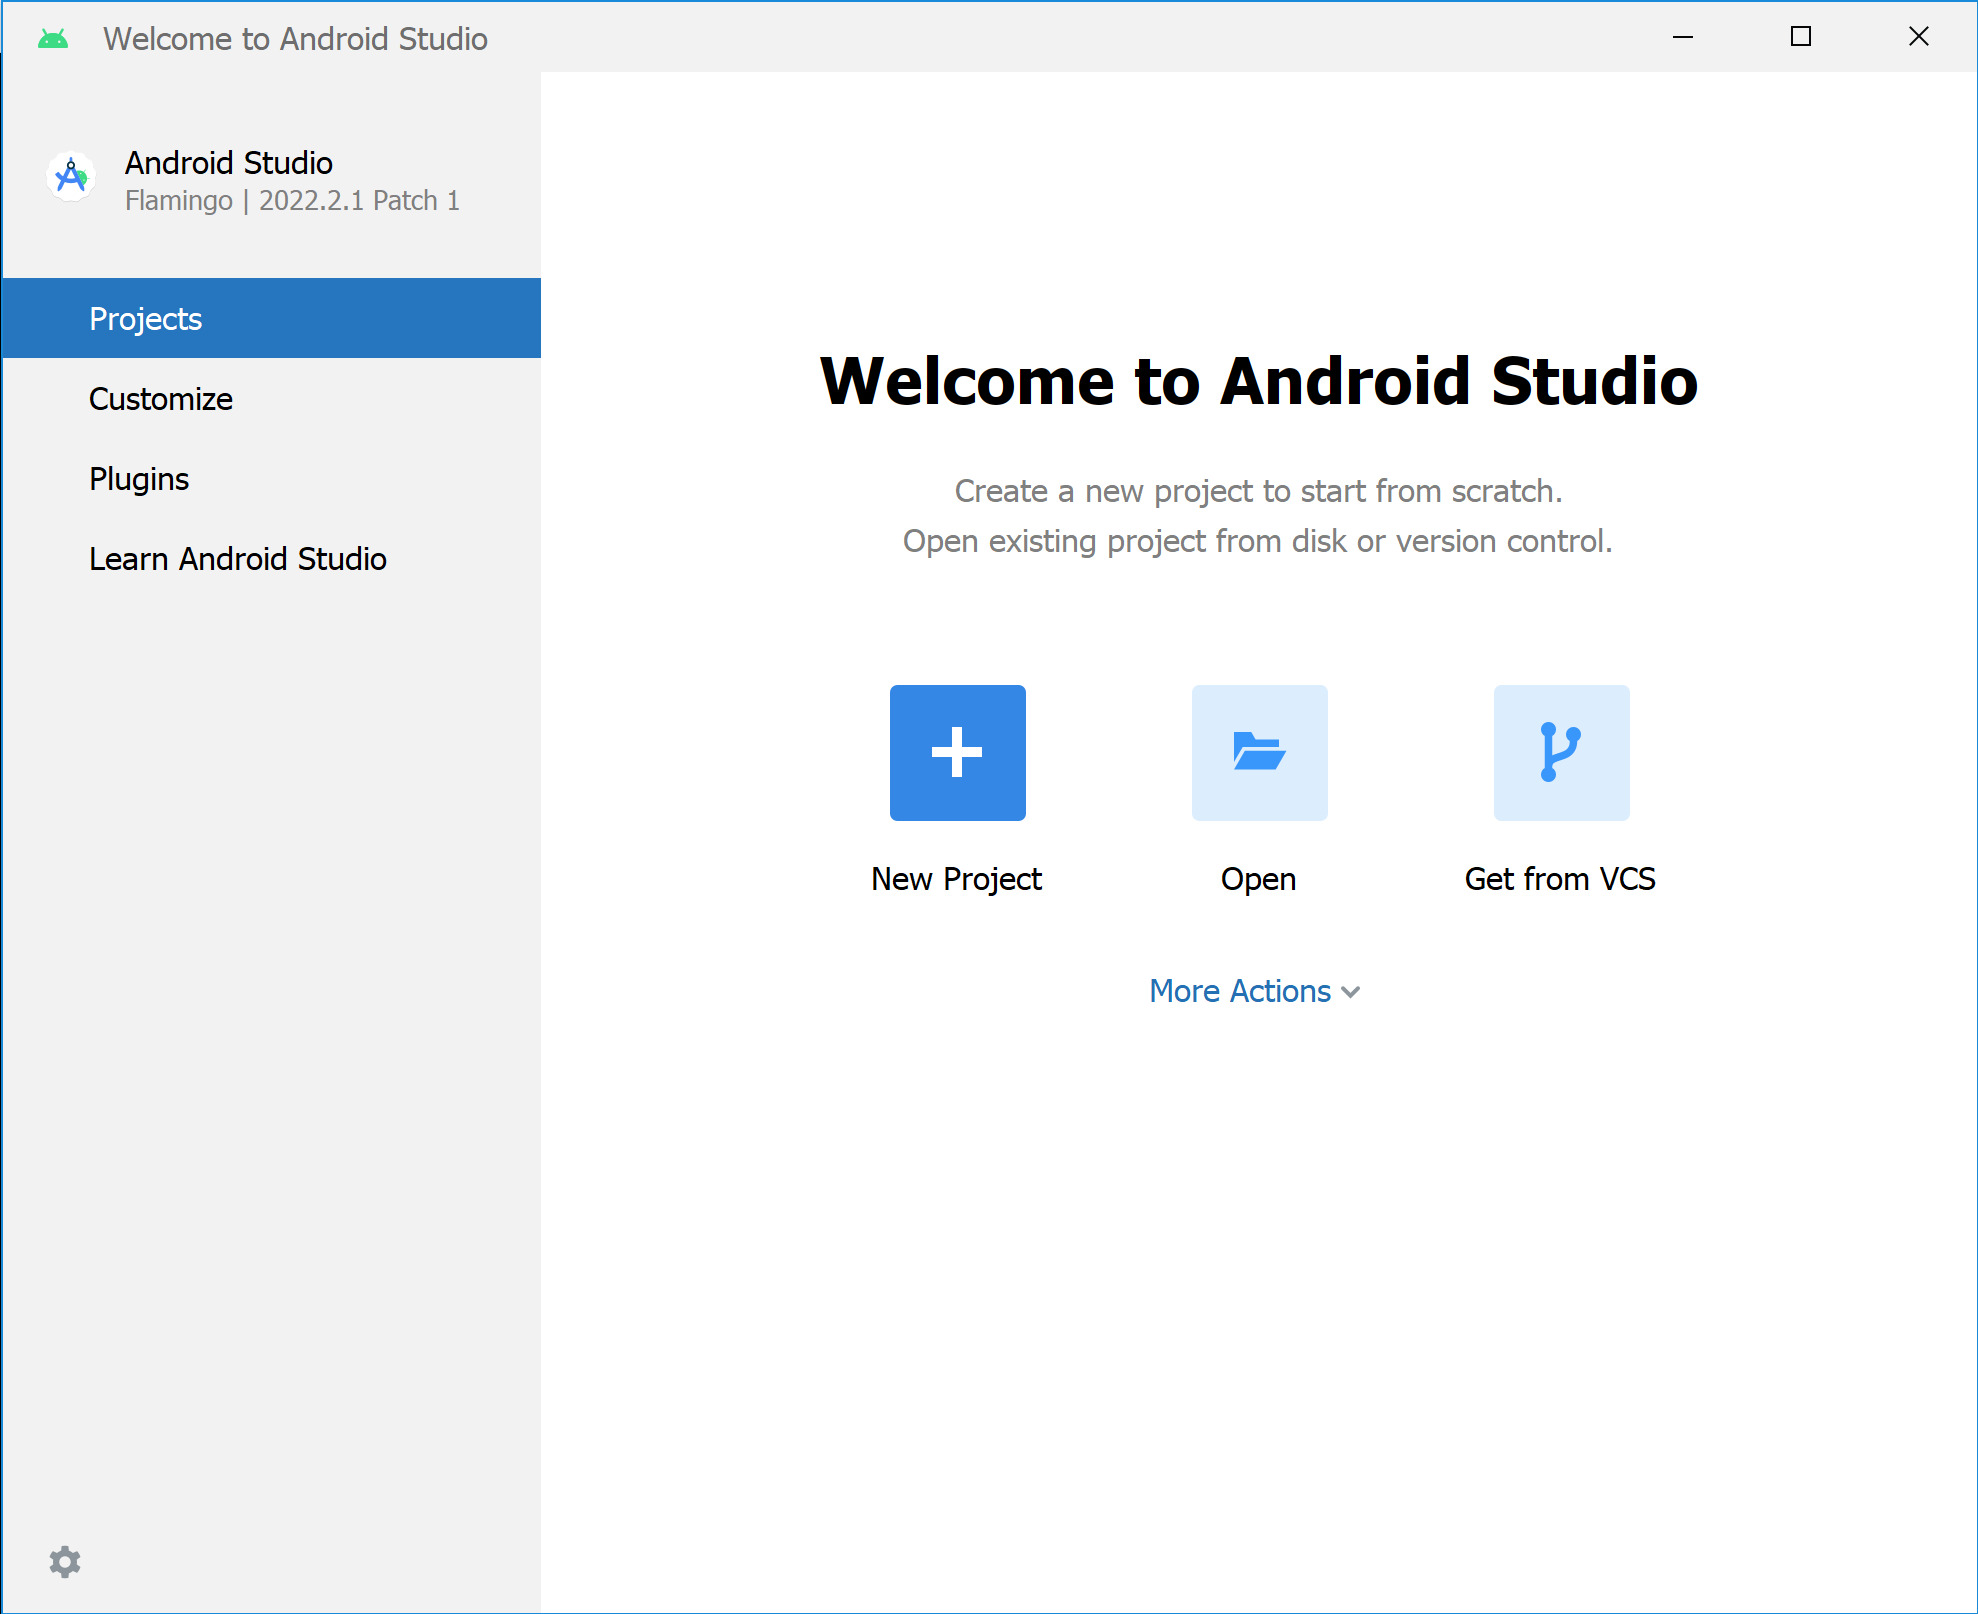
Creating a New Project
Once configured, start creating your first Android application. Click “Start a new Android Studio project” on the welcome screen or select “New Project” from the file menu. Choose the project name, package name, and other project details. Select the minimum SDK version, determining the minimum Android version the application can run on.
Building Your Application
After creating the project, start building the application using various tools and features provided by Android Studio. Use the visual layout editor to design the user interface, write code in Java or Kotlin, and use the Android SDK to access device features such as the camera, sensors, and GPS.
Testing Your Application
Testing is an important step in the development process. Android Studio comes with an emulator for testing applications on different virtual devices. Connect your Android device to your computer and test the application directly on the device. Use the “Run” button in Android Studio to launch the application and test it on the emulator or device. The built-in profiler analyzes the application's performance, identifying bottlenecks or performance issues.
Debugging and Profiling Tools
Inline Debugging
Inline debugging allows setting breakpoints directly in the code editor. This feature provides detailed information about the execution flow, making it easier to identify and fix bugs.
Code Inspections
Whenever compiling a program, Android Studio automatically runs configured lint checks and other IDE inspections. The lint tool checks project source files for potential bugs and optimization improvements for correctness, security, performance, usability, accessibility, and internationalization.
Annotations in Android Studio
Annotations for variables, parameters, and return values help catch bugs such as null pointer exceptions and resource type conflicts. The Android SDK Manager packages the Jetpack Annotations library in the Android Support Repository for use with Android Studio. Android Studio validates configured annotations during code inspection, ensuring adherence to best practices and avoiding common pitfalls.
Log Messages
When building and running an app with Android Studio, view adb output and device log messages in the Logcat window. This feature is invaluable for debugging issues related to device interactions and system events.
User Interface Design
Visual Layout Editor
The visual layout editor allows quickly building complex layouts using the ConstraintLayout. This layout system enables adding constraints from one view to another, ensuring the layout adapts seamlessly to different screen sizes and orientations. The editor also provides a preview feature, allowing developers to see how the layout will look on different device configurations, making it easier to test and refine the user interface.
Material Design Components
Android Studio supports Material Design components and icons, essential for enhancing the user experience. Developers can use these components to create visually appealing and consistent UI elements that align with Google’s design principles. Additionally, the IDE provides tools for improving layout performance, ensuring smooth application performance on various devices.
APK Analyzer
The APK Analyzer allows inspecting app content and APK files. This tool is particularly useful for minimizing the size of Android apps. Developers can check the manifest and DEX files, along with resources, to identify areas for optimization. The APK Analyzer also enables comparing different versions of the APK, verifying changes in app size between iterations.
Realtime Profilers
Realtime profilers help identify loopholes in app performance by inspecting heap and allocations, recording method traces, and providing real-time statistics for CPU memory and network activity. These tools are essential for optimizing application performance and ensuring smooth operation on various devices.
Final Thoughts
Android Studio is a powerful tool that has transformed the process of developing Android applications. Its flexible Gradle-based build system, fast emulator, live edits, and extensive testing tools make it indispensable for both beginner and advanced developers. Support for C++ and NDK, built-in support for Google Cloud Platform, and comprehensive debugging and profiling tools further enhance its capabilities. By leveraging these features, developers can create high-quality Android applications that meet the demands of modern mobile users.
Android Studio's free-to-download status and absence of licensing fees make it an attractive option for developers worldwide. Continuous updates and improvements ensure it remains at the forefront of Android app development, providing developers with the tools needed to create innovative and engaging applications.
Android Studio is not just an IDE; it is a comprehensive development environment that has transformed the way Android applications are developed. Its robust set of features, user-friendly interface, and continuous updates make it an essential tool for any developer looking to create high-quality Android applications.