Introduction
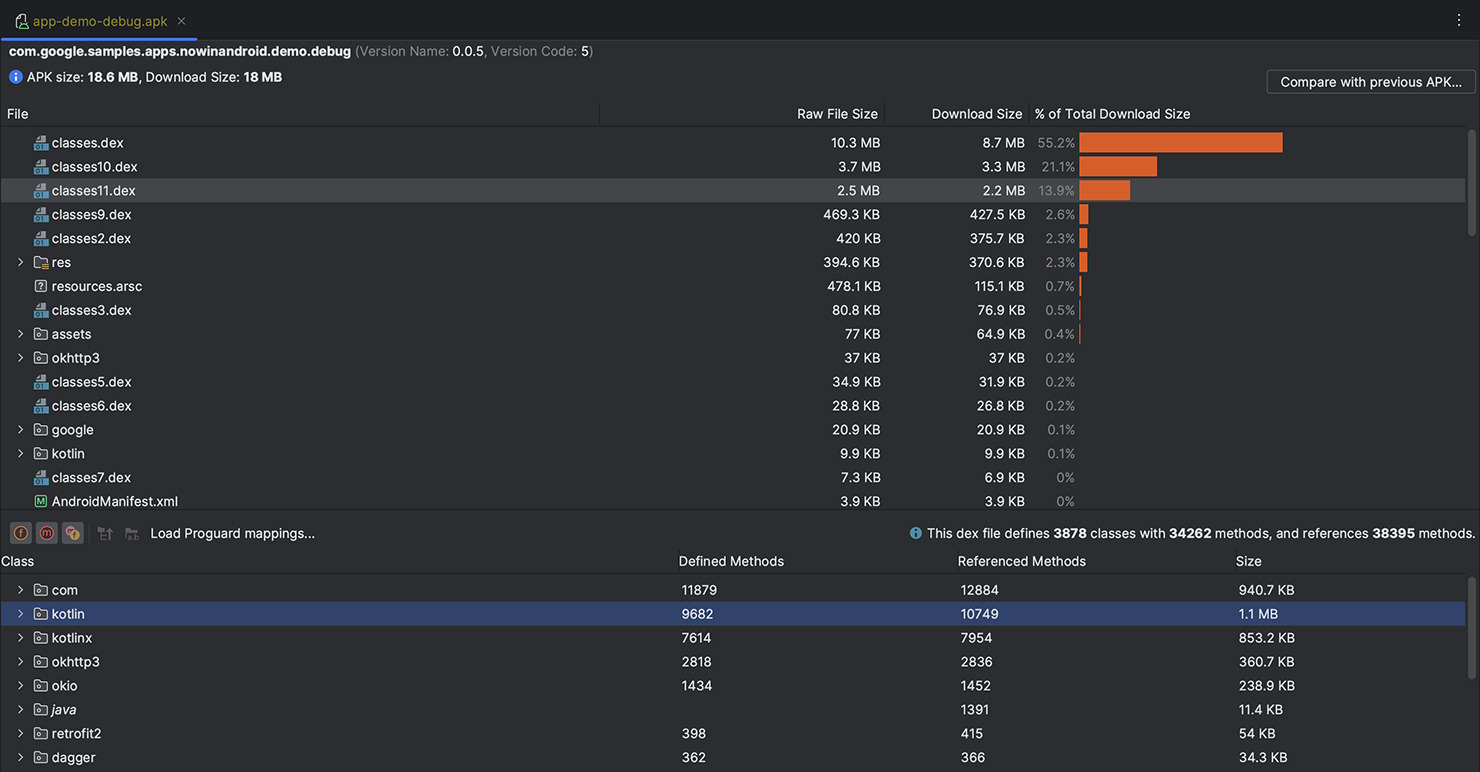
Android Studio, the official Integrated Development Environment (IDE) for Android app development, has been the preferred tool for developers since its release by Google in 2013. This comprehensive guide explores the features, tools, and best practices of using Android Studio, making it indispensable for any Android developer.
What is Android Studio?
Android Studio offers a robust set of tools for developing, testing, and debugging Android applications. Designed to streamline the development process, it simplifies creating complex and visually appealing apps. The platform supports a wide range of activities, from writing code to designing user interfaces, and from testing to deploying apps.
Key Features
-
Code Editor
- Syntax Highlighting: Quickly identify different elements of the code, such as variables, functions, and keywords.
- Code Completion: Intelligent suggestions based on the context of the code being written.
- Code Refactoring: Easily rename variables, move methods, and extract methods.
- Code Analysis: Tools for finding unused resources, detecting performance issues, and suggesting improvements.
-
Visual Layout Editor
- Design user interfaces without writing any code using a graphical user interface (GUI) builder.
- Supports various layout types like linear, relative, and constraint layouts.
- Tools for adding views, setting properties, and previewing layouts in different screen sizes and orientations.
-
Performance Analysis Tools
- Android Profiler: Real-time data about the app's performance, including CPU usage, memory allocation, and network activity.
- Memory Profiler: Identify memory leaks and optimize memory usage.
- CPU Profiler: Detailed information about CPU usage to identify performance bottlenecks.
-
Debugging Tools
- Breakpoints: Pause the execution of the app at specific points in the code.
- Debugging Console: Detailed view of the app's execution, including variable values and stack traces.
- Logcat: View log messages generated by the app for troubleshooting issues.
-
Testing Tools
- JUnit Tests: Unit tests written in Java to test individual components of the app.
- Espresso Tests: UI tests that simulate user interactions to ensure the app behaves as expected.
- UI Automator Tests: Automate interactions with the app's UI.
-
Version Control Integration
- Supports integration with version control systems like Git, making code changes and collaboration easier.
-
Emulators and Simulators
- Built-in emulator to test apps on different Android versions and devices without needing physical hardware.
-
Extensions and Plugins
- Supports a wide range of extensions and plugins to enhance functionality, including plugins for code analysis, debugging, and testing.
Setting Up Android Studio
Download and Install
- Visit the official Android Studio website and download the latest version.
- Follow the installation instructions provided by the installer.
Configure SDK Tools
- Open Android Studio and follow the prompts to configure SDK tools.
- Download necessary SDKs and set up the environment.
Create a New Project
- Select “Start a new Android Studio project” from the start-up screen.
- Choose the type of project (e.g., Empty Activity, Basic Activity).
- Provide basic information such as project name, package name, and location.
Set Up Virtual Devices
- Go to “AVD Manager” under the “Tools” menu and create a new virtual device.
- Test your app on different devices or Android versions.
Best Practices for Using Android Studio
Use the Code Editor Efficiently
- Use Code Completion: Save time by using intelligent suggestions.
- Refactor Code Regularly: Keep code clean and maintainable by renaming variables, moving methods, and extracting methods.
- Use Code Analysis Tools: Find unused resources, detect performance issues, and suggest improvements.
Design User Interfaces Efficiently
- Use the Visual Layout Editor: Design user interfaces without writing any code.
- Preview Layouts: Ensure layouts look good on all devices by previewing in different screen sizes and orientations.
- Add Views and Set Properties: Create visually appealing UIs using the visual layout editor.
Optimize Performance
- Use Performance Analysis Tools: Identify performance bottlenecks using tools like Android Profiler, Memory Profiler, and CPU Profiler.
- Optimize Memory Usage: Identify memory leaks and reduce unnecessary memory allocations.
- Reduce CPU Usage: Optimize CPU-intensive operations and use efficient algorithms.
Debugging Best Practices
- Set Breakpoints: Pause execution at specific points to inspect variables.
- Use Debugging Console: View variable values and stack traces.
- Check Logcat: Look for log messages indicating issues with the app.
Testing Best Practices
- Write Unit Tests: Test individual components using JUnit tests.
- Write UI Tests: Simulate user interactions with Espresso tests or UI Automator tests.
- Run Tests Regularly: Catch bugs early in the development cycle by running tests frequently.
Android Studio provides a comprehensive set of features, including a code editor, visual layout editor, performance analysis tools, debugging tools, testing tools, version control integration, emulators and simulators, and extensions and plugins. By following best practices, developers can streamline their development process and ensure their apps are both functional and visually appealing. Whether a beginner or an experienced developer, Android Studio is an indispensable tool for achieving goals in Android app development.
