
Understanding the Importance of activity_main.xml
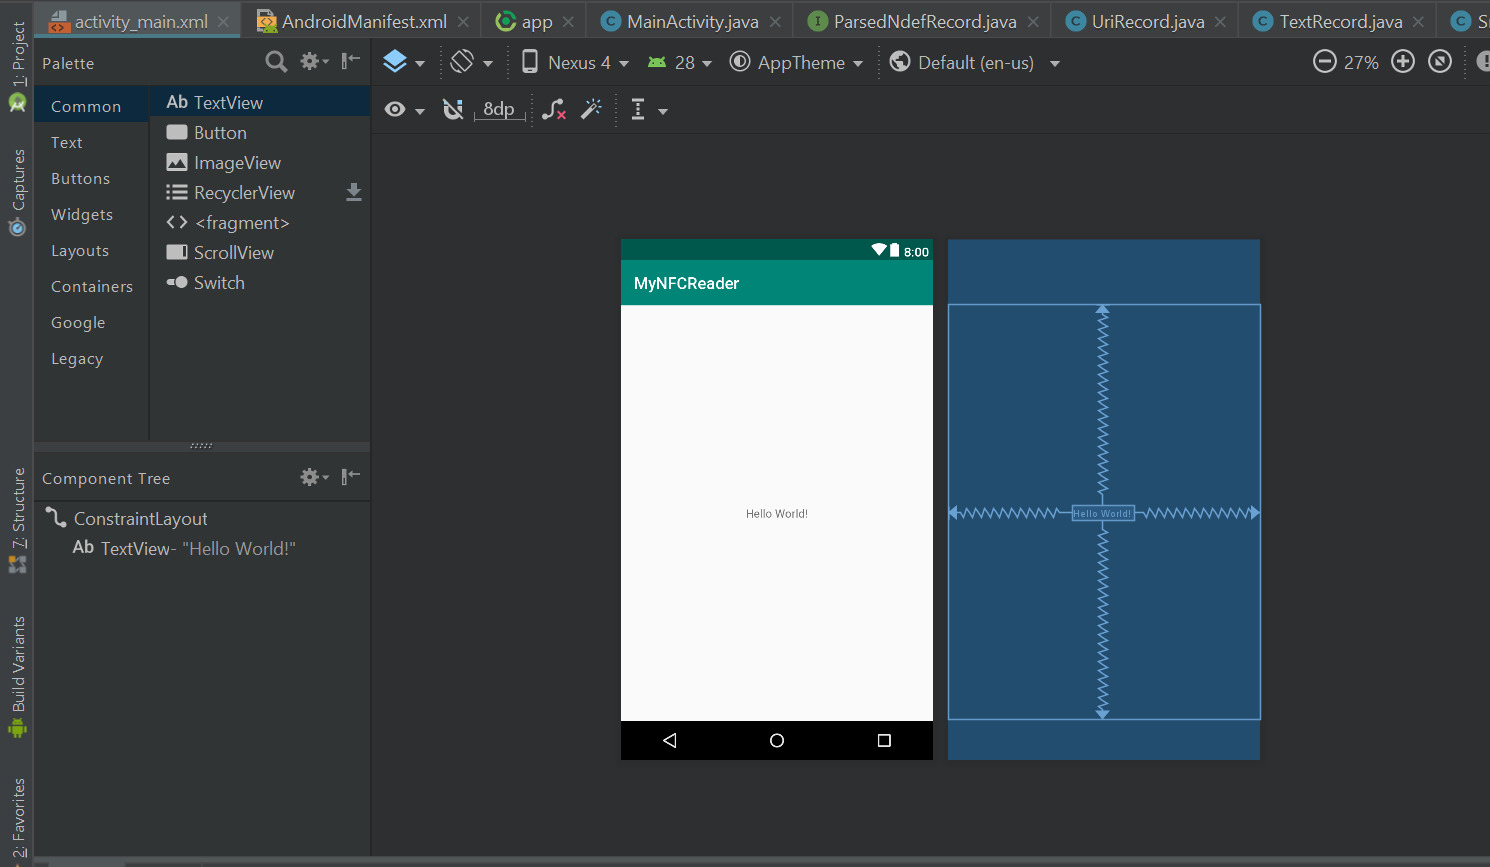
The activity_main.xml file is a fundamental component of any Android application. It contains the XML code defining the layout of the main activity, including all views, widgets, and other UI elements. This file is typically located in the res/layout directory of your project.
Reasons for Missing activity_main.xml
Several reasons might explain why the activity_main.xml file is missing from your project:
Project Configuration Issues
Sometimes, when creating a new project in Android Studio, the activity_main.xml file might not be generated automatically. This could be due to changes in the project template or configuration settings.
Theme Changes
The theme of the app can sometimes affect the visibility of the activity_main.xml file. If the theme is set to use Jetpack Compose, which uses Kotlin for defining layouts, the traditional XML layout files might not be generated.
Project Updates
Recent updates to Android Studio, such as the Flamingo version released in April 2023, have introduced changes that might affect how layout files are generated.
User Error
Developers might accidentally delete or overlook the creation of the activity_main.xml file during project setup.
Steps to Fix Missing activity_main.xml
To resolve the issue of a missing activity_main.xml file, follow these steps:
Method 1: Creating the Layout Manually
- Open Your Project: Start by opening your Android Studio project.
- Navigate to the res Folder: In the Project window, navigate to the
resfolder. - Create a New Layout Folder: Right-click on the
resfolder and selectNew>Folder. Name this folderlayout. - Create activity_main.xml: Right-click on the newly created
layoutfolder and selectNew>XML File. Name this fileactivity_main.xml. - Add Layout Elements: Open the newly created
activity_main.xmlfile and add your desired layout elements, such as buttons, text views, etc.
Here’s an example of how you might add a button to your activity_main.xml:
xml
<Button
    android:id="@+id/button"
    android:layout_width="wrap_content"
    android:layout_height="wrap_content"
    android:text="Click Me!" />
- Update MainActivity.kt: Ensure that your
MainActivity.ktfile has the correct setContentView call to reference the newly created layout.
kotlin
import androidx.appcompat.app.AppCompatActivity
import android.os.Bundle
import android.widget.Button
class MainActivity : AppCompatActivity() {
override fun onCreate(savedInstanceState: Bundle?) {
super.onCreate(savedInstanceState)
setContentView(R.layout.activity_main)
}
}
Method 2: Creating a New Project with Empty Views Activity
- Create a New Project: Open Android Studio and select
File>New>New Project. - Choose Empty Views Activity: In the project template selection screen, choose
Empty Views Activityinstead ofEmpty Activity. - Provide Project Details: Fill in the necessary details such as project name, package name, etc.
- Finish Project Creation: Click on the
Finishbutton to create the project.
This method ensures that all necessary files, including activity_main.xml, are generated automatically.
Method 3: Using Jetpack Compose
If you prefer using Jetpack Compose for defining layouts, create a new project with Compose enabled:
- Create a New Project: Open Android Studio and select
File>New>New Project. - Choose Jetpack Compose: In the project template selection screen, choose
Jetpack Composeas the UI framework. - Provide Project Details: Fill in the necessary details such as project name, package name, etc.
- Finish Project Creation: Click on the
Finishbutton to create the project.
Jetpack Compose uses Kotlin for defining layouts, so update your MainActivity.kt file accordingly.
Troubleshooting Tips
If you encounter issues while trying to fix the missing activity_main.xml file, consider these troubleshooting tips:
- Check Project Structure: Ensure that your project structure is correct and that all necessary folders are present.
- Restart Android Studio: Sometimes, simply restarting Android Studio can resolve configuration issues.
- Clear Cache: Clearing the cache of Android Studio might help resolve issues related to outdated configurations.
- Reinstall Android Studio: If all else fails, consider reinstalling Android Studio to ensure you have the latest version with all updates applied.
Final Thoughts
The missing activity_main.xml file is a common issue in Android development that can be easily resolved by following the steps outlined above. Whether you choose to create the layout manually or use one of the automated methods provided by Android Studio, ensuring that this file is present and correctly configured is crucial for a successful Android application development process.
By understanding the reasons behind this issue and following these detailed steps, developers can quickly get back on track and continue working on their projects without any further complications. Always keep your Android Studio up-to-date and familiarize yourself with the latest changes in project templates and configurations to avoid such issues in the future.