
Introduction
Android ListView is a fundamental component in Android app development, used to display a list of items in a scrollable, vertical layout. It is one of the most commonly used UI components in Android, allowing developers to display data in a structured and user-friendly manner. This comprehensive guide will cover the details of using Android ListView, including its basics, customization, and best practices.
What is Android ListView?
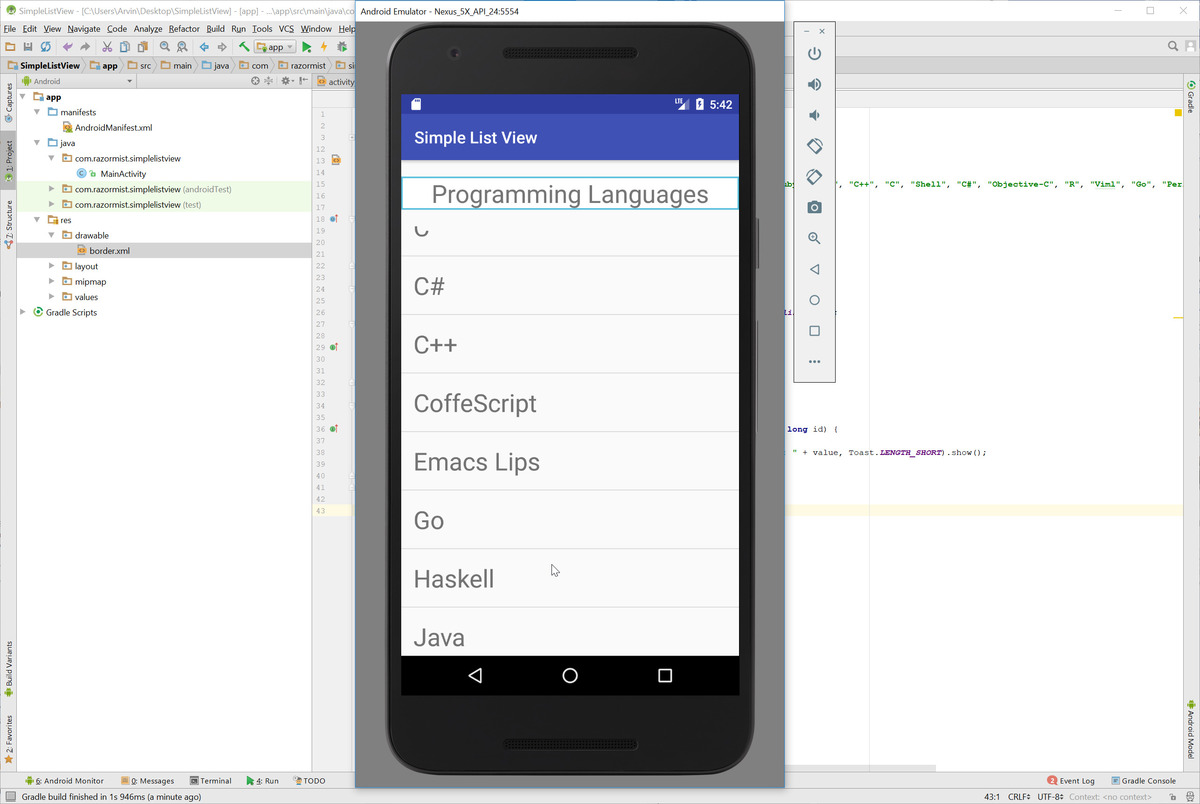
Android ListView is a subclass of AdapterView, a base class for views that display a collection of items. Designed to display a list of items in a vertical scrollable layout, each item in the list is represented by a View object. The ListView requests views on demand from a ListAdapter as needed, without knowing the details of the views it contains.
Basic Usage of ListView
Add ListView to Your Layout
First, add a ListView to your layout file (e.g., activity_main.xml). Insert the following code snippet inside the ConstraintLayout tag:
xml
Initialize ListView in Your Activity
In your activity class, initialize the ListView by finding it using its ID and setting its adapter.
java
private lateinit var listView: ListView
override fun onCreate(savedInstanceState: Bundle?) {
super.onCreate(savedInstanceState)
setContentView(R.layout.activity_main)
listView = findViewById<ListView>(R.id.recipe_list_view)

// Example: Populate the ListView with data
val recipeList = Recipe.getRecipesFromFile("recipes.json", this)
val listItems = arrayOfNulls<String>(recipeList.size)

for (i in 0 until recipeList.size) {
    val recipe = recipeList[i]
    listItems[i] = recipe.title
}

val adapter = ArrayAdapter(this, android.R.layout.simple_list_item_1, listItems)
listView.adapter = adapter
}
Customizing ListView
Custom Adapter
To display custom data in ListView, create a custom adapter. A custom adapter extends BaseAdapter and overrides the getView method to inflate and configure the view for each data item.
java
private class MyAdapter extends BaseAdapter {
@Override
public View getView(int position, View convertView, ViewGroup container) {
if (convertView == null) {
convertView = getLayoutInflater().inflate(R.layout.list_item, container, false);
}
((TextView) convertView.findViewById(android.R.id.text1)).setText(getItem(position));
return convertView;
}
}
Custom Layout
Customize the layout of each item in the list by creating a custom layout file (e.g., list_item.xml). This layout file can contain any type of view, such as TextView, ImageView, etc.
xml
<ImageView
    android:id="@+id/icon"
    android:layout_width="50dp"
    android:layout_height="50dp"
    android:src="@drawable/ic_launcher" />

<TextView
    android:id="@+id/textView"
    android:layout_width="fill_parent"
    android:layout_height="wrap_content"
    android:layout_gravity="center"
    android:padding="@dimen/activity_horizontal_margin"
    android:textColor="@color/black" />
Styling and Theming
Style and theme your ListView to match your app's design. This includes setting colors, fonts, and other visual attributes.
xml
Optimizing ListView Performance
ListView attempts to reuse view objects to improve performance and avoid a lag in response to user scrolls. To take advantage of this feature, check if the convertView provided to getView is null before creating or inflating a new view object.
java
@Override
public View getView(int position, View convertView, ViewGroup container) {
if (convertView == null) {
convertView = getLayoutInflater().inflate(R.layout.list_item, container, false);
}
((TextView) convertView.findViewById(android.R.id.text1)).setText(getItem(position));
return convertView;
}
Handling Click Events
Specify an action when a user clicks or taps on a single list item by setting an OnItemClickListener.
java
listView.setOnItemClickListener(new AdapterView.OnItemClickListener() {
@Override
public void onItemClick(AdapterView<?> parent, View view, int position, long id) {
// Handle click event here
}
});
Using CursorAdapter
When working with a database, use CursorAdapter to populate your ListView. This approach avoids blocking the main thread when using a cursor.
java
Cursor cursor = getContentResolver().query(MyContentProvider.CONTENT_URI, null, null, null, null);
startManagingCursor(cursor);
SimpleCursorAdapter adapter = new SimpleCursorAdapter(this,
android.R.layout.simple_list_item_1,
cursor,
new String[] { MyContentProvider.COLUMN_NAME },
new int[] { android.R.id.text1 });
listView.setAdapter(adapter);
Best Practices
Use RecyclerView Instead
While ListView is still useful for legacy code, RecyclerView is generally recommended for new projects due to its better performance and flexibility.
Avoid Blocking the Main Thread
When working with databases or network operations, always use a background thread to avoid blocking the main thread.
Customize Your Adapter
Custom adapters are essential for displaying complex data in a user-friendly manner.
Optimize Performance
Reuse view objects and avoid unnecessary inflation of views to improve performance.
Handle Click Events Properly
Set an OnItemClickListener to handle click events correctly.
Example Project
Step 1: Create a Custom Data Model
First, create a custom data model class (e.g., DataModel.java) to hold the data for each item in the list.
java
public class DataModel {
private String title;
private String description;
public DataModel(String title, String description) {
    this.title = title;
    this.description = description;
}

public String getTitle() {
    return title;
}

public String getDescription() {
    return description;
}
}
Step 2: Create a Custom Adapter
Next, create a custom adapter class (e.g., CustomAdapter.java) that extends BaseAdapter and overrides the getView method.
java
public class CustomAdapter extends BaseAdapter {
private ArrayList
public CustomAdapter(ArrayList<DataModel> dataModels) {
    this.dataModels = dataModels;
}

@Override
public int getCount() {
    return dataModels.size();
}

@Override
public Object getItem(int position) {
    return dataModels.get(position);
}

@Override
public long getItemId(int position) {
    return position;
}

@Override
public View getView(int position, View convertView, ViewGroup parent) {
    View view = convertView;
    if (view == null) {
        view = LayoutInflater.from(parent.context).inflate(R.layout.list_item, parent, false);
    }

    TextView titleTextView = view.findViewById(R.id.title);
    TextView descriptionTextView = view.findViewById(R.id.description);

    DataModel dataModel = dataModels.get(position);
    titleTextView.setText(dataModel.getTitle());
    descriptionTextView.setText(dataModel.getDescription());

    return view;
}
}
Step 3: Add ListView to Your Layout
Add a ListView to your layout file (e.g., activity_main.xml).
xml
Step 4: Initialize and Populate ListView
Finally, initialize and populate the ListView in your activity class.
java
private lateinit var listView: ListView
override fun onCreate(savedInstanceState: Bundle?) {
super.onCreate(savedInstanceState)
setContentView(R.layout.activity_main)
listView = findViewById<ListView>(R.id.recipe_list_view)

// Example data
val dataModels = ArrayList<DataModel>()
dataModels.add(DataModel("Apple Pie", "Android 1.0"))
dataModels.add(DataModel("Banana Bread", "Android 1.1"))
dataModels.add(DataModel("Cupcake", "Android 1.5"))

// Set adapter
val adapter = CustomAdapter(dataModels)
listView.adapter = adapter
}
This example demonstrates how to create a simple ListView with a custom adapter. Extend this example to handle more complex data and customization.