
Introduction to Android Emulators
Using an Android emulator on your PC can be a game-changer for developers, gamers, and anyone who wants to experience the world of Android on a larger screen. This comprehensive guide will walk you through the process of setting up and using an Android emulator on your PC, covering various popular emulators like Anbox, Genymotion, and BlueStacks.
Why Use an Android Emulator?
There are several reasons why you might want to use an Android emulator on your PC:
- Development: Test apps on different versions of Android without needing multiple physical devices.
- Gaming: Enjoy mobile games on a bigger screen with better controls, often making gameplay smoother.
- Multitasking: Run multiple apps at once, just like on a real Android device, which is handy for multitasking.
- Testing: Test how your app performs under different network conditions, battery levels, and other scenarios that might be challenging to replicate on a physical device.
Popular Android Emulators
Several popular Android emulators are available for PC, each with its own set of features and advantages. Here are some of the most commonly used ones:
1. Anbox
Anbox is an open-source Android emulator that allows you to run Android apps on your Linux system. It is known for its simplicity and ease of use.
Installation
- Anbox can be installed on most Linux distributions, including Ubuntu, Fedora, and Debian.
- Download the latest version from the official Anbox website and follow the installation instructions.
System Requirements
- At least 4GB of RAM is recommended, but 8GB or more is better.
- A multi-core processor helps with performance, and having a good amount of storage space is crucial since emulators can be storage hogs.
- A solid GPU can also make a big difference, especially for gaming or graphic-intensive apps.
Tips for Effective Use
- Optimize Performance: Allocate enough RAM and CPU to the emulator to ensure smooth operation without lag.
- Use Keyboard Shortcuts: Familiarize yourself with shortcuts like Ctrl+M for the menu or Ctrl+F11 to rotate the screen. These save time.
- Test on Multiple Devices: Emulate different screen sizes and resolutions to ensure your app looks good everywhere.
- Enable GPU Acceleration: Turn on GPU acceleration in the emulator settings to boost graphics performance.
- Regular Updates: Keep the emulator and SDK tools updated to avoid compatibility issues.
- Snapshot Feature: Use snapshots to save the emulator state. Quickly return to a specific point without restarting.
- Debugging Tools: Utilize built-in debugging tools like Logcat to identify and fix issues faster.
- Network Configuration: Test apps under different network conditions using the emulator’s network settings to simulate slow or fast connections.
- Battery Simulation: Check how your app performs with different battery levels to ensure it handles low power scenarios well.
- Multi-Touch Gestures: Use the emulator’s multi-touch feature to test pinch, zoom, and other gestures crucial for apps relying on touch interactions.
- Backup Data: Regularly back up your emulator data to prevent loss of important configurations or app data.
- Custom Skins: Use custom device skins to see how your app looks on specific devices, providing a more realistic testing environment.
- Automation: Integrate the emulator with CI/CD pipelines to automate testing and ensure consistent app quality.
- Documentation: Keep notes on emulator settings and configurations to help replicate environments easily.
- Feedback Loop: Gather feedback from users and incorporate it into your testing scenarios to ensure the app meets real-world needs.
2. Genymotion
Genymotion is another popular Android emulator designed specifically for developers. It offers a wide range of Android versions and devices for testing purposes.
Installation
- Genymotion can be downloaded from its official website and installed on your PC.
- It supports both Windows and macOS.
System Requirements
- At least 4GB of RAM is recommended, but 8GB or more is better.
- A multi-core processor helps with performance, and having a good amount of storage space is crucial since emulators can be storage hogs.
- A solid GPU can also make a big difference, especially for gaming or graphic-intensive apps.
Tips for Effective Use
- Optimize Performance: Allocate enough RAM and CPU to the emulator to ensure smooth operation without lag.
- Use Keyboard Shortcuts: Familiarize yourself with shortcuts like Ctrl+M for the menu or Ctrl+F11 to rotate the screen. These save time.
- Test on Multiple Devices: Emulate different screen sizes and resolutions to ensure your app looks good everywhere.
- Enable GPU Acceleration: Turn on GPU acceleration in the emulator settings to boost graphics performance.
- Regular Updates: Keep the emulator and SDK tools updated to avoid compatibility issues.
- Snapshot Feature: Use snapshots to save the emulator state. Quickly return to a specific point without restarting.
- Debugging Tools: Utilize built-in debugging tools like Logcat to identify and fix issues faster.
- Network Configuration: Test apps under different network conditions using the emulator’s network settings to simulate slow or fast connections.
- Battery Simulation: Check how your app performs with different battery levels to ensure it handles low power scenarios well.
- Multi-Touch Gestures: Use the emulator’s multi-touch feature to test pinch, zoom, and other gestures crucial for apps relying on touch interactions.
- Backup Data: Regularly back up your emulator data to prevent loss of important configurations or app data.
- Custom Skins: Use custom device skins to see how your app looks on specific devices, providing a more realistic testing environment.
- Automation: Integrate the emulator with CI/CD pipelines to automate testing and ensure consistent app quality.
- Documentation: Keep notes on emulator settings and configurations to help replicate environments easily.
- Feedback Loop: Gather feedback from users and incorporate it into your testing scenarios to ensure the app meets real-world needs.
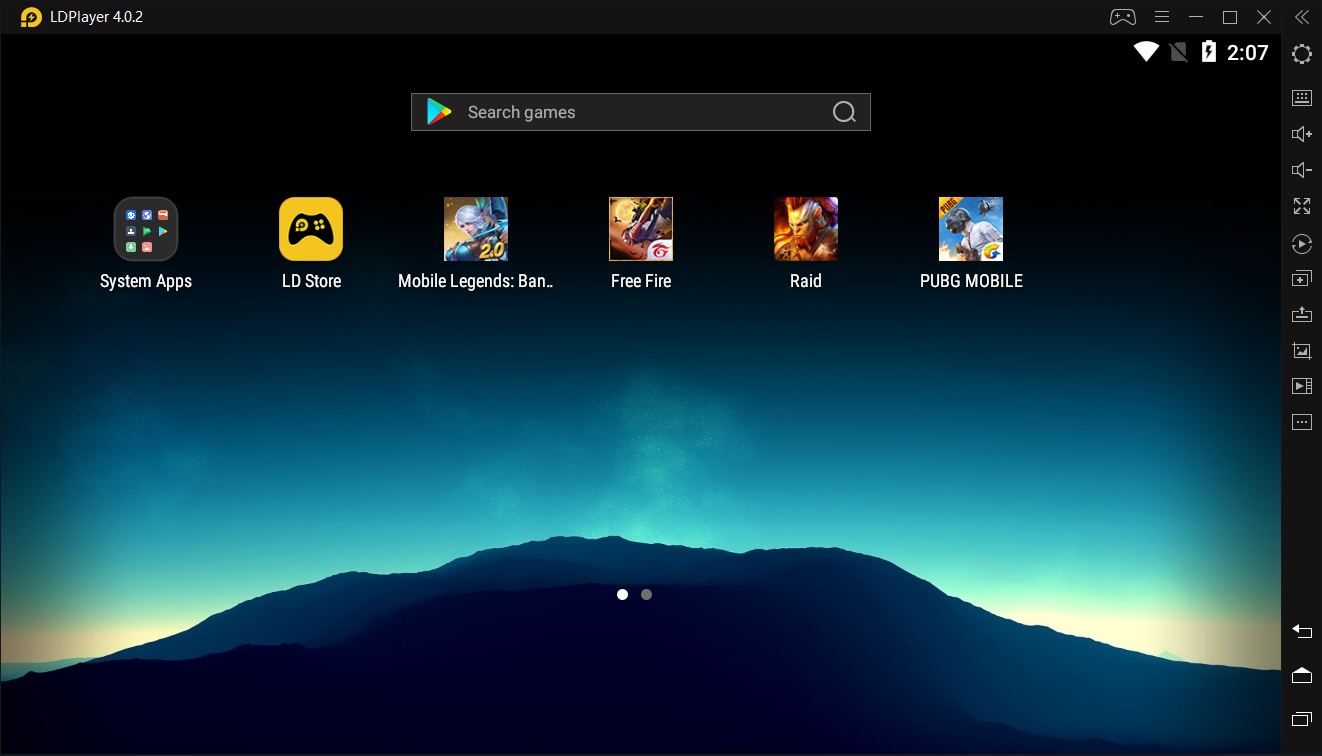
3. BlueStacks
BlueStacks is one of the most popular Android emulators available for PC and Mac. It allows you to run Android apps and games on your computer, making it feel like a big Android phone with better controls.
Installation
- BlueStacks can be downloaded from its official website and installed on your PC or Mac.
- It supports both Windows and macOS.
System Requirements
- For Windows, you need Windows 7 or newer. Your processor should be an Intel or AMD with at least 2 cores.
- RAM must be at least 4GB, though 8GB is better. You need 5GB of free storage. Your graphics card should support OpenGL 3.0 or higher.
- For Mac, you need macOS Sierra or newer. Your processor should be an Intel Core i5 or better. RAM must be at least 4GB, but 8GB is recommended.
- You need 5GB of free storage. Your graphics card should support OpenGL 3.0 or higher.
Tips for Effective Use
- Optimize Performance: Allocate enough RAM and CPU to the emulator to ensure smooth operation without lag.
- Use Keyboard Mapping: BlueStacks allows you to map keyboard keys to simulate touch actions, which can be very useful for gaming.
- Multi-Instance Support: You can run multiple instances of BlueStacks simultaneously, making it ideal for multitasking.
- High-Definition Graphics: BlueStacks supports high-definition graphics, making it suitable for gaming and other graphic-intensive activities.
- Customizable Settings: BlueStacks offers customizable settings for performance optimization, which can be adjusted according to your needs.
- Seamless Integration with Google Play Store: BlueStacks integrates seamlessly with the Google Play Store, allowing you to download and install apps directly from the store.
Choosing the Right Android Emulator
Choosing the right Android emulator depends on your specific needs and preferences. Here are some factors to consider:
- Purpose: If you're a developer, Genymotion might be the best choice due to its extensive range of Android versions and devices for testing purposes. If you're a gamer, BlueStacks could be more suitable due to its high-definition graphics and customizable settings.
- Ease of Use: Anbox is known for its simplicity and ease of use, making it a great option if you're new to using emulators.
- Performance: If you have a powerful computer, you might want to opt for BlueStacks or Genymotion which offer better performance and customization options.
- Compatibility: Ensure that the emulator you choose is compatible with your operating system (Windows or macOS) and meets the minimum system requirements.
Setting Up an Android Emulator
Setting up an Android emulator involves several steps:
- Download and Install: Download the emulator from its official website and follow the installation instructions provided.
- Launch the Emulator: Once installed, launch the emulator and follow any initial setup prompts.
- Configure Settings: Adjust settings such as RAM allocation, CPU usage, and GPU acceleration to optimize performance.
- Install Apps: Use the Google Play Store or other app stores within the emulator to install your desired apps.
- Test Apps: Start testing your apps under different conditions such as network configurations, battery levels, and multi-touch gestures.
Tips for Effective Use
Here are some additional tips for effective use of an Android emulator:
- Optimize Performance: Allocate enough RAM and CPU to the emulator to ensure smooth operation without lag.
- Use Keyboard Shortcuts: Familiarize yourself with shortcuts like Ctrl+M for the menu or Ctrl+F11 to rotate the screen. These save time.
- Test on Multiple Devices: Emulate different screen sizes and resolutions to ensure your app looks good everywhere.
- Enable GPU Acceleration: Turn on GPU acceleration in the emulator settings to boost graphics performance.
- Regular Updates: Keep the emulator and SDK tools updated to avoid compatibility issues.
- Snapshot Feature: Use snapshots to save the emulator state quickly return to a specific point without restarting.
- Debugging Tools: Utilize built-in debugging tools like Logcat to identify and fix issues faster.
- Network Configuration: Test apps under different network conditions using the emulator’s network settings to simulate slow or fast connections.
- Battery Simulation: Check how your app performs with different battery levels ensuring it handles low power scenarios well.
- Multi-Touch Gestures: Use multi-touch gestures feature test pinch zoom other gestures crucial apps relying touch interactions.
- Backup Data: Regularly back up your emulator data prevent loss important configurations app data.
- Custom Skins: Use custom device skins see how app looks specific devices providing more realistic testing environment.
- **Automation Integration CI/CD pipelines automate testing ensure consistent app quality documentation keep notes settings configurations replicate environments easily feedback loop gather feedback incorporate testing scenarios ensure app meets real-world needs