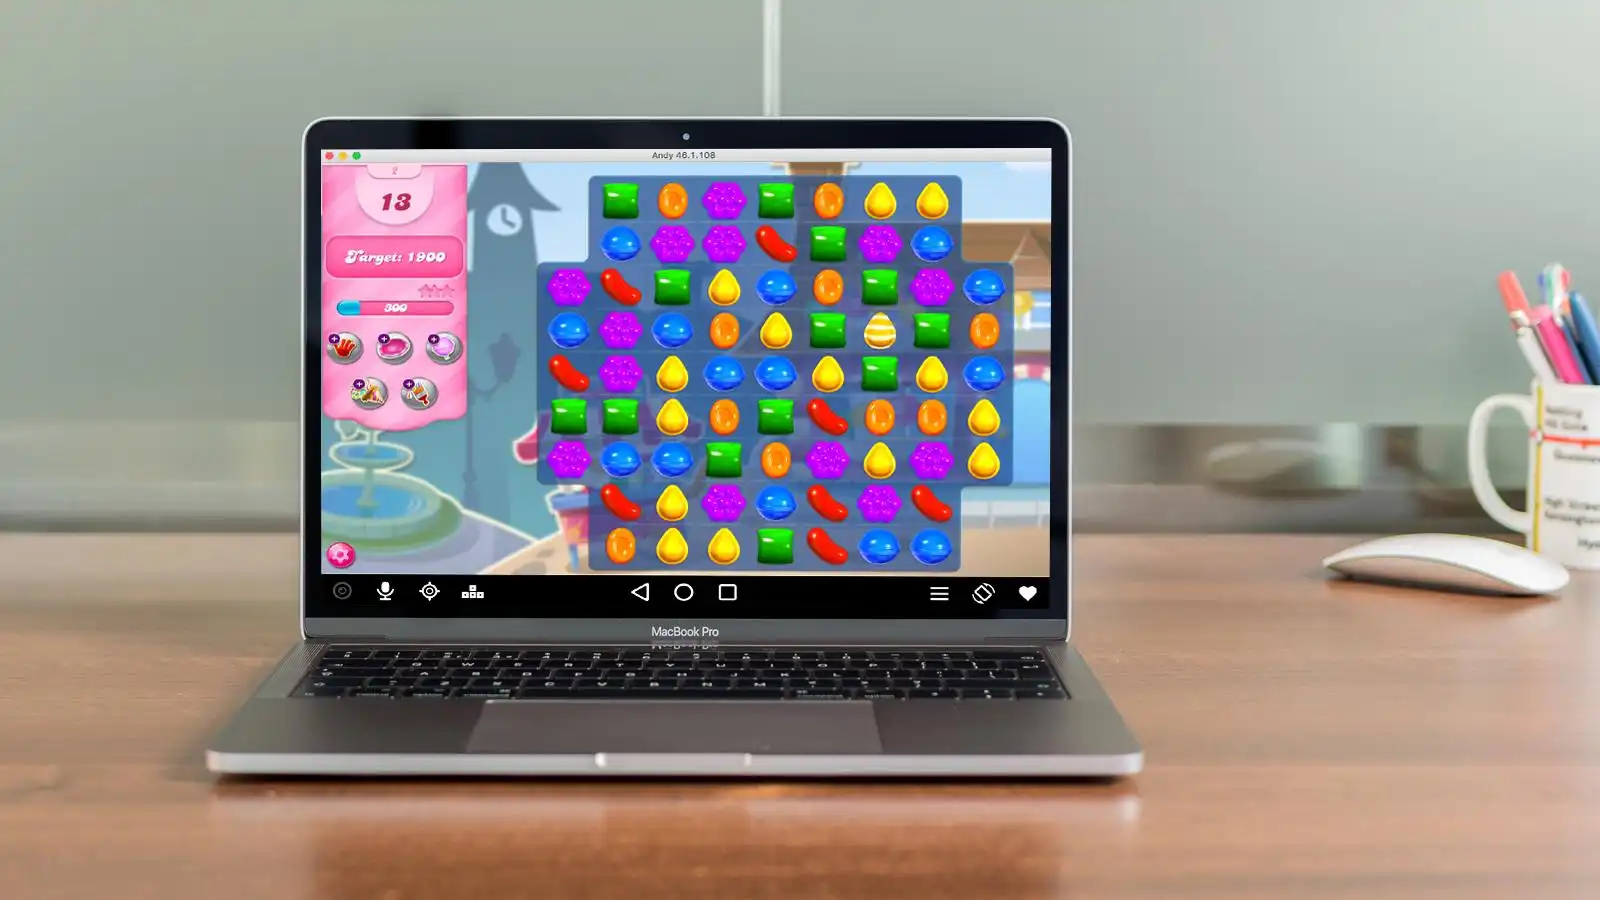
How to Play Google Play Games on Mac with Android Emulator

Play Games
how-to-play-google-play-games-on-mac-with-android-emulator
Source: Macworld.com

Introduction

Overview

Ever wondered how to play your favorite Google Play games on a Mac? It's possible with an Android emulator. These nifty tools let you run Android apps and games on your Mac, giving you a bigger screen and better controls. Whether you're into action-packed adventures or relaxing puzzle games, an emulator can make your gaming experience smoother and more enjoyable.

Why Use an Emulator?

Using an Android emulator on a Mac has several perks. First off, you get to enjoy mobile games on a larger screen, which can be a game-changer for visuals and controls. Plus, emulators often come with features like custom key mapping, allowing you to use a keyboard or game controller for a more comfortable gaming experience. They also let you run multiple apps simultaneously, making multitasking a breeze. And let's not forget, emulators can be a lifesaver for developers testing apps across different devices without needing the actual hardware.

Key Takeaways:

  • You can play Google Play games on a Mac using Android emulators like BlueStacks, NoxPlayer, or LDPlayer, which make gaming smoother and more fun with better controls and bigger screens.
  • Setting up an emulator is easy: download, install, and sign in with your Google account to access and play your favorite games right on your Mac. Happy gaming!

Choosing the Right Emulator

BlueStacks

BlueStacks is one of the most popular Android emulators out there. It's known for its user-friendly interface and robust performance. BlueStacks supports a wide range of games and apps, and it comes with features like multi-instance, which lets you run multiple games or apps at the same time. It also offers high-definition graphics and customizable controls, making it a top choice for gamers and developers alike.

NoxPlayer

NoxPlayer is another excellent option for running Android games on a Mac. It's designed with gamers in mind, offering features like script recording and gamepad support. NoxPlayer is lightweight and fast, ensuring smooth gameplay even for resource-intensive games. Its intuitive interface makes it easy to navigate, and it supports multiple instances, so you can play different games or use various apps simultaneously.

LDPlayer

LDPlayer is a solid choice if you're looking for an emulator that balances performance and compatibility. It's optimized for gaming, offering features like high FPS settings and custom key mapping. LDPlayer also supports a wide range of Android games and apps, ensuring you can run your favorites without a hitch. Its user-friendly interface and regular updates make it a reliable option for both casual gamers and power users.

Other Popular Emulators

While BlueStacks, NoxPlayer, and LDPlayer are among the top choices, there are other emulators worth considering. Android Studio is great for developers, offering a comprehensive suite of tools for app testing. GameLoop is another option, particularly for those who enjoy mobile games like PUBG Mobile and Call of Duty Mobile. MeMU Play is also popular, known for its performance and ease of use. Each of these emulators has its unique features, so you can choose the one that best fits your needs.

Setting Up Your Emulator

Downloading the Emulator

First things first, you need to download the emulator of your choice. Here’s how:

  1. Visit the Official Website: Go to the official website of the emulator you’ve chosen (e.g., BlueStacks, NoxPlayer, or LDPlayer).
  2. Find the Download Button: Look for the download button, usually prominently displayed on the homepage.
  3. Select the Mac Version: Ensure you select the version compatible with Mac.
  4. Start the Download: Click the download button and wait for the file to download. This might take a few minutes depending on your internet speed.

Installing the Emulator

Once the download is complete, it’s time to install the emulator:

  1. Locate the Downloaded File: Find the downloaded file in your Downloads folder.
  2. Open the Installer: Double-click the file to open the installer.
  3. Follow the Prompts: Follow the on-screen instructions. You might need to drag the emulator icon to the Applications folder.
  4. Grant Permissions: You may be asked to grant certain permissions. Make sure to allow these for the emulator to function properly.
  5. Launch the Emulator: Once installed, open the emulator from your Applications folder.

Initial Configuration

Now that the emulator is installed, let’s get it set up:

  1. Open the Emulator: Launch the emulator from your Applications folder.
  2. Sign In to Google: You’ll be prompted to sign in with your Google account. This is necessary to access the Google Play Store.
  3. Complete Setup: Follow any additional setup instructions. This might include setting your language preferences and agreeing to terms and conditions.
  4. Sync Your Account: Ensure your Google account is synced so you can access your apps and games.

Installing Google Play Games

Accessing Google Play Store

To start playing games, you need to access the Google Play Store within the emulator:

  1. Open the Emulator: Launch the emulator if it’s not already open.
  2. Find the Play Store Icon: Look for the Google Play Store icon on the emulator’s home screen.
  3. Open the Play Store: Click the icon to open the Google Play Store.

Searching for Games

Now, let’s search for some games:

  1. Use the Search Bar: At the top of the Play Store, you’ll see a search bar.
  2. Enter Game Names: Type the name of the game you’re looking for.
  3. Browse Categories: Alternatively, browse through categories like Action, Adventure, or Puzzle to find new games.

Downloading and Installing Games

Finally, here’s how to download and install games:

  1. Select a Game: Click on the game you want to download.
  2. Click Install: You’ll see an Install button on the game’s page. Click it.
  3. Wait for Download: The game will start downloading. This might take a few minutes.
  4. Open the Game: Once downloaded, you can open the game directly from the Play Store or find it on the emulator’s home screen.

Optimizing Performance

Adjusting Emulator Settings

To get the best performance out of your emulator, you need to tweak a few settings. Start by opening the emulator and heading to the settings menu. Look for options like CPU cores and RAM allocation. Increasing these can make a big difference. Also, check for a performance mode or gaming mode and turn it on. This usually optimizes the emulator for better gameplay.

Allocating Resources

Allocating more CPU and RAM to your emulator can significantly improve performance. Open the settings menu and find the performance or engine section. Here, you can allocate more CPU cores and increase the RAM. If your Mac has 8GB of RAM, try allocating 4GB to the emulator. Just make sure you leave enough resources for other tasks.

Graphics Settings

Graphics settings can make or break your gaming experience. In the emulator settings, look for the graphics or display section. Adjust the resolution and DPI to match your Mac's capabilities. Lowering the resolution can improve performance but might make the game look less sharp. Also, enable hardware acceleration if available. This uses your Mac's GPU to render graphics, making gameplay smoother.

Troubleshooting Common Issues

Game Compatibility

Sometimes, a game might not work well on your emulator. This could be due to compatibility issues. Check the emulator's website for a list of supported games. If your game isn't listed, try updating the emulator or switching to a different one. Some emulators have compatibility modes that can help run older or less supported games.

Performance Lag

Performance lag can ruin your gaming experience. If you notice lag, first check your resource allocation settings. Make sure the emulator has enough CPU and RAM. Also, close any unnecessary apps running in the background. Updating your emulator to the latest version can also help, as updates often include performance improvements.

Error Messages

Error messages can be frustrating, but they're usually fixable. Common errors include Google Play Services errors or installation failures. For Google Play errors, try clearing the cache and data for Google Play Services within the emulator. If a game won't install, make sure you have enough storage space allocated. Sometimes, reinstalling the emulator can resolve persistent issues.

Advanced Tips

Using Game Controllers

Using a game controller can make your gaming experience much better. Most emulators support popular controllers like the Xbox or PlayStation controllers. Connect your controller to your Mac via Bluetooth or USB. Then, open the emulator settings and look for the controller section. Here, you can map the controller buttons to match the game controls.

Custom Key Mapping

Custom key mapping allows you to set up controls that suit your play style. Open the emulator and start the game you want to play. Look for the key mapping option, usually found in the toolbar or settings menu. You can drag and drop controls onto the screen and assign keys to them. This is especially useful for games that require precise movements.

Recording Gameplay

Recording your gameplay can be fun and useful for sharing tips or showing off your skills. Most emulators have a built-in recording feature. Look for a record button in the toolbar or settings menu. Click it to start recording, and click again to stop. The recording will be saved to your Mac, usually in the emulator's default folder. You can then edit and share your gameplay videos.

Wrapping Things Up

Technology has a knack for making our lives easier, and Android emulators are no exception. They let you enjoy your favorite mobile games on a Mac with better controls and a bigger screen. From BlueStacks to LDPlayer, each emulator brings unique features to the table, making gaming smoother and more enjoyable. Setting up these tools is a breeze, and with a few tweaks, you can optimize performance for an even better experience. Whether you're a casual gamer or a developer, these emulators offer a world of possibilities, making it easier than ever to play and test Android apps on your Mac. Happy gaming!

Can you use Google Play games on a Mac?

Yes, you can! By using an Android emulator, you can access and play your favorite Google Play games on a Mac.

What’s the best Android emulator for Mac?

BlueStacks is a popular choice. The latest version, BlueStacks X, even offers cloud-based gaming, making it super easy to play Android games on a Mac.

Is it hard to set up an Android emulator on a Mac?

Not at all! Most emulators, like BlueStacks, come with straightforward installation guides. Just download, install, and you’re good to go.

Can I run all Android apps on a Mac using an emulator?

Pretty much! Most Android apps and games run smoothly on emulators like BlueStacks. However, some apps might have minor compatibility issues.

Do I need a powerful Mac to run an Android emulator?

While a more powerful Mac will give you better performance, most modern Macs can handle emulators like BlueStacks without any problems.

Are there any free Android emulators for Mac?

Yes, many emulators like BlueStacks offer free versions. You can start playing Google Play games on your Mac without spending a dime.

Can I use my Google account on an Android emulator for Mac?

Absolutely! Just log in with your Google account on the emulator, and you’ll have access to all your apps, games, and data.

Was this page helpful?