
Introduction
In mobile gaming, Google Play Games stands as a cornerstone for many gamers. The platform offers a wide range of games, from casual titles to complex, immersive experiences. One key feature that can enhance the gaming experience on Android devices is hardware virtualization. This technology allows for better performance, security, and compatibility with various applications. This article will guide you through enabling Android hardware virtualization for Google Play Games, exploring its benefits and the steps required to set it up.
What is Hardware Virtualization?
Hardware virtualization allows multiple operating systems to run on a single physical machine. In the context of Android, it refers to the ability of the operating system to create a virtual environment that can run multiple instances of the operating system or different operating systems altogether. This technology is crucial for several reasons:
Performance
Creating a virtual environment can improve the performance of applications by isolating them from the main operating system. This isolation prevents conflicts between different applications and ensures that each application runs smoothly without affecting others.
Security
Hardware virtualization provides an additional layer of security. Each virtual environment is isolated from the others, making it difficult for malware to spread across different applications.
Compatibility
It allows older or less compatible applications to run on newer devices without any issues. This is particularly useful for gamers who may have older games that are not optimized for newer hardware.
Why Enable Hardware Virtualization for Google Play Games?
Enabling hardware virtualization for Google Play Games can significantly enhance your gaming experience. Here are some reasons why you should consider enabling it:
Improved Performance
By isolating the gaming environment from the rest of the system, hardware virtualization can improve the performance of your games. This is especially true for resource-intensive games that require a lot of processing power and memory.
Enhanced Security
Since each virtual environment is isolated, enabling hardware virtualization can provide an additional layer of security for your gaming sessions. This reduces the risk of malware affecting your games or other applications on your device.
Better Compatibility
If you have older games or applications that are not optimized for newer hardware, enabling hardware virtualization can help them run smoothly without any issues.
Enhanced Multi-Tasking
With hardware virtualization, you can run multiple instances of different operating systems or environments simultaneously. This means you can play games while using other applications without any conflicts.
How to Enable Hardware Virtualization on Android
Enabling hardware virtualization on Android devices is relatively straightforward, but it does require some technical knowledge and specific hardware support. Here’s a step-by-step guide on how to enable it:
Step 1: Check if Your Device Supports Hardware Virtualization
Not all Android devices support hardware virtualization. You need to check if your device has the necessary hardware support. Most modern devices from manufacturers like Samsung, Google, and OnePlus support this feature.
- Check Device Specifications: Go to your device's settings and look for the "About Phone" or "About Device" section. Scroll down to find the specifications of your device.
- Look for Virtualization Support: Check if your device has a mention of virtualization support or if it has a specific processor that supports this feature (e.g., Intel Core i5 or i7, AMD Ryzen series).
Step 2: Enable Developer Options
To enable hardware virtualization, you need to access the developer options on your device.
- Go to Settings: Open the settings app on your device.
- Developer Options: Scroll down and find the "Developer options" section. If you don't see it, go to "About Phone" and tap on "Build number" seven times to enable developer options.
- Enable Developer Options: Toggle the switch next to "Developer options" to enable it.
Step 3: Enable Hardware Virtualization
Once you have enabled developer options, you can proceed with enabling hardware virtualization.
- Go to Developer Options: Open the developer options menu.
- Find Hardware Virtualization: Look for an option related to hardware virtualization or virtualization support.
- Enable Hardware Virtualization: Toggle the switch next to this option to enable it.
Step 4: Install Required Software
After enabling hardware virtualization, you may need to install additional software to manage and configure the virtual environments.
- Download Virtualization Software: Search for virtualization software compatible with your device (e.g., VMware, VirtualBox).
- Install Software: Follow the installation instructions provided by the software developer.
- Configure Software: Once installed, configure the software according to its instructions.
Step 5: Configure Google Play Games
Now that you have enabled hardware virtualization and installed any required software, you need to configure Google Play Games for optimal performance.
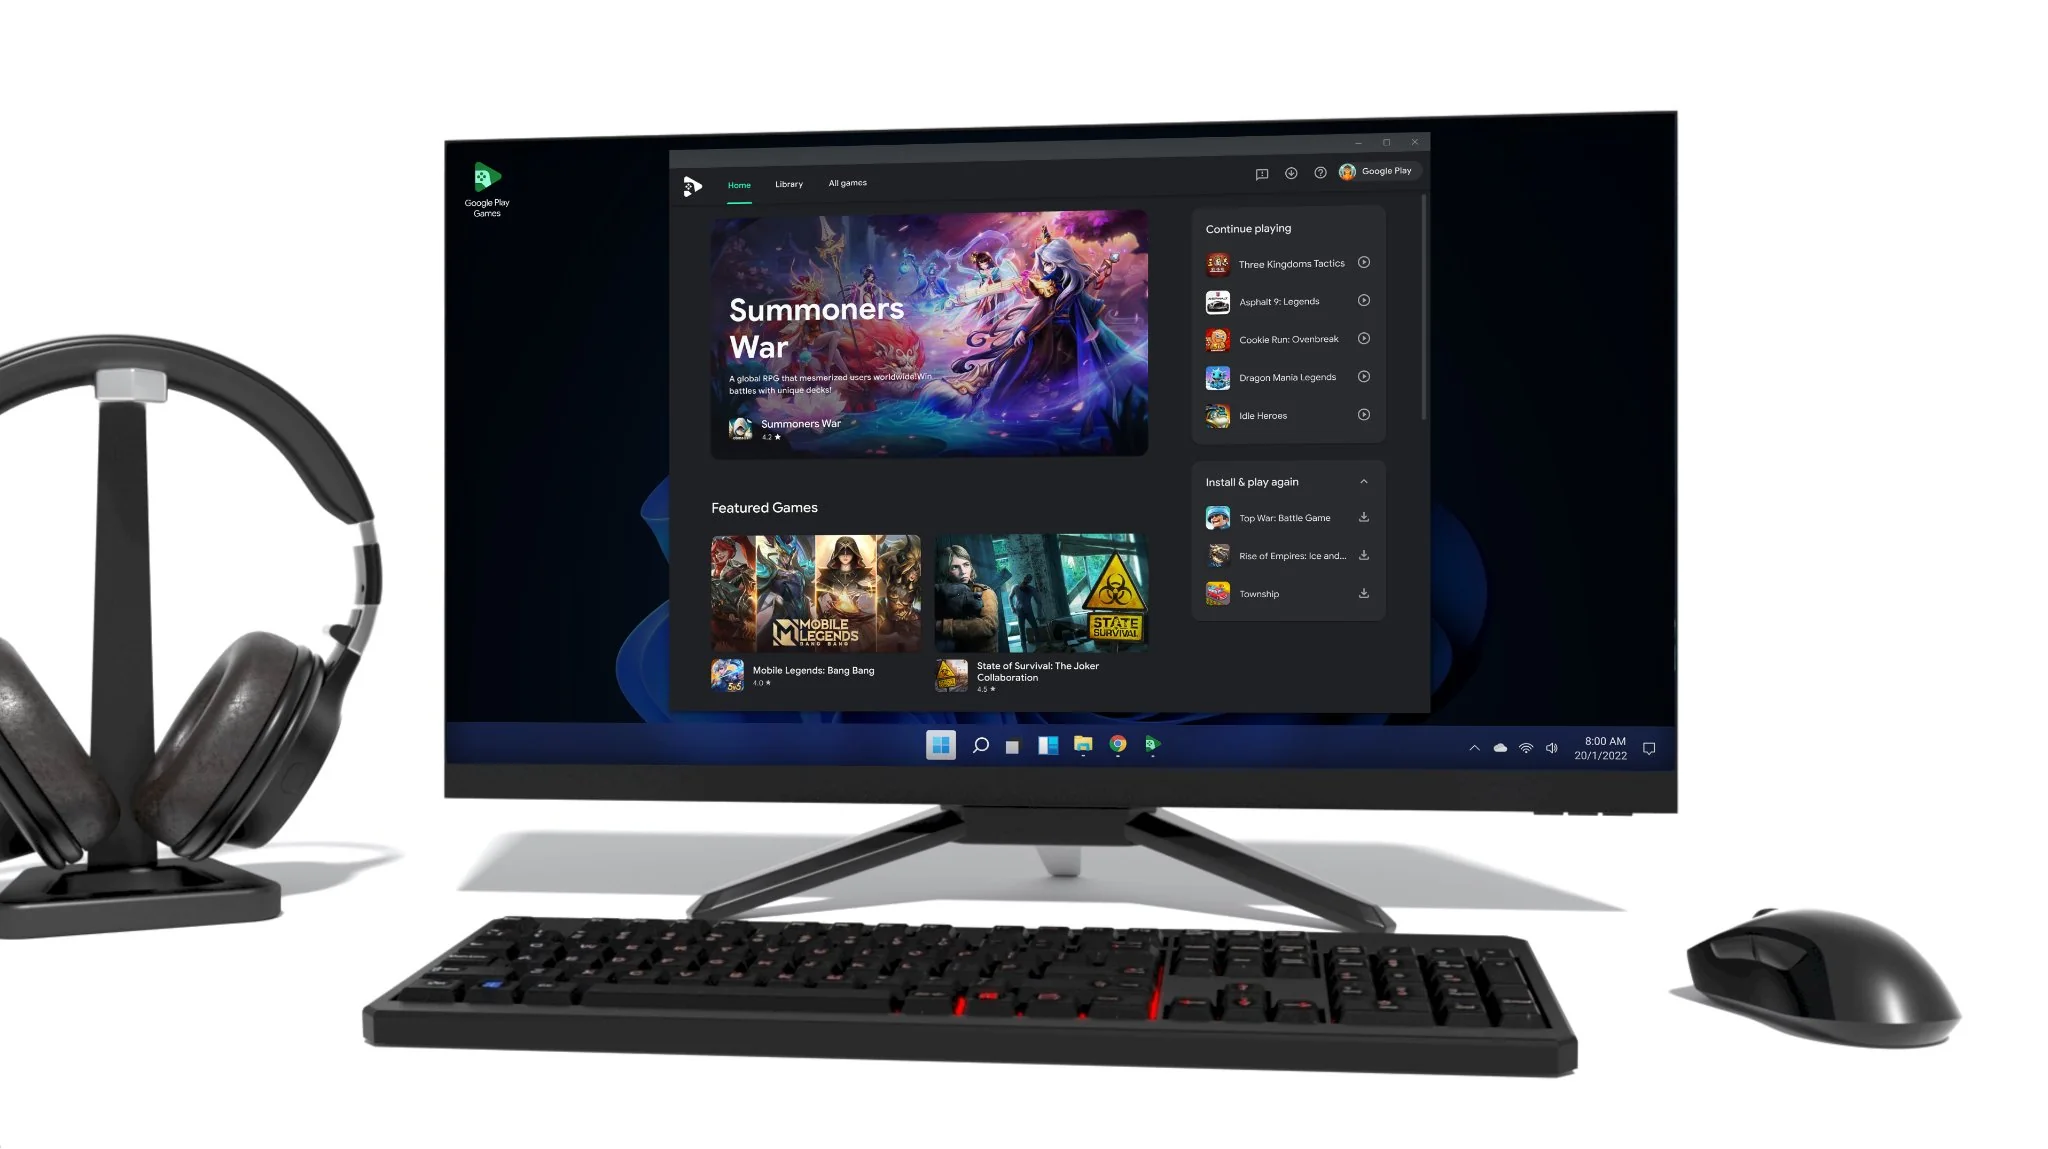
- Open Google Play Games: Launch Google Play Games from your app drawer or home screen.
- Check Settings: Go to the settings within Google Play Games.
- Optimize Performance: Look for options related to performance optimization and enable them if available.
- Enable Virtualization: If there is an option specifically related to hardware virtualization, enable it.
Benefits of Enabling Hardware Virtualization for Google Play Games
Enabling hardware virtualization for Google Play Games offers several benefits that can enhance your gaming experience:
- Improved Performance: By isolating the gaming environment from other system processes, hardware virtualization can significantly improve the performance of your games.
- Enhanced Security: Each virtual environment is isolated from others, reducing the risk of malware affecting your games or other applications on your device.
- Better Compatibility: Older games or applications that are not optimized for newer hardware can run smoothly without any issues due to the isolation provided by hardware virtualization.
- Enhanced Multi-Tasking: With hardware virtualization enabled, you can run multiple instances of different operating systems or environments simultaneously without any conflicts.
Common Issues and Troubleshooting
While enabling hardware virtualization is generally straightforward, there may be some common issues you encounter along the way:
Hardware Support
Ensure that your device supports hardware virtualization before proceeding with the steps outlined above.
Software Compatibility
Make sure that any additional software you install is compatible with your device and operating system.
Configuration Issues
If you encounter issues during configuration, refer to the user manual or contact customer support for assistance.
Performance Issues
If you notice performance issues after enabling hardware virtualization, try optimizing the settings within Google Play Games or adjusting the virtualization software configuration.
Additional Tips
- Regular Updates: Regularly update both your device's operating system and any additional software you have installed to ensure compatibility and performance optimization.
- Optimize Settings: Regularly check and optimize the settings within Google Play Games to ensure that you are getting the best performance out of your games.
- Use High-Quality Hardware: If possible, use high-quality hardware that supports advanced features like hardware virtualization for an even better gaming experience.
- Monitor Performance: Keep an eye on your device's performance while using hardware virtualization to identify any potential issues early on.
By following these tips and enabling hardware virtualization on your Android device, you can take your gaming experience to the next level with improved performance, security, and compatibility.