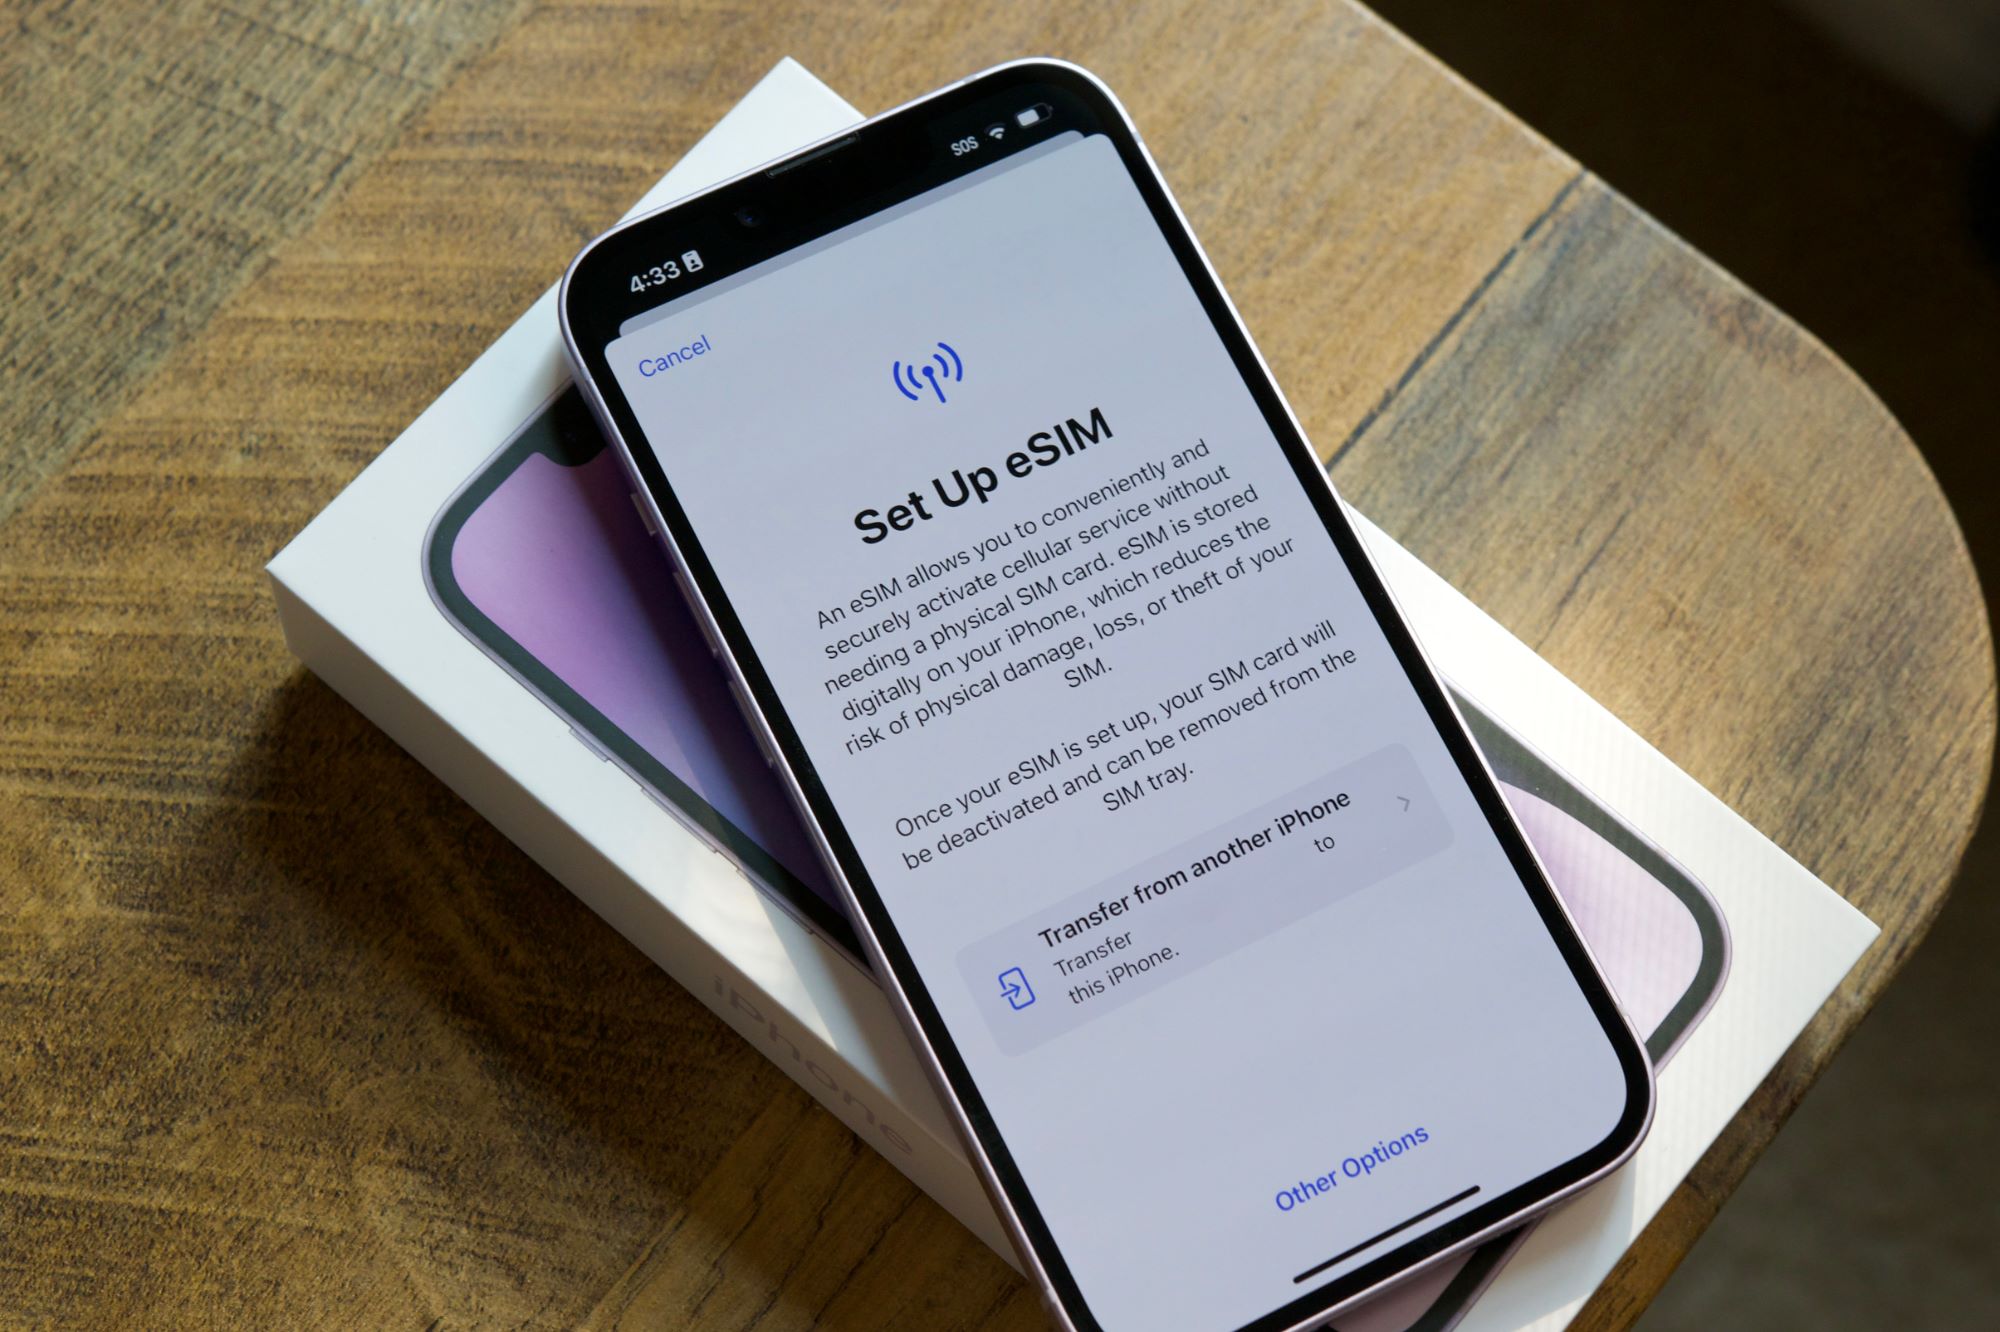
Understanding eSIM Technology
Before diving into the transfer process, understanding eSIM technology is crucial. An eSIM is a compact, digital SIM card embedded directly into a device's hardware. Unlike traditional SIM cards, eSIMs can be remotely activated and provisioned, allowing users to switch between multiple carrier profiles seamlessly.
Key Features of eSIMs
- Remote Activation: eSIMs can be activated and provisioned remotely, eliminating the need for physical SIM cards.
- Carrier Independence: eSIMs are independent of the carrier, allowing users to switch between different carriers and plans digitally.
- Security: eSIMs are more secure than traditional SIM cards as they cannot be removed or stolen.
- Durability: eSIMs are less susceptible to damage or loss compared to physical SIM cards.
Preparing for eSIM Transfer
Before initiating the transfer process, several steps should be taken to ensure a smooth transition:
Step 1: Back Up Your Data
Backing up important data, including contacts, photos, messages, and apps, is essential before transferring your eSIM. Cloud services like iCloud or Google Drive can be used for this purpose.
Step 2: Check Your Carrier’s Compatibility
Not all carriers support eSIM on all devices. Checking if your carrier and device are compatible with eSIM technology is crucial. Refer to the lists of carriers that support eSIM on iPhones and Android devices to confirm compatibility.
Step 3: Get Your eSIM Information
Depending on your carrier, a QR code, an app, or a confirmation code may be needed to activate your eSIM on your new Android device. This information can be obtained from your carrier’s website, app, or customer service.
Method 1: Transferring eSIM by Contacting Your Carrier
One straightforward method to transfer an eSIM from an iPhone to an Android device involves contacting your carrier for assistance. Here’s how:
-
Deactivate the eSIM Plan on iPhone:
- Open the iPhone's "Settings" app.
- Navigate to "Cellular" and select "Cellular Plans."
- Tap the red minus icon next to the eSIM plan to deactivate it.
-
Obtain an eSIM QR Code:
- Reach out to the service provider to obtain an eSIM QR code. This can be done through their website, a dedicated app, or by contacting customer support over the phone.
-
Activate the eSIM on Android:
- On the Android device, go to "Settings" and select "Network & internet."
- Choose "Mobile network" and select "Advanced."
- Tap on "Add eSIM" and choose "Scan QR code."
- Use the Android device's camera to scan the QR code received from the carrier.
- Follow the on-screen instructions to activate the eSIM plan on Android.
Alternatively, log into the carrier's app or website and navigate to the eSIM management or device change section. Follow the prompts to transfer the eSIM, scanning the provided QR code or entering activation details as required.
Method 2: Transferring eSIM by Entering eSIM Info Manually
For a more manual approach, transfer the eSIM from an iPhone to an Android device by manually inputting the eSIM information. Here’s how:
-
Note Down eSIM Details:
- On the iPhone, go to "Settings > Cellular > Cellular Plans."
- Select the eSIM plan and note down the details, including the SM-DP+ Address and Activation Code.
-
Activate eSIM on Android:
- Open the "Settings" app on the Android device.
- Navigate to "Network & internet" or "Connections."
- Select "Mobile Network" or similar.
- Choose "Add Carrier" or "Add Cellular Plan."
- Opt for manual entry (may be labelled “Enter Manually” or similar).
- Enter the SM-DP+ Address and Activation Code obtained from the iPhone.
- Follow any on-screen prompts to finalize the setup.
The eSIM should now be active on the Android device.
Troubleshooting Common Issues
Sometimes, issues may arise when transferring the eSIM. Here are some common problems and their solutions:
Issue 1: Unable to Sign into iCloud Account
If signing into the iCloud account is problematic, try these troubleshooting tips:
- Ensure a stable internet connection.
- Verify that the Apple ID and password are correct.
- Reset network settings on both devices.
- Contact Apple Support for further assistance.
Issue 2: eSIM Profile Locked with a PIN
If the eSIM profile is locked with a PIN on the iPhone, enter the PIN to transfer it. If the PIN is forgotten, contacting the carrier for assistance may be necessary.
Issue 3: Network Settings Reset
If issues persist, try resetting network settings on both devices. This can often resolve connectivity issues related to eSIM transfer.
Additional Tips for Seamless Transfer
To ensure a seamless transfer of the eSIM from an iPhone to an Android device, follow these additional tips:
Ensure Both Devices Are Running Latest OS Updates
Make sure both devices are running the latest operating system updates. This ensures that all necessary features and functionalities are available for the eSIM transfer process.
Activate eSIM on New Device
Once the eSIM is transferred, activate it on the new Android device by completing the setup wizard. Enter any required information prompted during the activation process, and verify that the eSIM reflects the carrier information and plan details previously associated with the iPhone.
Transferring an eSIM from an iPhone to an Android device is a straightforward process that can be completed with the right guidance. By understanding the key features of eSIM technology and following the detailed steps outlined in this article, a smooth migration of the cellular plan without interruptions can be ensured. Whether choosing to contact the carrier for assistance or manually input the eSIM information, this guide provides all the necessary information to make the transfer process as seamless as possible. Embracing eSIM technology not only simplifies mobile connectivity but also offers greater flexibility in managing carrier services. With these steps and troubleshooting tips, navigating the world of digital SIMs and enjoying an uninterrupted mobile experience across different devices becomes achievable.
