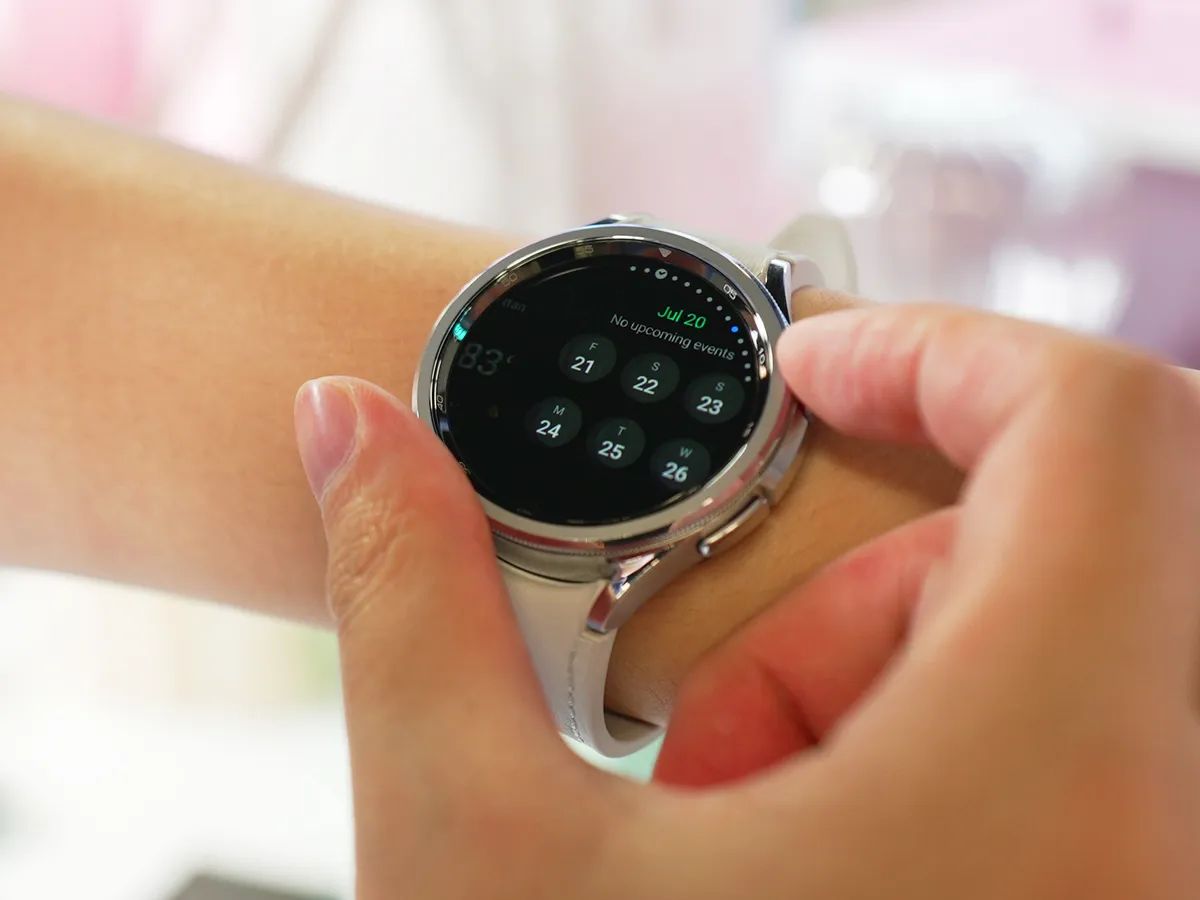
Understanding Your Smartwatch
Before diving into the steps, it's helpful to understand the basic components of an Android smartwatch. Most modern smartwatches feature a touchscreen interface and various buttons for navigation. The time-setting process typically involves using these buttons and the touchscreen.
Identifying the Buttons
- Power Button: Usually located on the right side, used to turn the watch on and off.
- Navigation Buttons: Typically found on the left side, used for scrolling through menus and selecting options.
- Back Button: Often located on the top or bottom, used to go back to the previous menu.
Understanding the Touchscreen
The touchscreen is used for more complex interactions like setting the time. You can tap, swipe, and pinch on the screen to navigate through menus and select options.
Setting the Time Manually
Here’s how to set the time manually on an Android smartwatch without using an app:
Step 1: Turn On Your Smartwatch
- Locate the Power Button: Find the power button on your smartwatch.
- Press and Hold: Press and hold the power button until the watch turns on.
- Wait for Boot-Up: Wait for the watch to boot up completely. This might take a few seconds.
Step 2: Access the Settings Menu
- Navigate to Settings: Use the navigation buttons to navigate to the settings menu, usually represented by an icon that looks like a gear or cog.
- Select Time & Date: Once in the settings menu, use the navigation buttons to select “Time & Date.”
Step 3: Set the Time
- Select Time Format: Choose between a 24-hour or 12-hour format using the navigation buttons.
- Set Hour: Tap on the hour field and use the touchscreen to scroll through the hours.
- Set Minute: Tap on the minute field and use the touchscreen to scroll through the minutes.
- Set Second (Optional): Some smartwatches allow setting seconds as well. Follow similar steps if this option is available.
- Save Changes: Tap on “Save” or “OK” to save your changes.
Step 4: Set Date
- Select Date Format: Choose your preferred date format (e.g., DD/MM/YYYY or MM/DD/YYYY) using the navigation buttons.
- Set Day: Use the touchscreen to set the day of the month.
- Set Month: Tap on the month field and use the touchscreen to scroll through months.
- Set Year: Tap on the year field and use the touchscreen to scroll through years.
- Save Changes: Tap on “Save” or “OK” to save your changes.
Step 5: Verify Time and Date
- Check Display: Go back to your watch's display screen and verify that both time and date are correctly set.
- Adjust If Necessary: If there are any errors, go back into settings and make necessary adjustments.
Additional Tips
Using Quick Settings
Many modern smartwatches come with quick settings for easy access to common functions like setting time or date.
- Locate Quick Settings Icon: Look for an icon representing quick settings on your watch's display screen.
- Access Quick Settings: Tap on this icon to access the quick settings menu.
- Set Time/Date from Quick Settings: If available, you might find an option specifically designed for setting time/date quickly.
Using Voice Commands (If Available)
Some advanced smartwatches support voice commands through integrated assistants like Google Assistant or Bixby.
- Enable Voice Commands: Ensure voice commands are enabled by going into settings > voice commands > enable voice commands.
- Use Voice Commands: Say something like "set time to [hour]:[minute]" followed by any additional details such as AM/PM if applicable.
Troubleshooting Common Issues
Time Not Updating Automatically
If your smartwatch is not updating time automatically even though it's connected via Bluetooth with your phone:
- Check Connectivity: Ensure Bluetooth is enabled on both devices and they are connected properly.
- Check Auto-Sync Settings: Go into settings > auto-sync > enable auto-sync if it’s disabled.
- Restart Devices: Sometimes restarting both devices can resolve connectivity issues causing auto-sync failure.
Incorrect Time Display
If incorrect time is displayed on your watch:
- Re-Set Time Manually: Follow steps mentioned above under “Setting Time Manually” section again ensuring all fields are correctly filled out this time around.
- Sync With Phone: If connected via Bluetooth with phone make sure sync option is enabled within respective app used for managing smartwatches from mobile device itself ensuring latest updates reflect accurately across all connected gadgets involved here too!
