
Understanding eSIM Technology
eSIM technology has gained popularity, offering flexibility to switch between carriers and devices without physical SIM cards. However, transferring an eSIM from an iPhone to an Android device can be tricky for those unfamiliar with the process. This guide will help you switch your eSIM, including troubleshooting tips and privacy considerations.
Key Features of eSIM
- No Physical SIM Needed: Eliminates the need for physical SIM cards, making it easier to switch between carriers or devices.
- Dual SIM Capability: Allows using two different cellular plans on a single device, useful for managing multiple phone numbers or data plans.
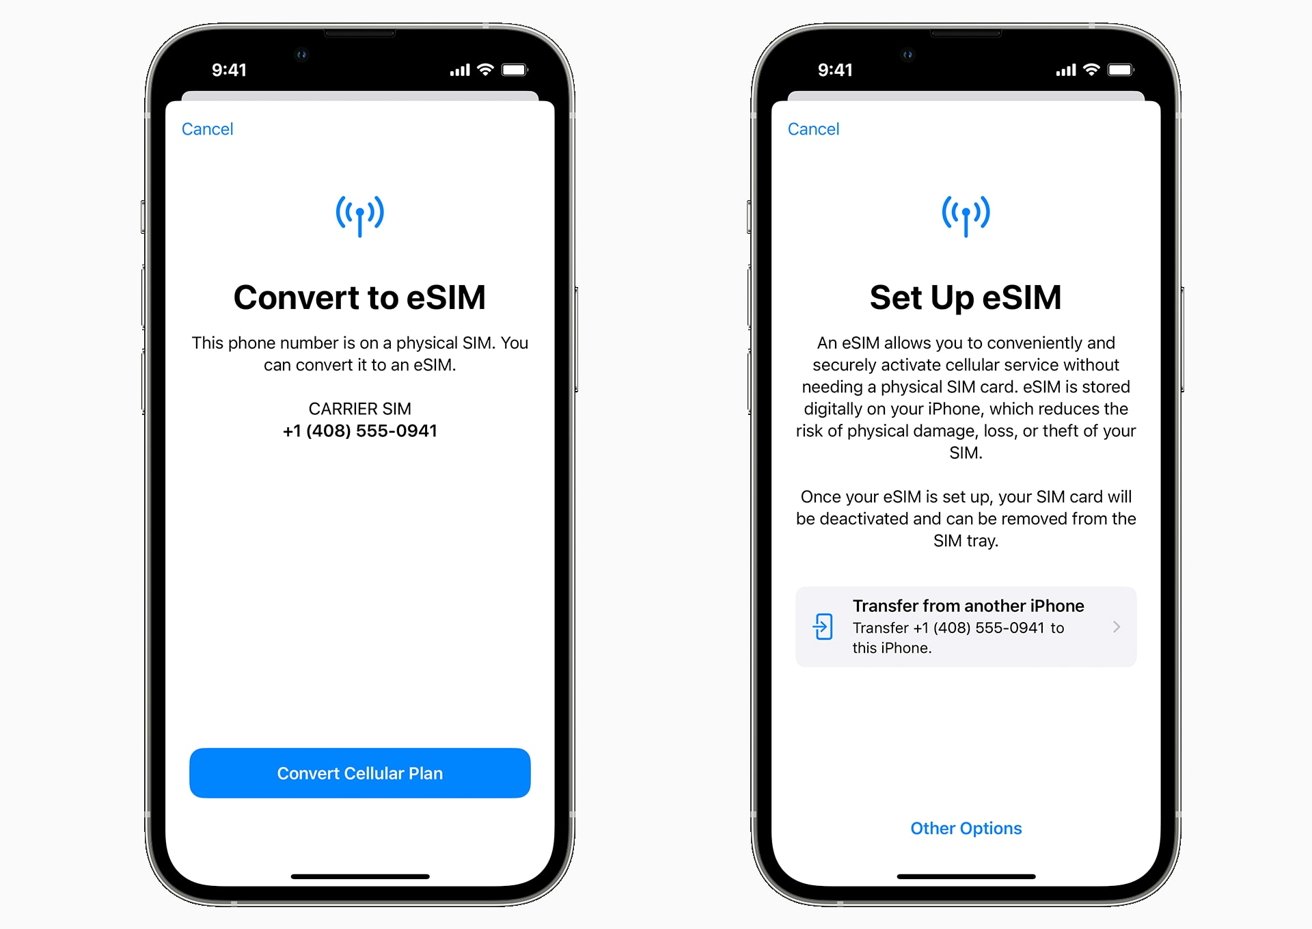
- Easy Setup: Activation is straightforward through the device's settings app by scanning a QR code or entering activation details manually.
Ensuring Compatibility
Before transferring your eSIM, ensure both devices support eSIM technology.
iPhone Compatibility
- Check Settings: Go to Settings > Cellular. If you see an option for eSIM, your iPhone supports it.
- Carrier Support: Verify with your carrier if they offer eSIM services and support transfers between devices.
Android Compatibility
- Check Settings: Go to Settings > Network & Internet > Mobile Network. If you see an option for eSIM or Add Carrier, your Android device supports it.
- Carrier Support: Confirm with your carrier if they offer eSIM services and support transfers between devices.
Steps to Set Up eSIM Transfer
After confirming compatibility and carrier support, proceed with the transfer process.
Step 1: Deactivate eSIM on iPhone
- Open Settings: Go to Settings > Cellular.
- Select eSIM: Tap on the eSIM you want to transfer.
- Remove Cellular Plan: Tap on "Remove Cellular Plan" to free up the eSIM for use on another device.
Step 2: Obtain QR Code or Activation Details
- Contact Carrier: Request deactivation of the eSIM on your iPhone. They will provide a new QR code or activation details for your Android phone.
- Obtain QR Code: Ensure the QR code is for the correct carrier and plan.
Step 3: Activate eSIM on Android Device
- Open Settings: Go to Settings > Network & Internet.
- Select Mobile Network: Tap on Mobile Network.
- Add Carrier: Choose "Add Carrier."
- Scan QR Code: Scan the QR code using your Android device's camera or enter activation details manually.
- Follow Prompts: Complete the activation process by following any additional prompts from your carrier.
Troubleshooting Common Problems
Switching an eSIM can sometimes be tricky. Here are some common problems and solutions:
Compatibility Issues
- Check Compatibility: Ensure both devices support eSIM technology and your carrier supports eSIM transfers.
- Update Software: Install the latest software updates on both devices.
QR Code Issues
- Scan QR Code: If the QR code doesn't work, try scanning it multiple times or contact your carrier for assistance.
- Manual Entry: Enter the activation details manually if scanning fails.
Carrier Restrictions
- Check Carrier Support: Verify if your carrier supports eSIM transfers or has specific procedures for transferring eSIMs between devices.
- Contact Carrier: Reach out to your carrier for further assistance if you encounter issues.
Device Restart
- Restart Devices: Restart both devices to resolve connectivity issues.
- Update Software: Ensure both devices have the latest software updates installed.
Privacy and Security Considerations
Using eSIMs involves security and privacy considerations. Here are some tips to maintain your privacy and security:
User Data Management
- Software Updates: Keep your phone updated with the latest software to maintain security patches.
- Strong Passwords: Use strong passwords and enable two-factor authentication (2FA) for added security.
Public Wi-Fi Usage
- VPN Usage: Avoid connecting to public Wi-Fi without a VPN to protect your data from potential hackers.
- Regular App Permissions Check: Regularly check app permissions and only download apps from trusted sources.
Lost or Stolen Device
- Deactivate eSIM: Immediately contact your carrier to deactivate the eSIM if your phone gets lost or stolen to prevent unauthorized use.
Comparing Other Options
Consider other options available in the market when switching an eSIM from an iPhone to an Android device:
Google Pixel
- Easy Transfer Options: Google Pixel devices support eSIM technology with easy transfer options, making it a convenient choice for switching between carriers or devices.
- Carrier Support: Google Pixel devices often have better carrier support, making the transfer process smoother.
Samsung Galaxy
- Dual SIM Options: Samsung Galaxy devices offer more dual SIM options, including eSIM support, providing flexibility in managing multiple phone numbers or data plans.
- Carrier Compatibility: Samsung Galaxy devices are generally compatible with a wide range of carriers, making it easier to switch between different carriers.
OnePlus
- Newer Models Support eSIM: Newer OnePlus models support eSIM technology, providing similar flexibility in managing multiple phone numbers or data plans.
- Fewer Carrier Restrictions: OnePlus devices may have fewer carrier restrictions compared to other Android devices, making it easier to switch between different carriers.
Switching your eSIM from an iPhone to an Android device is manageable. By following the steps outlined above and ensuring compatibility with both devices and carrier support, you can easily transfer your eSIM. Understanding privacy and security considerations will help maintain your data's integrity. Whether you choose to switch between iOS and Android or explore other options like Google Pixel or Samsung Galaxy, knowing how to transfer an eSIM will give you the flexibility needed in managing your cellular plans seamlessly across different devices.