
Preparing for eSIM Transfer
Before starting the transfer process, take several steps to ensure everything goes smoothly:
1. Back Up Data
Backing up important data such as contacts, photos, messages, and apps is always a good idea. Use cloud services like iCloud, Google Drive, or any other preferred service. This ensures data safety and easy restoration if needed.
2. Check Carrier Compatibility
Not all carriers support eSIM on all devices. Verify if your carrier and the new iPhone support eSIM technology. Visit the carrier's website or contact customer service. Some carriers may have specific requirements or limitations for eSIM transfers, so confirm this before proceeding.
3. Get eSIM Information
Depending on the carrier, a QR code, app, or confirmation code may be needed to activate the eSIM on the new iPhone. Obtain this information from the carrier’s website, app, or customer service. Note that some carriers may restrict how many times a QR code can be used for eSIM activation, so confirm this with the carrier.
Steps to Transfer eSIM from Android to iPhone
After preparing for the transfer, follow these steps to transfer the eSIM from an Android device to an iPhone:
Step 1: Set Up the New iPhone
Turn on the new iPhone and follow the setup instructions. Connect to a Wi-Fi network and sign in with an Apple ID. Continue with the setup process until reaching the screen prompting to set up cellular.
Step 2: Deactivate the Embedded SIM on the Android Device
On the Android device, navigate to Settings > Network & internet > Mobile network > Advanced > eSIM. Options to deactivate, remove, or delete the eSIM will be available. Select the appropriate option to deactivate the embedded SIM on the Android device.
Step 3: Obtain an eSIM QR Code or Transfer Code
Contact the eSIM provider to obtain a QR code or transfer code for the eSIM. This can be done through their website, a dedicated app, or by directly contacting customer support. Ensure the latest QR code is available as older codes may not work.
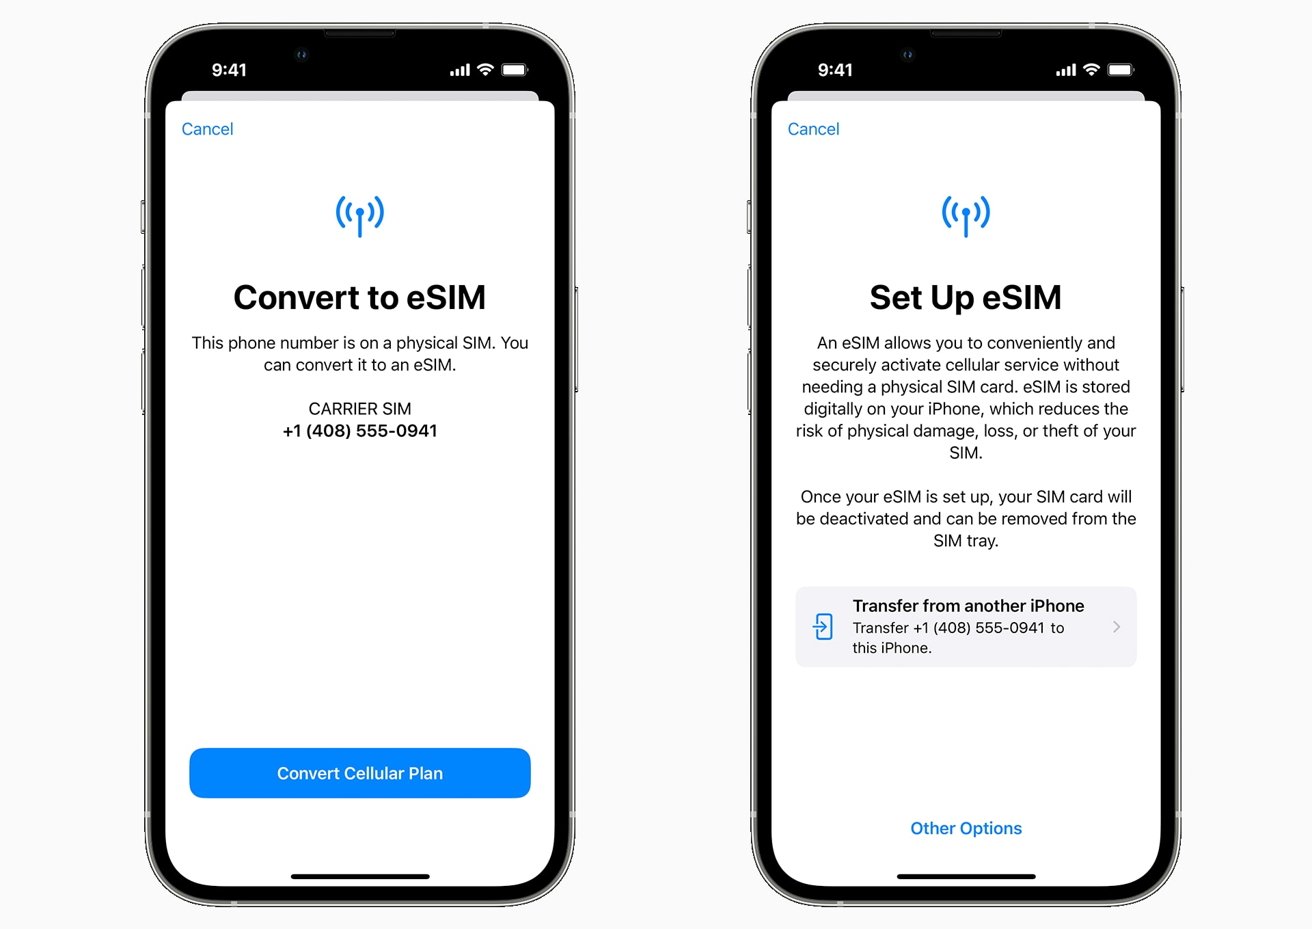
Step 4: Scan the eSIM QR Code on the iPhone
On the iPhone, go to Settings > Cellular > Add Cellular Plan. An option to set up the cellular plan will appear. Since transferring an eSIM, select Other Options and then choose Use QR Code.
Next, use the phone's camera to scan the QR code provided by the carrier. If scanning doesn't work, enter the manual activation codes if available.
Step 5: Activate the eSIM on the iPhone
After scanning the QR code, allow some time for the eSIM activation process to complete. A message indicating that the cellular setup is complete will appear. Once done, the new iPhone can be used with the transferred eSIM.
Troubleshooting Common Issues
Sometimes, issues may arise during the eSIM transfer process. Here are some common problems and their solutions:
1. QR Code Not Working
If the QR code is not working, first check if it has expired or if there are any issues with the QR code itself. Contact the carrier to confirm if the QR code is valid and if there are any restrictions on its usage.
2. Activation Issues
If the eSIM activation process is not completing, ensure a stable Wi-Fi connection and that the iPhone is fully updated with the latest software. Sometimes, restarting the iPhone can resolve activation issues.
3. Carrier Restrictions
Some carriers may have specific requirements or restrictions for eSIM transfers. For example, some carriers might require visiting a retail outlet to obtain a new QR code. Always check with the carrier for any specific instructions or requirements.
Additional Tips
1. Check Compatibility
As mentioned earlier, not all carriers support eSIM on all devices. Always verify if the carrier and the new iPhone support eSIM technology before proceeding with the transfer.
2. Use EaseUS MobiMover
To transfer other data from the Android device to the new iPhone, EaseUS MobiMover is an excellent tool. It allows transferring, managing, and backing up data between phones with ease, making it a convenient option for beginners and experts alike.
3. Carrier-Specific Instructions
Different carriers may have different methods for transferring eSIMs. Always refer to the carrier's instructions or contact customer service for specific guidance tailored to their services.
Transferring an eSIM from an Android device to an iPhone is a straightforward process that requires some preparation and specific steps. By following these guidelines and troubleshooting tips, a smooth transition can be ensured, allowing continued use of the existing carrier's cellular plan seamlessly on the new iPhone. Always check with the carrier for any specific requirements or restrictions, and use tools like EaseUS MobiMover for additional data transfer needs. Enjoy the benefits of eSIM technology across different devices without any hassle.