Introduction
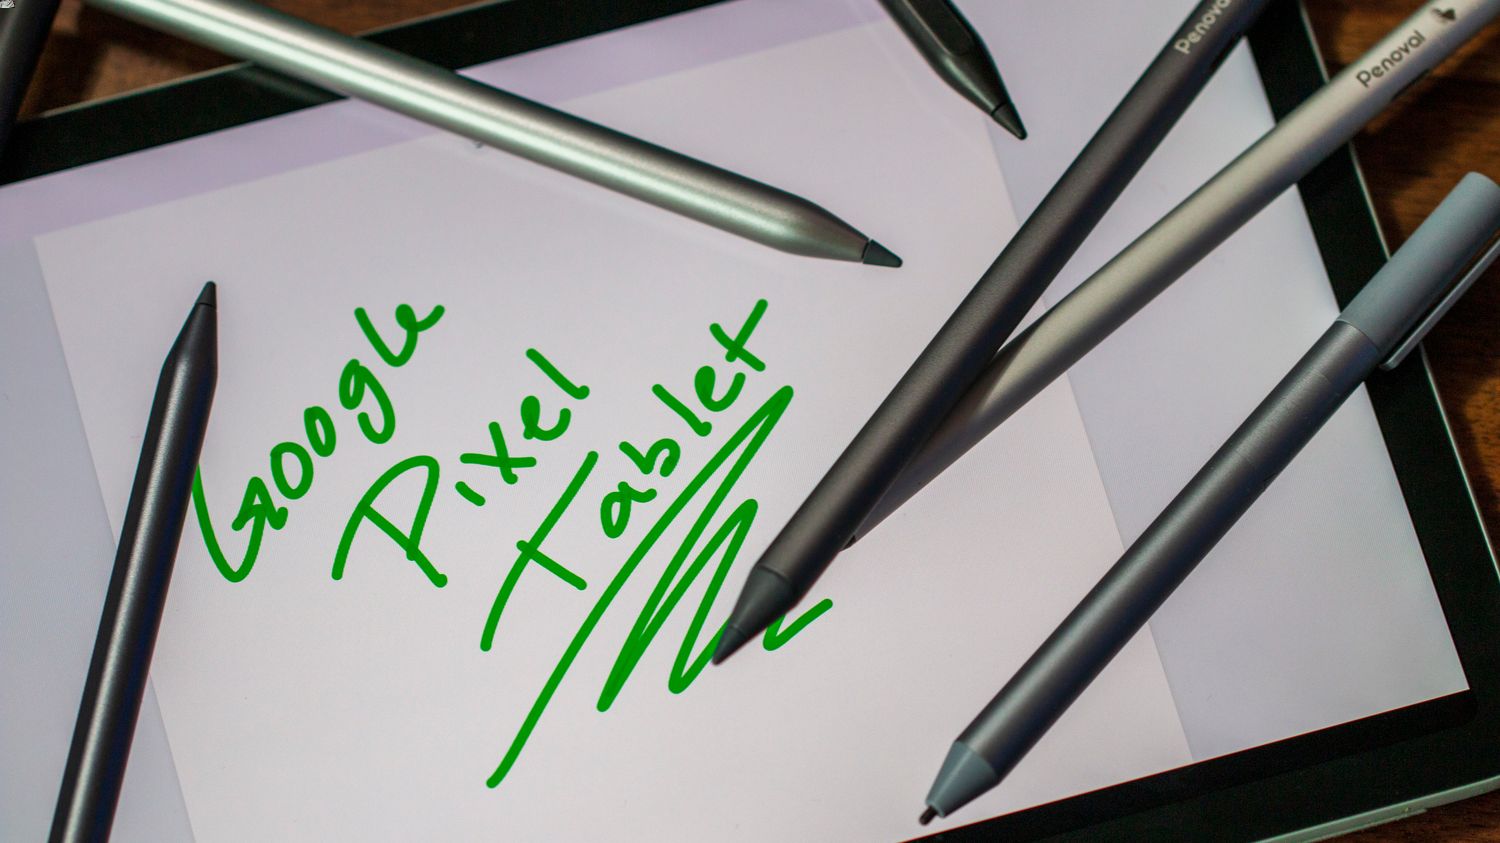
Android tablets have evolved significantly in terms of functionality and user experience. One exciting feature often overlooked is the ability to use a stylus. A stylus can transform an Android tablet into a powerful tool for note-taking, drawing, and advanced tasks like graphic design and digital painting. This guide covers everything from choosing the right stylus to advanced techniques for various applications.
Choosing the Right Stylus
Selecting the appropriate stylus is crucial for maximizing your tablet's potential. Here are the main types:
Active Stylus
- Uses electromagnetic resonance (EMR) or electrostatic capacitive technology
- Provides precise control over the screen
- Typically more expensive but offers superior performance and accuracy
Passive Stylus
- Relies on the screen's capacitive touch technology
- Usually cheaper and works well with most Android tablets
- May not offer the same level of precision as active styluses
Hybrid Stylus
- Combines elements of both active and passive styluses
- Often includes additional features like buttons or erasers useful for artists
Setting Up Your Stylus
Once you've chosen your stylus, setting it up on your Android tablet is the next step.
Compatibility Check
Ensure your stylus is compatible with your Android tablet. Most modern Android tablets support active styluses, but checking the manufacturer's specifications is always a good idea.
Pairing the Stylus
For active styluses, pairing with your device might be necessary. This process usually involves downloading the manufacturer's app and following on-screen instructions.
Adjusting Settings
Optimize performance by adjusting settings on your device. This might include turning on "Stylus mode" or adjusting sensitivity levels in the settings menu.
Note-Taking Apps
Using a stylus can make note-taking on an Android tablet feel just like writing in a notebook. Here are some popular note-taking apps supporting stylus input:
Google Keep
- Simple yet powerful note-taking app
- Integrates seamlessly with Google Drive
- Supports handwriting recognition
- Allows organization of notes with tags and colors
Evernote
- Popular note-taking app supporting handwriting recognition
- Allows capturing audio notes
- Includes features like tagging, searching, and syncing across multiple devices
OneNote
- Robust note-taking app by Microsoft
- Supports handwriting recognition and audio notes
- Includes features like tagging, searching, and syncing across multiple devices
Drawing and Art Apps
For artists or those who enjoy drawing, several apps can help unlock the full potential of an Android tablet with a stylus.
Autodesk Sketchbook
- Professional-grade drawing app
- Offers a wide range of tools and features designed specifically for artists
- Supports both active and passive styluses
- Includes features like layers, undo history, and customizable brushes
Adobe Illustrator Draw
- Powerful drawing app for creating vector graphics using a stylus
- Includes customizable brushes, layers, and the ability to export work directly to Adobe Illustrator
Procreate
- Popular drawing app designed specifically for iPad but also available on Android tablets with a stylus
- Offers a wide range of customizable brushes
- Features layers, undo history, and support for external files
Advanced Techniques
Explore advanced techniques to get the most out of your device.
Pressure Sensitivity
Many modern styluses support pressure sensitivity, allowing creation of varying line widths and styles depending on how hard the screen is pressed. This feature is particularly useful in drawing apps like Autodesk Sketchbook and Adobe Illustrator Draw.
Tilt Recognition
Some advanced styluses support tilt recognition, enabling different effects by tilting the stylus while drawing. This feature is often used in digital painting apps like Procreate.
Customizable Buttons
Some hybrid styluses come with customizable buttons that can be programmed to perform specific actions within an app. For example, setting a button to switch between different brushes or to undo a stroke.
Tips for Effective Use
Here are some tips to help you use your Android tablet with a stylus effectively:
Practice Makes Perfect
As with any new tool, practice is key when using a stylus. Start with simple tasks like writing and drawing to get a feel for how the stylus responds to different inputs.
Adjust Settings for Comfort
Adjust settings on your device to ensure comfort while using the stylus. This might include adjusting sensitivity levels or turning on "Stylus mode" to reduce latency.
Use the Right Grip
Hold the stylus correctly to avoid fatigue and ensure accuracy. A comfortable grip will help maintain control over the screen for extended periods.
Explore Different Apps
Don't limit yourself to just one app; explore different options to find what works best. Each app has unique features and functionalities that can enhance your experience with the stylus.
Using an Android tablet with a stylus opens up a world of possibilities for productivity and creativity. From note-taking to advanced graphic design, the right stylus can transform your device into a powerful tool. By choosing the right stylus, setting it up correctly, and exploring various apps and techniques, you can fully utilize your Android tablet. Whether you're a student looking to enhance your study routine or an artist seeking new ways to express yourself, this guide provides everything needed to get started with using an Android tablet with a stylus.
