
Introduction
Building your own Android tablet can be a fun and rewarding project, offering a unique opportunity to customize every aspect of the device to your liking. This guide will walk you through the process of creating a DIY Android tablet using a Raspberry Pi, a touchscreen display, and other essential components. Whether you're looking to learn about electronics and programming or simply want a personalized device, this project is an excellent way to achieve your goals.
Materials Needed
To build your own Android tablet, you'll need the following components:
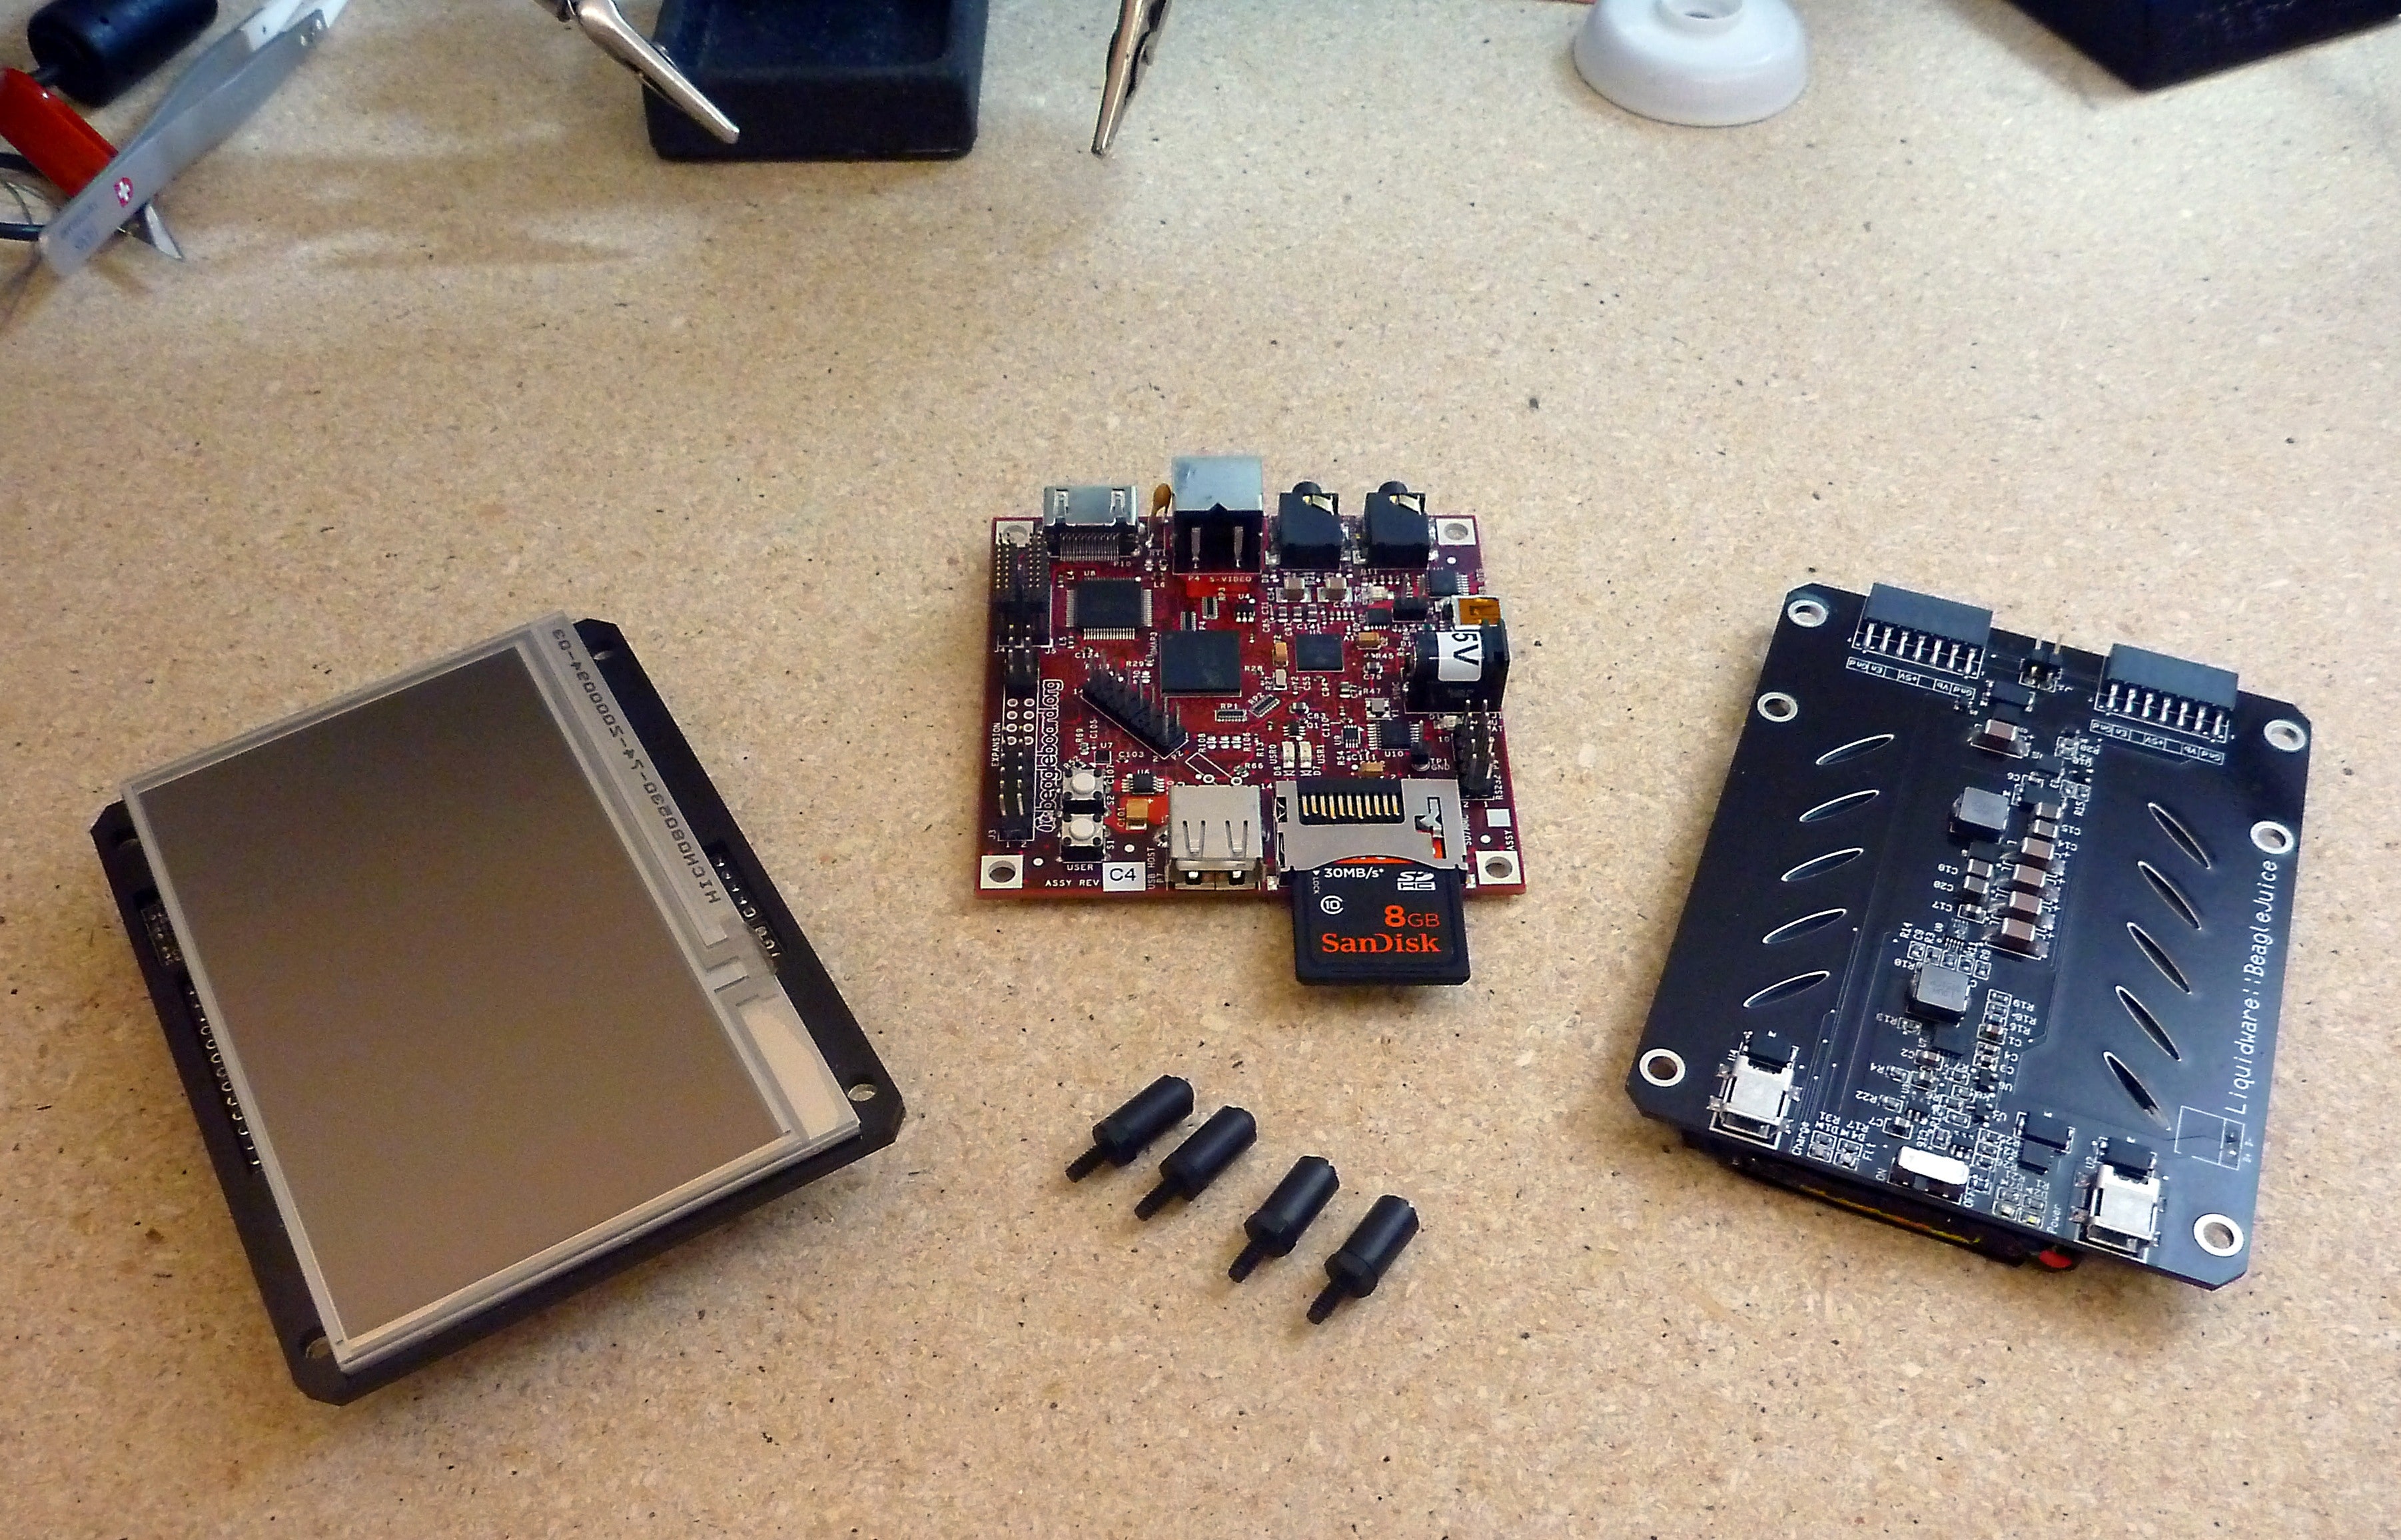
- Raspberry Pi: The brain of your tablet, the Raspberry Pi is a single-board computer that can run various operating systems, including Android. For this project, you'll need a Raspberry Pi 4 model with at least 2GB of RAM, though 4GB or 8GB would be even better for performance.
- Touchscreen Display: A 7-inch touchscreen display works well for a DIY tablet. Look for one that supports HDMI and has a good resolution, such as 1024×600 pixels. Some displays come with a case that can make assembly easier.
- Power Regulator and Battery: You'll need a power regulator to ensure your Raspberry Pi gets a stable power supply. A rechargeable battery pack is essential for portability. Look for a battery with at least 5000mAh capacity to get decent usage time.
- Chassis: The chassis or casing holds everything together. You can buy a pre-made tablet case designed for Raspberry Pi or 3D print one if you have access to a 3D printer. Make sure it has enough space for all the components and allows for proper ventilation.
- SD Card: An SD card is necessary for installing the Android OS on your Raspberry Pi.
- Basic Tools: You'll need basic tools like a screwdriver and soldering iron to assemble the components.
Step-by-Step Guide
Step 1: Prepare Your Components
Before you start assembling your tablet, make sure all your components are ready. This includes unpacking the Raspberry Pi, touchscreen display, power regulator, battery, and any other necessary parts.
Step 2: Assemble the Chassis
If you're using a pre-made case, follow the manufacturer's instructions to assemble it. If you're 3D printing the case, ensure that it fits all your components properly and allows for proper ventilation.
Step 3: Mount the Touchscreen Display
Place the touchscreen display in its housing and line up the screw holes with the mounting holes in the display. Secure the mounting brackets against the housing and into the mounting holes.
Step 4: Connect the Raspberry Pi to the Display
Reconnect the Raspberry Pi to the display as shown in the manufacturer's instructions. Make sure all connections are secure and properly aligned.
Step 5: Secure the Raspberry Pi in the Case
Secure the Raspberry Pi in the case using screws. Ensure that it is firmly attached to prevent any movement during use.
Step 6: Connect Power Regulator and Battery
Secure the power regulator and battery in place. Run a wire from pin 2 on the Pi’s GPIO to the PowerBoost’s + connector. Run another wire from pin 6 on the GPIO to the PowerBoost’s – connector. Solder these connections securely.
Step 7: Connect Display Wires
With two of the Pi display’s pluggable wires, connect 5V pin 4 on the Pi to 5V and pin 9 GND to GND on the display board. Solder these connections securely.
Step 8: Add Power Switch
Solder a slide switch to the PowerBoost, with one of the outer pins connected to EN and another to GND. Secure this switch in place with hot glue.
Step 9: Plug in Battery
Finally, plug in your rechargeable battery into the PowerBoost. Ensure that all connections are secure before proceeding.
Step 10: Assemble Back of Tablet Case
When you’re done with all connections, screw back of tablet case onto display housing. Plug in your Raspberry Pi via PowerBoost to charge it up.
Installing Android OS
Once you have assembled your tablet, it's time to install Android OS. Here’s how you can do it:
- Prepare SD Card: Insert an SD card into your computer and format it using a tool like SD Formatter.
- Download Android Image: Download an Android image compatible with Raspberry Pi from a reputable source like LineageOS or Android Things.
- Flash Image: Use tools like Etcher or Win32DiskImager to flash the downloaded image onto your SD card.
- Insert SD Card: Insert the SD card into your Raspberry Pi and boot it up.
- Initial Setup: Follow on-screen instructions during initial setup process for Android OS installation.
Customizing Your Tablet
After installing Android OS, you can customize your tablet according to your needs:
- Install Apps: Download and install apps from Google Play Store or other sources compatible with Android Things/LineageOS versions running on Raspberry Pi.
- Change Settings: Adjust settings like display brightness, screen timeout duration, etc., according to your preferences.
- Add Widgets: Add widgets on home screen for quick access features like clock/weather updates etc.
- Personalize Home Screen: Personalize home screen layout by rearranging icons/applications as per requirement.
Troubleshooting Tips
Troubleshooting is an essential part of any DIY project:
- Check Connections: Double-check all connections between components before booting up device.
- Verify Power Supply: Ensure stable power supply by checking voltage regulator/battery connections properly.
- Update Firmware/Software: Regularly update firmware/software if available updates are released by manufacturers/community developers.
- Consult Online Forums: Join online forums related specifically towards Raspberry Pi community where experts share solutions/tips regarding common issues faced during assembly/installation processes.
Alternative Operating Systems
While Android is popular choice due its extensive app ecosystem availability; there are alternative operating systems available too:
- WebOS/LuneOS: An open-source version originally released by Palm back in 2009 which has been ported successfully onto Raspberry Pi boards providing smart alternative despite lacking wealth apps compared against commercial offerings available today!
- Raspbian: Although primarily designed general-purpose computing purposes; Raspbian does support touch input albeit limited compared against dedicated touch-focused OSes like WebOS/LuneOS mentioned earlier!
Building your own Android tablet using Raspberry Pi offers numerous benefits ranging from cost-effectiveness customization possibilities learning opportunities related electronics/programming fields involved therein With proper planning execution patience required throughout entire process; end result will be fully functional personalized device tailored specifically towards individual needs/preferences alike Happy Building