
Introduction
Android Studio offers a wide range of features that make it an ideal choice for developers. However, one common issue many developers face is the small font size in the editor, which can be distracting and affect productivity. Fortunately, Android Studio provides several methods to increase the font size, making it easier to read and work with code. This article explores these methods in detail.
Method 1: Temporary Change in Font Size
One of the simplest ways to temporarily change the font size in Android Studio is by using the keyboard shortcut. This method allows you to quickly modify the font size without permanently changing it.
Steps for Windows:
- Open Settings: Go to
File>Settings. - Navigate to Editor Settings: In the settings window, navigate to
Editor>General. - Enable Font Size Change: Mark the checkbox that says
Change font size with Ctrl + Mouse wheel. - Apply Changes: Click on the
Applybutton.
Steps for macOS:
- Open Preferences: Go to
Preferences. - Navigate to Editor Settings: In the preferences window, navigate to
Editor>General. - Enable Font Size Change: Mark the checkbox that says
Change font size with Command + Mouse wheel. - Apply Changes: Click on the
Applybutton.
Using this method, you can quickly increase or decrease the font size by pressing and holding Ctrl (Windows) or Command (macOS) and rotating the mouse wheel. However, the font will reset to its default size when you restart Android Studio.
Method 2: Permanently Changing Font Size
If you prefer a more permanent solution, you can change the font size directly from the settings menu.
Steps for Windows:
- Open Settings: Go to
File>Settings. - Navigate to Editor Settings: In the settings window, navigate to
Editor>Font. - Change Font Size: Enter a suitable font size and click on the
Applybutton.
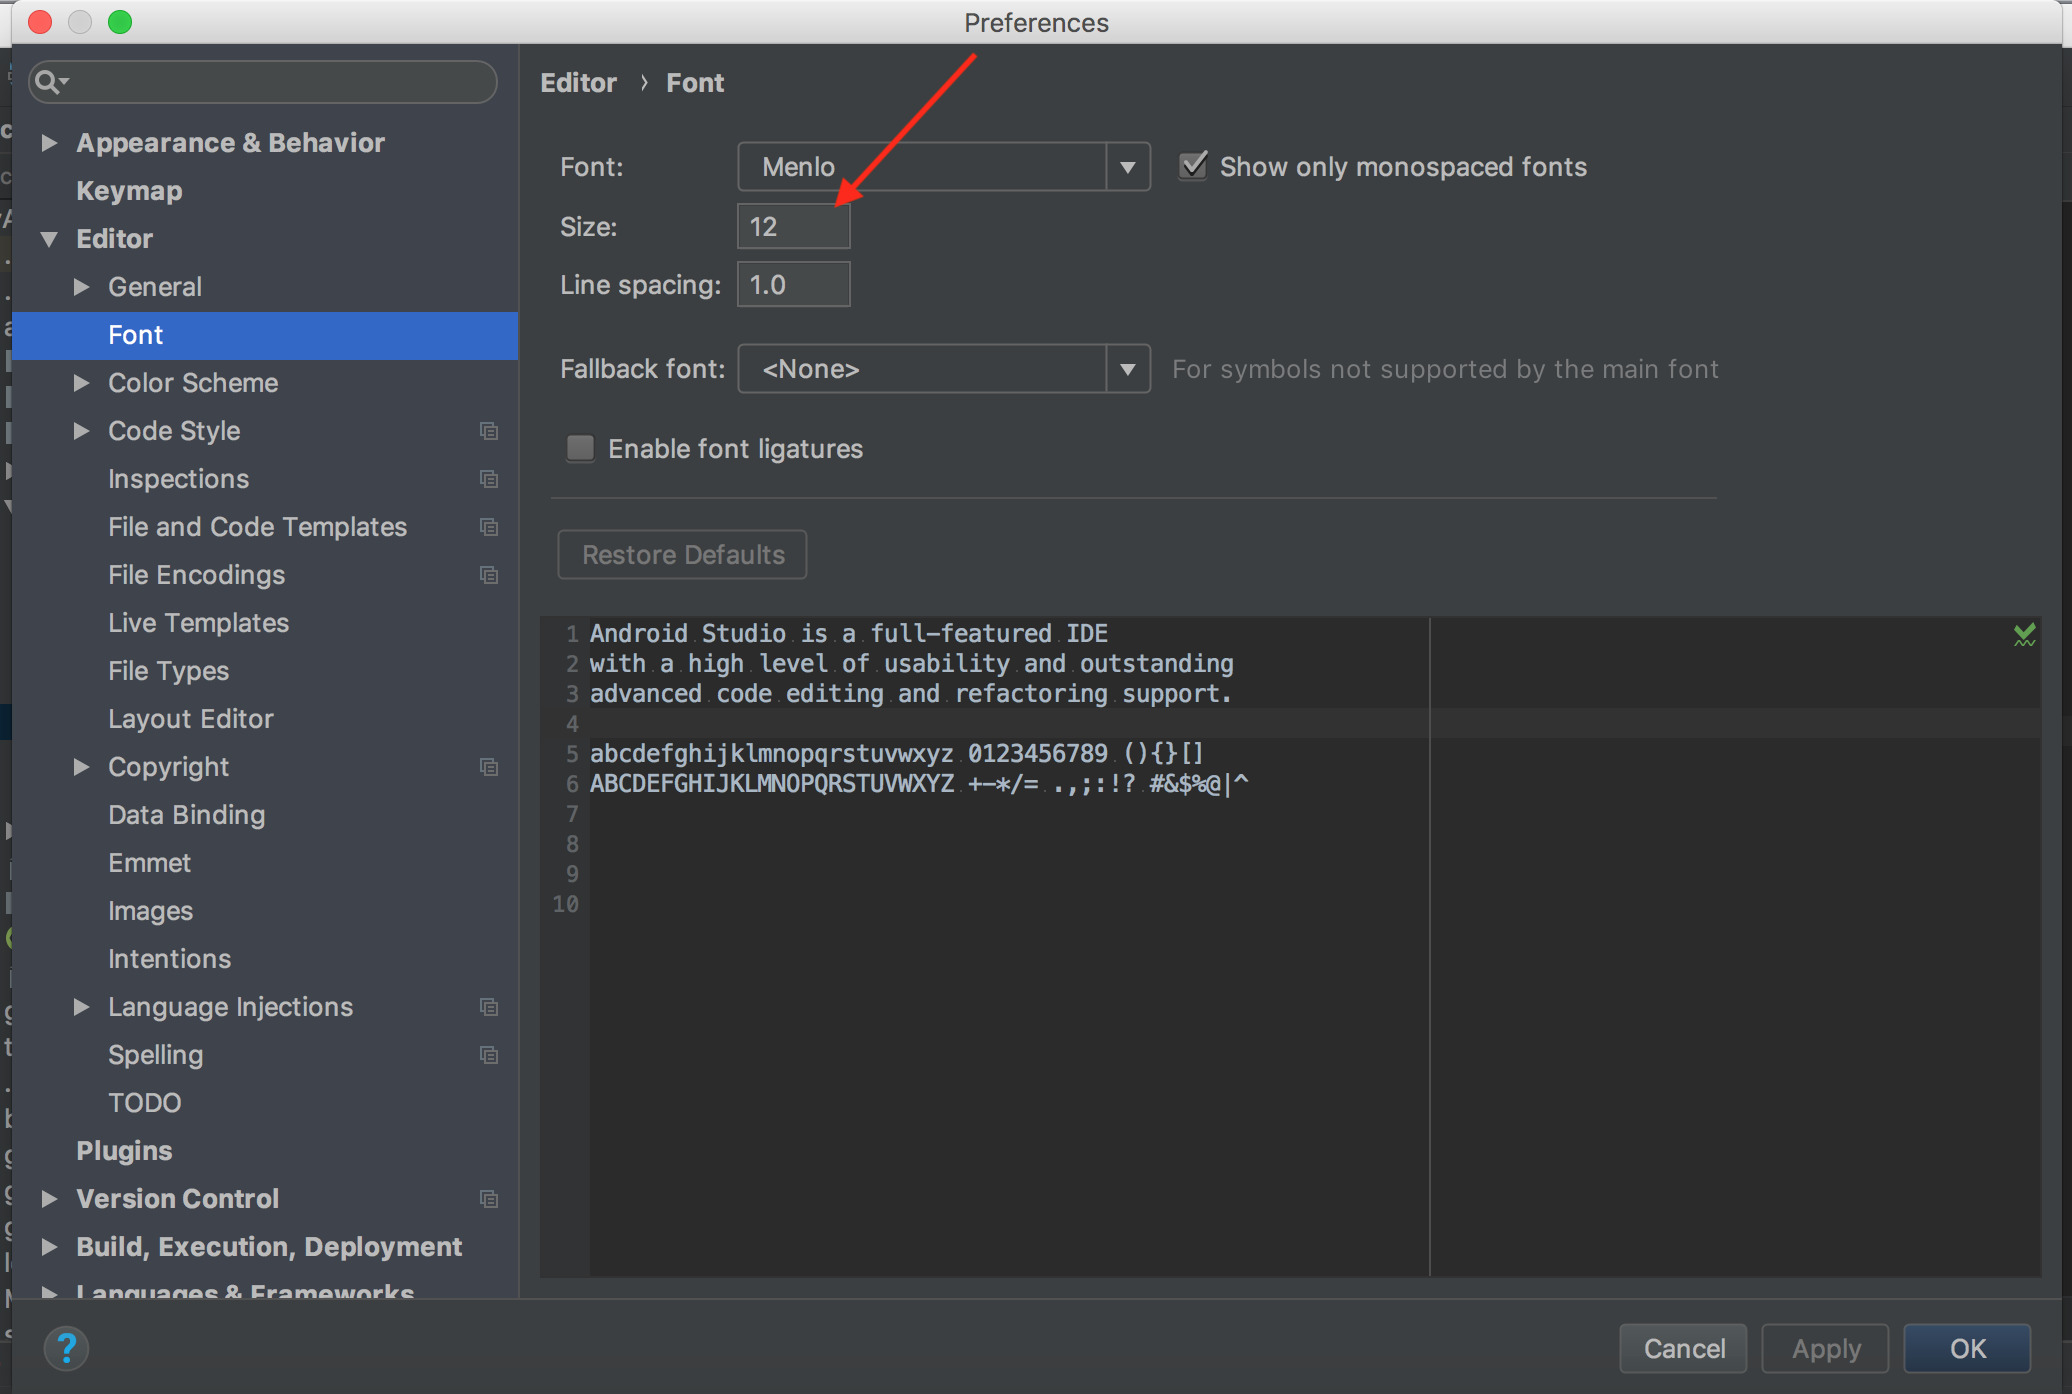
Steps for macOS:
- Open Preferences: Go to
Preferences. - Navigate to Editor Settings: In the preferences window, navigate to
Editor>Font. - Change Font Size: Enter a suitable font size and click on the
Applybutton.
This method will permanently change the font size of your editor, ensuring that it remains the same every time you open Android Studio.
Method 3: Using the Action Tab
Another way to change the font size is by using the Action tab in Android Studio. This method involves using a shortcut to increase or decrease the font size.
Steps for Windows:
- Open Settings: Go to
File>Settings. - Navigate to KeyMap: In the settings window, navigate to
KeyMap. - Search for Font Size Actions: Search for
Increase Font SizeandDecrease Font Sizeactions. - Set Shortcuts: Set shortcuts for these actions as desired.
- Apply Changes: Click on the
Applybutton.
Steps for macOS:
- Open Preferences: Go to
Preferences. - Navigate to KeyMap: In the preferences window, navigate to
KeyMap. - Search for Font Size Actions: Search for
Increase Font SizeandDecrease Font Sizeactions. - Set Shortcuts: Set shortcuts for these actions as desired.
- Apply Changes: Click on the
Applybutton.
Using this method, you can quickly increase or decrease the font size using custom shortcuts, making it easier to manage your editor's appearance.
Additional Customization Options
While the above methods cover the primary ways to change the font size in Android Studio, there are additional customization options that can enhance your experience.
Customizing Font Schemes
If you want to create a custom font scheme, you can follow these steps:
- Open Settings: Go to
File>Settings. - Navigate to Colors & Fonts: In the settings window, navigate to
Colors & Fonts. - Save As New Scheme: Click on
Save As...and choose a new scheme name. - Edit Font Settings: All fields will become editable, including font, space, color, etc.
- Apply Changes: Click on the
OKbutton.
This method allows you to create a custom font scheme that you can use every time you open Android Studio.
Overriding Default Fonts
If you find that the default fonts are not suitable for your needs, you can override them by following these steps:
- Open Settings: Go to
File>Settings. - Navigate to Appearance: In the settings window, navigate to
Appearance. - Override Default Fonts: Click on
Override default fonts byand select a new font. - Set Font Size: Enter a suitable font size and apply the changes.
This method allows you to change the font size and style of various elements in Android Studio, making it easier to read and work with code.
Final Thoughts
Mastering the font size in Android Studio is key for enhancing productivity and reducing eye strain. By following the methods outlined in this article, you can easily increase or decrease the font size of your editor, creating a more comfortable and efficient development environment. Whether you prefer temporary changes using keyboard shortcuts or permanent changes through settings, Android Studio provides a range of options to suit your needs. Additionally, customizing font schemes and overriding default fonts can further personalize your development experience. With these tips, you can ensure that your Android Studio environment is tailored to your preferences, allowing you to focus on what matters most—building exceptional Android apps.