
Introduction
Android Pay, now known as Google Pay, is a digital wallet service developed by Google. It allows users to make payments using their Android devices. Since its inception, Android Pay has evolved significantly, integrating various features and improving user experience. This guide will cover the history, functionality, security measures, and practical applications of Android Pay.
History of Android Pay
Android Pay was first announced in May 2015 by Google. Initially designed to compete with Apple Pay, the primary goal was to provide a seamless and secure way for users to make payments using their Android devices. The service launched in the United States in September 2015 and later expanded to other countries, including the UK, Australia, and Canada.
In 2018, Google rebranded Android Pay as Google Pay. This change aimed to unify various payment services offered by Google under a single brand, including Google Wallet and Google Tez (now Google Pay for India). The rebranding also marked a significant shift towards integrating Google Pay with other Google services like Google Assistant and Google Maps.
How Android Pay Works
Android Pay uses Near Field Communication (NFC) technology to enable contactless payments. Here’s a step-by-step guide on how it works:
Setting Up Your Device
- Ensure your Android device runs on Android 4.4 or later.
- Have a compatible bank card or credit card that supports contactless payments.
- Download and install the Google Pay app from the Google Play Store.
Adding Cards
- Open the Google Pay app and tap on “Add a card.”
- Add a card by scanning the card details using your camera or manually entering the card information.
- If your bank supports it, link your existing credit or debit card to Google Pay.
Verifying Your Card
- After adding your card, you might be asked to verify it through a one-time password (OTP) sent to your registered phone number or email.
- Some banks may also require completing a microtransaction to verify the card.
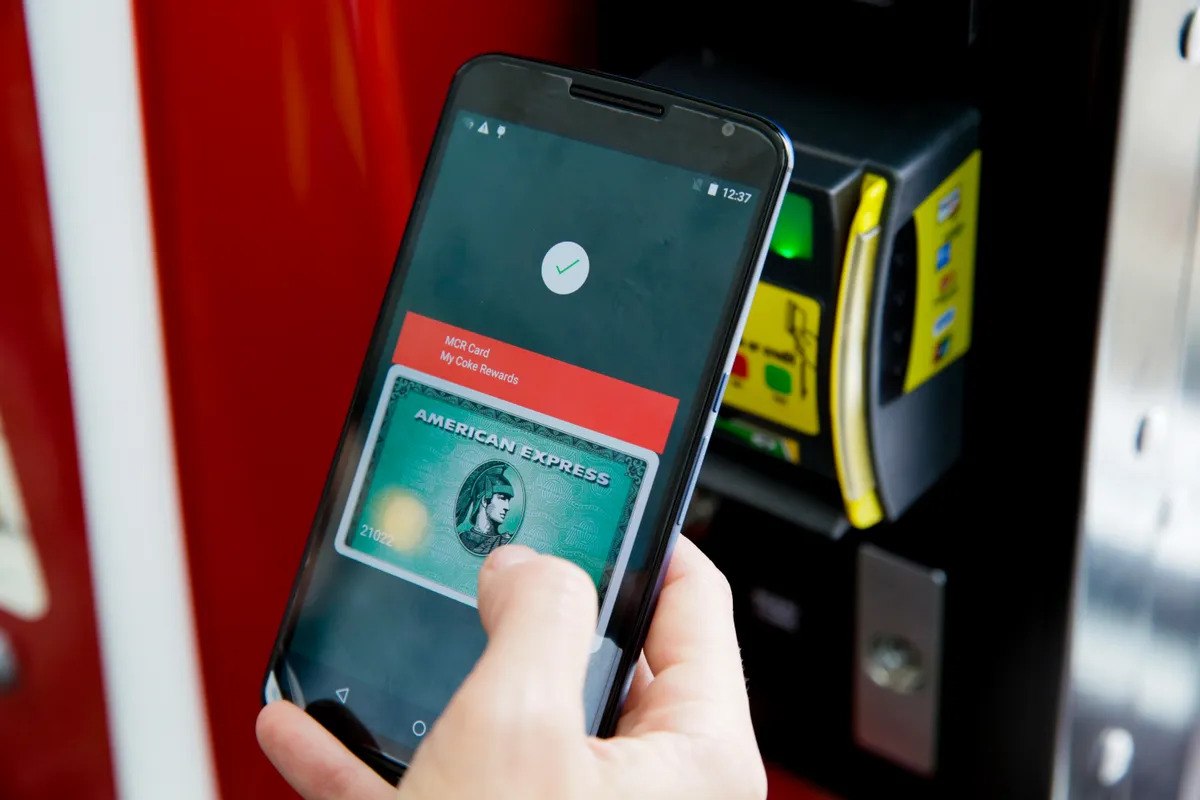
Making Payments
- Open the Google Pay app and select the card you want to use.
- Tap on “Pay” and hold your device near the contactless payment terminal at the checkout counter.
- A beep or checkmark on your screen will confirm that the payment was successful.
Security Measures
- Android Pay uses tokenization to secure transactions. Your actual card details are not shared with the merchant; instead, a unique token representing your card is used.
- Transactions are encrypted and protected by Google’s security protocols.
Features of Google Pay
Contactless Payments
Facilitates contactless payments, eliminating the need to physically swipe or insert your card. Just tap your device on the terminal.
Digital Wallet
Google Pay acts as a digital wallet, allowing you to store multiple cards in one place. This makes it convenient for managing different payment methods without carrying multiple cards.
Split Payments
Google Pay allows you to split bills with friends or family members easily. This feature is particularly useful when dining out or splitting expenses with others.
Rewards and Offers
Many banks and merchants offer rewards and discounts when using Google Pay. These can include cashback, loyalty points, or exclusive deals.
Google Assistant Integration
With the integration of Google Assistant, you can use voice commands to make payments or check your balance. For example, you can say “Hey Google, pay $10 at Starbucks.”
Google Maps Integration
Google Pay is also integrated with Google Maps, allowing you to book and pay for public transportation tickets directly from the app.
Practical Applications of Google Pay
Retail Stores
Google Pay is widely accepted at many retail stores across various countries. Use it to pay for groceries, clothing, electronics, and more.
Public Transportation
In cities like London and New York, Google Pay is accepted for public transportation fares such as bus rides or subway tickets.
Restaurants and Cafes
Many restaurants and cafes now accept contactless payments through Google Pay. This makes it quick and easy to settle your bill without needing cash or a physical card.
Online Shopping
While primarily designed for in-store transactions, Google Pay can also be used for online shopping through supported websites and apps.
Security Measures
Tokenization
Tokenization is a key security feature of Google Pay. This ensures that your actual card details are never shared with merchants during transactions.
Encryption
All transactions made through Google Pay are encrypted using advanced security protocols to protect sensitive information from unauthorized access.
Two-Factor Authentication (2FA)
To add an extra layer of security, some banks may require users to set up 2FA when linking their cards to Google Pay.
Troubleshooting Common Issues
Card Not Detected
If your card is not detected by Google Pay, ensure that it is properly linked and verified in the app.
Transaction Declined
If a transaction is declined, check if there are any available funds on your linked card or if there are any restrictions set by your bank.
App Crashes
If the app crashes while making a payment, restart the app and try again. If issues persist, uninstall and reinstall the app.
Android Pay, now rebranded as Google Pay, has transformed the way we make payments using our smartphones. With its seamless integration with various Google services like Google Assistant and Google Maps, it offers a convenient and secure way to manage your finances on-the-go. Whether you're shopping at retail stores or booking public transportation tickets, Google Pay makes transactions quick and hassle-free. By understanding its features and security measures outlined in this guide, you can fully utilize the potential of this digital wallet service.