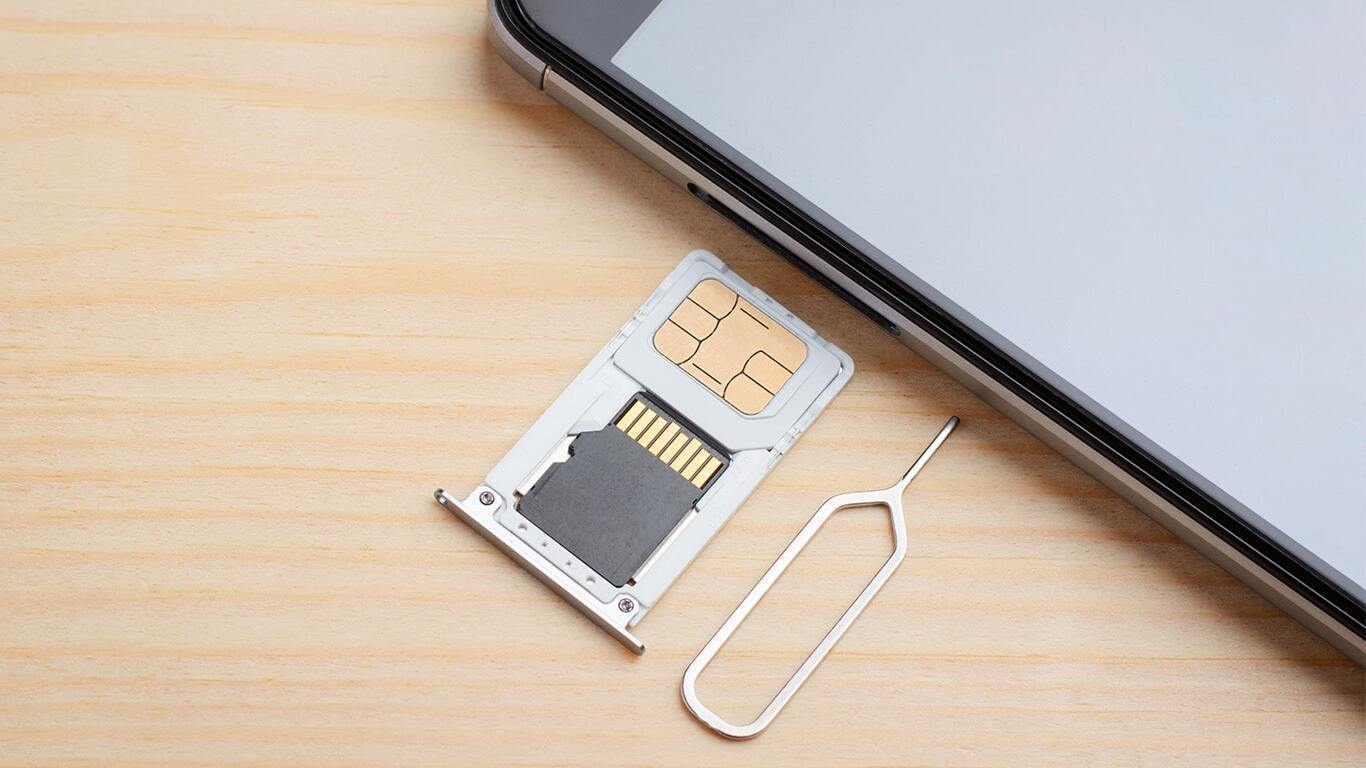
Step 1: Prepare Your Old Phone
Before starting the transfer process, ensure your old phone is fully charged and ready for use. This will help avoid interruptions.
1.1 Locate the SIM Tray
Locate the SIM tray on your old Android phone. Usually, it is a small slot on the side of the phone, often marked with a small SIM card icon. If unsure, refer to your phone's user manual or search online for specific instructions for your model.
1.2 Remove the SIM Card
Once you've found the SIM tray, use a paper clip or a SIM ejector tool to push the tray out. Gently pull out the tray and carefully remove the SIM card. Avoid touching the gold contacts to prevent damage.
Step 2: Prepare Your New Phone
With the SIM card from your old phone in hand, it's time to prepare your new Android device.
2.1 Locate the SIM Tray on the New Phone
The process of locating and removing the SIM tray on your new phone is similar to that of your old phone. Refer to your new phone's user manual or search online for specific instructions if needed.
2.2 Insert the SIM Card
Once you've located the SIM tray on your new phone, use a paper clip or a SIM ejector tool to push it out. Carefully insert your SIM card into this tray, ensuring it is aligned properly with the gold contacts facing downwards.
Step 3: Activate Your New Phone
After inserting the SIM card into your new phone, activation is the next step.
3.1 Power On Your New Phone
Turn on your new Android phone by pressing and holding the power button until it boots up.
3.2 Follow Activation Instructions
Depending on your carrier, specific activation instructions may be required. These could include:
- Online Activation: Some carriers allow activation online through their website or mobile app.
- Text Message Activation: You might receive a text message with activation instructions from your carrier.
- Call Activation: In some cases, calling your carrier's customer service number for assistance is necessary.
3.3 Verify Network Coverage
Once activated, verify network coverage by checking for signal strength and making a call or sending a text message.
Step 4: Transfer Data (Optional)
If you want to transfer data such as contacts, photos, and apps from your old phone to your new one, several methods are available:
4.1 Using Google Account Sync
One of the easiest ways to transfer data is by using Google Account Sync:
- Sign In: Sign in with your Google account on both phones.
- Sync Data: Enable sync for contacts, photos, and other data types on both devices.
- Wait: Allow some time for the data to sync between devices.
4.2 Using USB Cable
You can also transfer data using a USB cable:
- Connect Phones: Connect both phones using a USB cable.
- Enable USB Debugging: Enable USB debugging on both devices.
- Transfer Data: Use software like Samsung Smart Switch or Google's own transfer tool to move data between phones.
4.3 Using Cloud Services
Cloud services like Google Drive, Dropbox, or OneDrive can also be used:
- Upload Data: Upload your data from the old phone to the cloud service.
- Download Data: Download the same data onto the new phone.
Step 5: Set Up Your New Phone
After transferring your SIM card and data (if necessary), it's time to set up your new phone:
5.1 Set Up Wi-Fi
Connect your new phone to a Wi-Fi network for faster setup and data transfer.
5.2 Set Up Google Account
Sign in with your Google account to sync all your apps, contacts, and other data.
5.3 Set Up Other Accounts
Set up any other accounts such as social media profiles or email accounts that you want synced across devices.
5.4 Update Apps
Update all apps on your new phone to ensure they are running with the latest features and security patches.
Step 6: Transfer Apps (Optional)
If you want to transfer apps from your old phone to your new one without reinstalling them, you can use the following methods:
6.1 Using Google Play Store
- Install Apps: Install the same apps on both devices.
- Sync Purchases: Enable sync purchases in Google Play Store settings on both devices.
6.2 Using App Transfer Tools
Tools like Samsung Smart Switch or Google's own transfer tool can also be used for transferring apps between devices.
Step 7: Final Check
After setting up everything, perform a final check:
- Verify Contacts: Ensure all contacts have been transferred correctly.
- Check Photos: Verify that all photos have been transferred or synced properly.
- Test Apps: Test all apps to ensure they are working correctly.
Troubleshooting Tips
If you encounter any issues during the transfer process, here are some troubleshooting tips:
1. SIM Card Issues
- Dirty Contacts: Clean the gold contacts on both SIM cards if they appear dirty or damaged.
- Incorrect Alignment: Ensure the SIM card is properly aligned when inserting it into the new phone.
2. Activation Issues
- Carrier Support: Contact your carrier's customer service if you're having trouble activating your new phone.
- Network Coverage: Check if there are any network outages in your area that might be causing issues.
3. Data Transfer Issues
- USB Cable Issues: Try using a different USB cable if you're experiencing issues with data transfer via USB.
- Cloud Service Issues: Check if there are any issues with cloud services like Google Drive or Dropbox that might be affecting data transfer.
