
Introduction
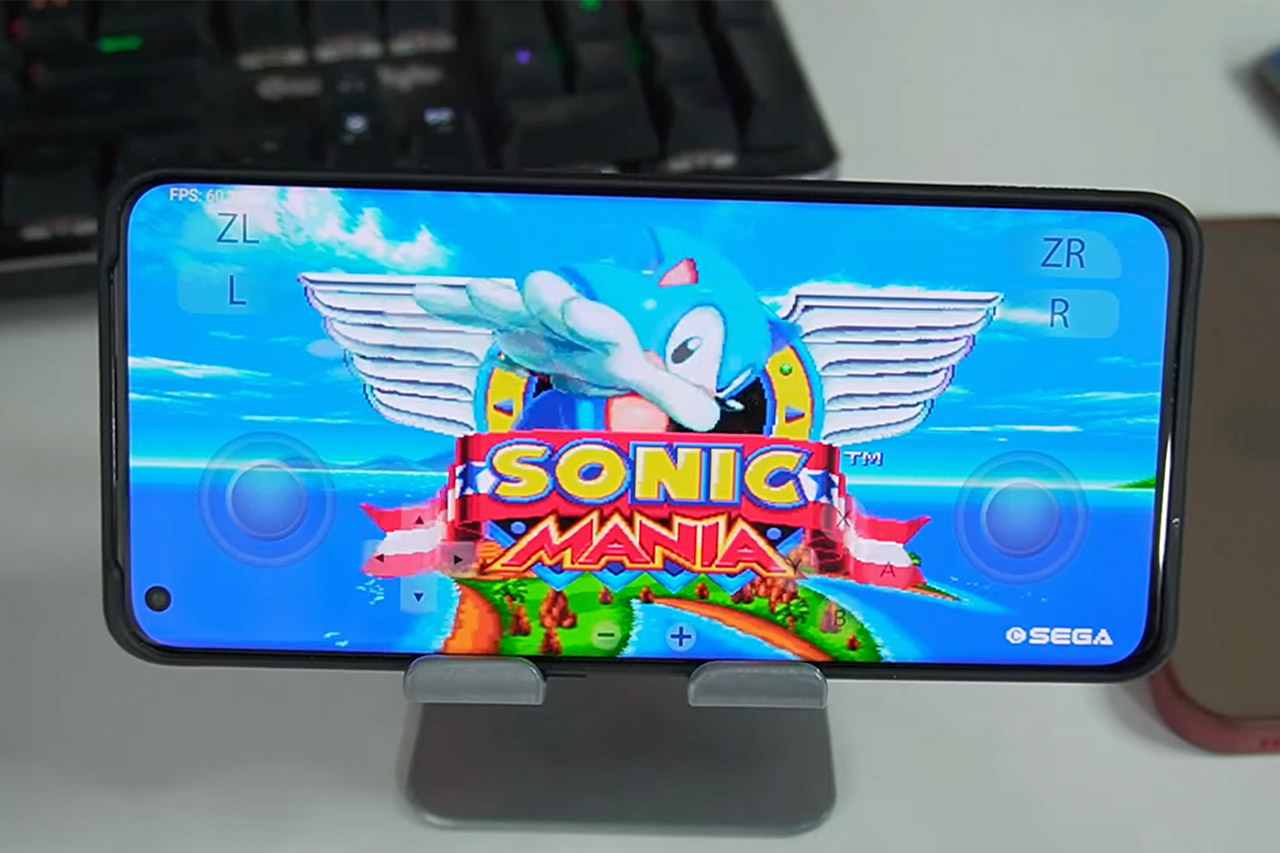
Running Android applications on older USB devices has become increasingly relevant. Whether you're a gamer reliving old favorites or a developer testing new apps, Android emulators are essential tools. This guide covers the best Android emulators for old USB devices, detailing each emulator's features, setup process, and troubleshooting tips.
BlueStacks: The Most Popular Android Emulator
Overview
BlueStacks stands out as one of the most popular and widely used Android emulators. Known for its user-friendly interface and robust performance, it suits both casual users and hardcore gamers.
Features
- User-Friendly Interface: Simple and intuitive navigation.
- Robust Performance: Handles demanding games and applications smoothly.
- Multi-Instance Support: Run multiple instances of the same app simultaneously.
- Key Mapping: Customize key mappings for easier gameplay with keyboard and mouse.
- Cloud Connect: Access Android apps from any device with an internet connection.
Setup Process
- Download BlueStacks: Visit the official BlueStacks website.
- Install BlueStacks: Double-click the downloaded file and follow on-screen instructions.
- Open BlueStacks: Launch the emulator.
- Sign In with Google Account: Access the Play Store.
- Connect Old USB Device: Attach your old USB device to your computer.
- Enable USB Debugging:
- Go to Settings > About Phone > Tap Build Number seven times to unlock Developer Options.
- Navigate to Developer Options > USB Debugging and enable it.
- Allow USB Debugging permission on your Android device.
- Configure BlueStacks:
- Go to Settings > Preferences > Enable USB Debugging.
- Restart BlueStacks: Apply changes.
- Install Apps or Games: Use the Play Store within the emulator.
Tips for Effective Use
- Keep BlueStacks Updated: Ensure compatibility with the latest apps.
- Allocate Enough RAM: For smoother performance.
- Disable Unnecessary Background Processes: Free up resources.
- Use a Wired Connection: For better stability.
- Adjust Emulator Settings: Match your device’s capabilities.
- Regularly Clear Cache: Prevent slowdowns.
- Backup Data: Avoid losing progress in apps or games.
NoxPlayer: A Solid Option for Gaming
Overview
NoxPlayer offers a smooth experience and plenty of customization options, making it a solid choice for running Android apps on old USB devices, especially for gaming.
Features
- Smooth Gaming Experience: Minimal lag.
- Customization Options: Key mapping and multi-instance support.
- Multi-Instance Support: Run multiple instances of the same app.
- Advanced Features: Screen recording and screenshot capturing.
Setup Process
- Download NoxPlayer: Visit the official NoxPlayer website.
- Install NoxPlayer: Follow on-screen instructions.
- Open NoxPlayer: Launch the emulator.
- Sign In with Google Account: Access the Play Store.
- Connect Old USB Device: Attach your old USB device.
- Enable USB Debugging:
- Go to Settings > About Phone > Tap Build Number seven times.
- Navigate to Developer Options > USB Debugging and enable it.
- Allow USB Debugging permission.
- Configure NoxPlayer:
- Go to Settings > General > Enable USB Debugging.
- Restart NoxPlayer: Apply changes.
- Install Apps or Games: Use the Play Store within the emulator.
Tips for Effective Use
- Keep NoxPlayer Updated: Ensure compatibility with the latest apps.
- Allocate Enough RAM: For smoother performance.
- Disable Unnecessary Background Processes: Free up resources.
- Use a Wired Connection: For better stability.
- Adjust Emulator Settings: Match your device’s capabilities.
- Regularly Clear Cache: Prevent slowdowns.
- Backup Data: Avoid losing progress in apps or games.
MEmu: Great for Performance
Overview
MEmu excels in performance, particularly for running multiple apps simultaneously. It efficiently handles demanding tasks, making it ideal for multitasking.
Features
- High Performance: Ideal for running multiple apps.
- Multi-Instance Support: Run multiple instances of the same app.
- Customization Options: Key mapping and screen resolution adjustment.
- Advanced Features: Screen recording and screenshot capturing.
Setup Process
- Download MEmu: Visit the official MEmu website.
- Install MEmu: Follow on-screen instructions.
- Open MEmu: Launch the emulator.
- Sign In with Google Account: Access the Play Store.
- Connect Old USB Device: Attach your old USB device.
- Enable USB Debugging:
- Go to Settings > About Phone > Tap Build Number seven times.
- Navigate to Developer Options > USB Debugging and enable it.
- Allow USB Debugging permission.
- Configure MEmu:
- Go to Settings > General > Enable USB Debugging.
- Restart MEmu: Apply changes.
- Install Apps or Games: Use the Play Store within the emulator.
Tips for Effective Use
- Keep MEmu Updated: Ensure compatibility with the latest apps.
- Allocate Enough RAM: For smoother performance.
- Disable Unnecessary Background Processes: Free up resources.
- Use a Wired Connection: For better stability.
- Adjust Emulator Settings: Match your device’s capabilities.
- Regularly Clear Cache: Prevent slowdowns.
- Backup Data: Avoid losing progress in apps or games.
LDPlayer: Focused on Gaming
Overview
LDPlayer focuses on gaming but handles other apps efficiently. It offers a smooth gaming experience and high performance, making it an excellent choice for gamers.
Features
- Smooth Gaming Experience: Minimal lag.
- Customization Options: Key mapping and multi-instance support.
- Advanced Features: Screen recording and screenshot capturing.
- High Performance: Efficiently handles demanding games.
Setup Process
- Download LDPlayer: Visit the official LDPlayer website.
- Install LDPlayer: Follow on-screen instructions.
- Open LDPlayer: Launch the emulator.
- Sign In with Google Account: Access the Play Store.
- Connect Old USB Device: Attach your old USB device.
- Enable USB Debugging:
- Go to Settings > About Phone > Tap Build Number seven times.
- Navigate to Developer Options > USB Debugging and enable it.
- Allow USB Debugging permission.
- Configure LDPlayer:
- Go to Settings > General > Enable USB Debugging.
- Restart LDPlayer: Apply changes.
- Install Apps or Games: Use the Play Store within the emulator.
Tips for Effective Use
- Keep LDPlayer Updated: Ensure compatibility with the latest apps.
- Allocate Enough RAM: For smoother performance.
- Disable Unnecessary Background Processes: Free up resources.
- Use a Wired Connection: For better stability.
- Adjust Emulator Settings: Match your device’s capabilities.
- Regularly Clear Cache: Prevent slowdowns.
- Backup Data: Avoid losing progress in apps or games.
Genymotion: Ideal for Developers
Overview
Genymotion provides advanced features like GPS simulation and network quality testing, making it ideal for developers. It mimics real-world scenarios, perfect for testing and development.
Features
- Advanced Features: GPS simulation, network quality testing, and more.
- Customization Options: Screen resolution adjustment and device configuration.
- High Performance: Efficiently handles demanding tasks.
Setup Process
- Download Genymotion: Visit the official Genymotion website.
- Install Genymotion: Follow on-screen instructions.
- Open Genymotion: Launch the emulator.
- Sign In with Google Account: Access the Play Store.
- Connect Old USB Device: Attach your old USB device.
- Enable USB Debugging:
- Go to Settings > About Phone > Tap Build Number seven times.
- Navigate to Developer Options > USB Debugging and enable it.
- Allow USB Debugging permission.
- Configure Genymotion:
- Go to Settings > General > Enable USB Debugging.
- Restart Genymotion: Apply changes.
- Install Apps or Games: Use the Play Store within the emulator.
Tips for Effective Use
- Keep Genymotion Updated: Ensure compatibility with the latest apps.
- Allocate Enough RAM: For smoother performance.
- Disable Unnecessary Background Processes: Free up resources.
- Use a Wired Connection: For better stability.
- Adjust Emulator Settings: Match your device’s capabilities.
- Regularly Clear Cache: Prevent slowdowns.
- Backup Data: Avoid losing progress in apps or games.
Troubleshooting Common Problems
Apps Crash Often
- Clear Cache and Data: Clear cache and data in settings. Reinstall the app if the issue persists.
Battery Drains Quickly
- Lower Screen Brightness: Lower screen brightness and close unused apps. Check for battery-hogging apps in settings.
Device Running Slow
- Delete Unused Apps and Files: Delete unused apps and files. Restart the device. Consider a factory reset if problems persist.
Wi-Fi Not Connecting
- Restart Router and Device: Restart the router and device. Forget the network and reconnect. Check if other devices can connect.
Screen Unresponsive
- Clean Screen: Clean the screen. Remove any screen protector. Restart the device.
Bluetooth Issues
- Turn Bluetooth Off and On: Turn Bluetooth off and on. Forget the device and pair again. Ensure both devices are close together.
Storage Full
- Move Files to Cloud Storage or SD Card: Move files to cloud storage or an SD card. Delete unnecessary files and apps.
Overheating
- Avoid Using Device While Charging: Avoid using the device while charging. Close background apps. Give the device a break to cool down.
App Not Downloading
- Check Internet Connection: Check internet connection. Clear Play Store cache. Ensure enough storage space.
Sound Problems
- Check Volume Settings: Check volume settings. Ensure nothing is blocking the speakers. Restart the device.