
Understanding the Charging Ports and Cables
Before diving into the specifics of charging an iPhone with an Android charger, it's essential to understand the different types of charging ports and cables used by both iPhones and Android devices.
iPhones
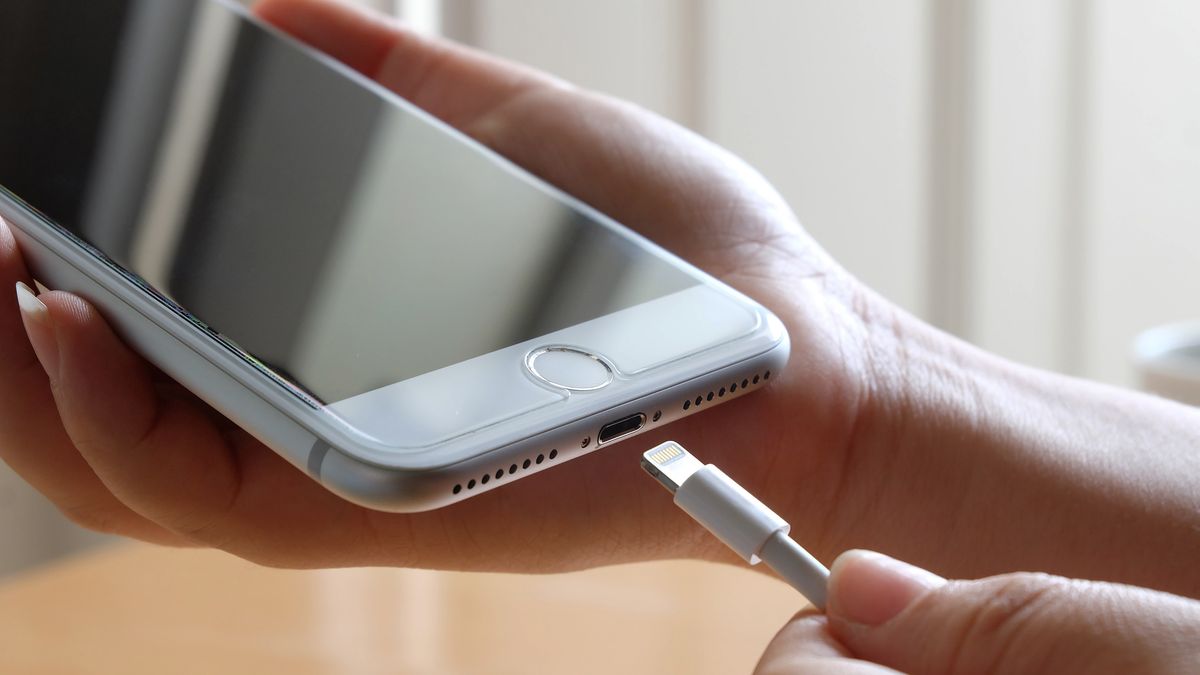
- Lightning Connector: Newer iPhones, such as the iPhone 12 series, use a USB-C to Lightning cable. Older models, like the iPhone X and iPhone 8, use a USB-A to Lightning cable.
- Power Adapters: Newer iPhones come with USB-C power adapters, while older models use USB-A power adapters.
Android Devices
- USB-C and Micro-USB: Many modern Android devices use USB-C ports, while older models often use Micro-USB ports.
- Charging Cables: Android devices typically use standard USB-C or Micro-USB cables.
Given these differences, using an Android charger to charge an iPhone is not as straightforward as using an Apple-certified charger. However, it is possible in certain situations, which we will outline below.
Can I Charge an iPhone Using an Android Charger?
While it is technically possible to charge an iPhone using an Android charger, there are several caveats to consider:
Power Adapter Compatibility
- You can use an Android power adapter to charge your iPhone if it has either a USB-C or USB-A port. However, this is not the most optimal solution, as it may take longer for your iPhone to charge fully.
Charging Cable Compatibility
- The primary issue lies in the charging cable. iPhones require a Lightning connector on one end, which is not found on standard Android charging cables. To overcome this, you would need a Lightning adapter that converts the USB-A or USB-C connector of the Android charger to a Lightning connector.
Risks and Considerations
- Using third-party adapters or cables can potentially damage your iPhone's battery over time. It's always best to use certified equipment from Apple to ensure optimal performance and battery health.
Step-by-Step Guide to Charging an iPhone with an Android Charger
If you still want to charge your iPhone using an Android charger, here’s a step-by-step guide:
-
Identify Your iPhone Model:
- Determine whether your iPhone uses a USB-C to Lightning cable (newer models) or a USB-A to Lightning cable (older models).
-
Check the Android Charger:
- Ensure that the Android charger has either a USB-C or USB-A port. If it's a USB-C charger, you'll need a USB-C to Lightning cable adapter. If it's a USB-A charger, you'll need a USB-A to Lightning cable adapter.
-
Acquire the Necessary Adapter:
- Purchase a Lightning adapter that fits your Android charger's connector type (USB-A or USB-C). These adapters are widely available online and can be purchased for relatively low prices.
-
Connect the Cables:
- Connect the Lightning end of the cable to your iPhone.
- Connect the other end of the cable to the Android charger.
-
Plug in the Charger:
- Plug in the Android charger to a power source.
-
Monitor Charging Progress:
- Keep an eye on your iPhone's screen for any charging indicators. If your iPhone is not charging properly, it may indicate that there is an issue with the adapter or cable.
-
Use Certified Equipment:
- If possible, use certified Apple cables and adapters to ensure optimal performance and battery health.
Risks Associated with Using Third-Party Chargers
While using an Android charger might seem like a convenient solution, there are several risks associated with it:
Battery Health
- Using third-party adapters or cables can potentially damage your iPhone's battery over time. This is because these adapters may not meet Apple's standards for safety and performance.
Charging Speed
- Charging an iPhone with an Android charger may take longer than using an Apple-certified charger. This is because the power output of the Android charger might not be optimized for your iPhone's battery.
Technical Issues
- There is a higher likelihood of technical issues when using third-party chargers. These issues can range from slow charging speeds to complete failure of the charging process.
Best Practices for Charging Your iPhone
To ensure that your iPhone is charged safely and efficiently, follow these best practices:
-
Use Certified Equipment:
- Always use certified Apple cables and adapters when charging your iPhone. These products are designed to meet Apple's standards for safety and performance.
-
Avoid Third-Party Adapters:
- If possible, avoid using third-party adapters or cables. These products can potentially damage your iPhone's battery over time.
-
Monitor Charging Progress:
- Keep an eye on your iPhone's screen for any charging indicators. If your iPhone is not charging properly, it may indicate that there is an issue with the adapter or cable.
-
Charge Your iPhone Regularly:
- Regularly charge your iPhone to maintain its battery health. Avoid letting your iPhone's battery drain to zero frequently, as this can cause permanent damage.
-
Store Your iPhone Properly:
- If you plan on putting away your iPhone for an extended period, charge it first. Reaching between 80% and 100% of its charge is ideal to prevent battery degradation.
Additional Tips for Charging Your iPhone
How to Turn On an iPhone That's Been Dead for Months
If your iPhone has been dead for months, it can be challenging to turn it on. Here are some steps you can follow:
-
Use Original Cables and Adapters:
- Use your iPhone's original USB cable and power adapter. These are designed specifically for your iPhone and are more likely to work effectively.
-
Charge Your iPhone:
- Plug in your iPhone using its original cable and adapter. Keep an eye on the screen for any charging indicators. It may take around 15 minutes for the screen to show any activity or for the phone to boot up on its own.
-
Force Restart:
- If your iPhone doesn't boot up automatically, try force restarting it. This involves pressing and holding the Sleep/Wake button and the Volume Down button simultaneously until you see the Apple logo.
-
Check Battery Health:
- If your iPhone still doesn't turn on, it's possible that the battery is permanently damaged. In this case, it's best to visit an Apple Store or authorized service provider for further assistance.
How to Take a Screenshot on iPhone 8 and iPhone 8 Plus
Taking a screenshot on an iPhone 8 or iPhone 8 Plus is a straightforward process:
-
Press Sleep/Wake and Home Buttons:
- Press and hold the Sleep/Wake button and the Home button simultaneously until you hear a camera shutter sound and see a flash on the screen.
-
Open Photos App:
- Open the Photos app to view your screenshot.
-
Edit Screenshot (Optional):
- If needed, you can edit your screenshot by tapping on it in the Photos app and using the built-in editing tools.
By following these steps and tips, you can ensure that your iPhone is charged safely and efficiently, whether you're using an Apple-certified charger or an Android charger with the necessary adapters.
Final Thoughts
Charging an iPhone is a simple process, but it requires attention to detail, especially when using third-party chargers. By understanding the different types of charging ports and cables used by iPhones and Android devices, you can make informed decisions about how to charge your iPhone safely and efficiently. Always prioritize using certified Apple cables and adapters to maintain optimal performance and battery health. Whether you're dealing with a dead iPhone or simply need to charge it regularly, following these guidelines will help you keep your device in top condition.